RV Window Inspection and Maintenance
As winter settles in and the snow begins to fall, RVers are constantly looking for ways to keep warm while enjoying their favorite activity. One of the best ways to begin the process of keeping the interior of your rig as warm as possible is to make sure the window seals are up to snuff.
After all, windows aren’t called “heat thieves” for nothing. And perhaps more importantly, checking the RV window seals also gives you the chance to inspect them for signs water damage, and replace accordingly.
Moisture is an RV’s worst enemy. RV manufacturers know this when they cut holes and install windows in the sides of their RVs. That’s why, after a window is installed, an RV technician carefully seals the edges of its frame using a bead of RV sealant. It’s this window seal that helps keep moisture from sneaking in under the window frame and damaging the RV (and cold drafts from entering the interior). Inspect each of your RV’s window seals frequently to ensure they are in working order. If you wait until there are visible signs of damage (like de-lamination in the area near the windows), you’ll be in for some expensive repair bills.
It’s easy to check your RV’s window seals, and repair when necessary.
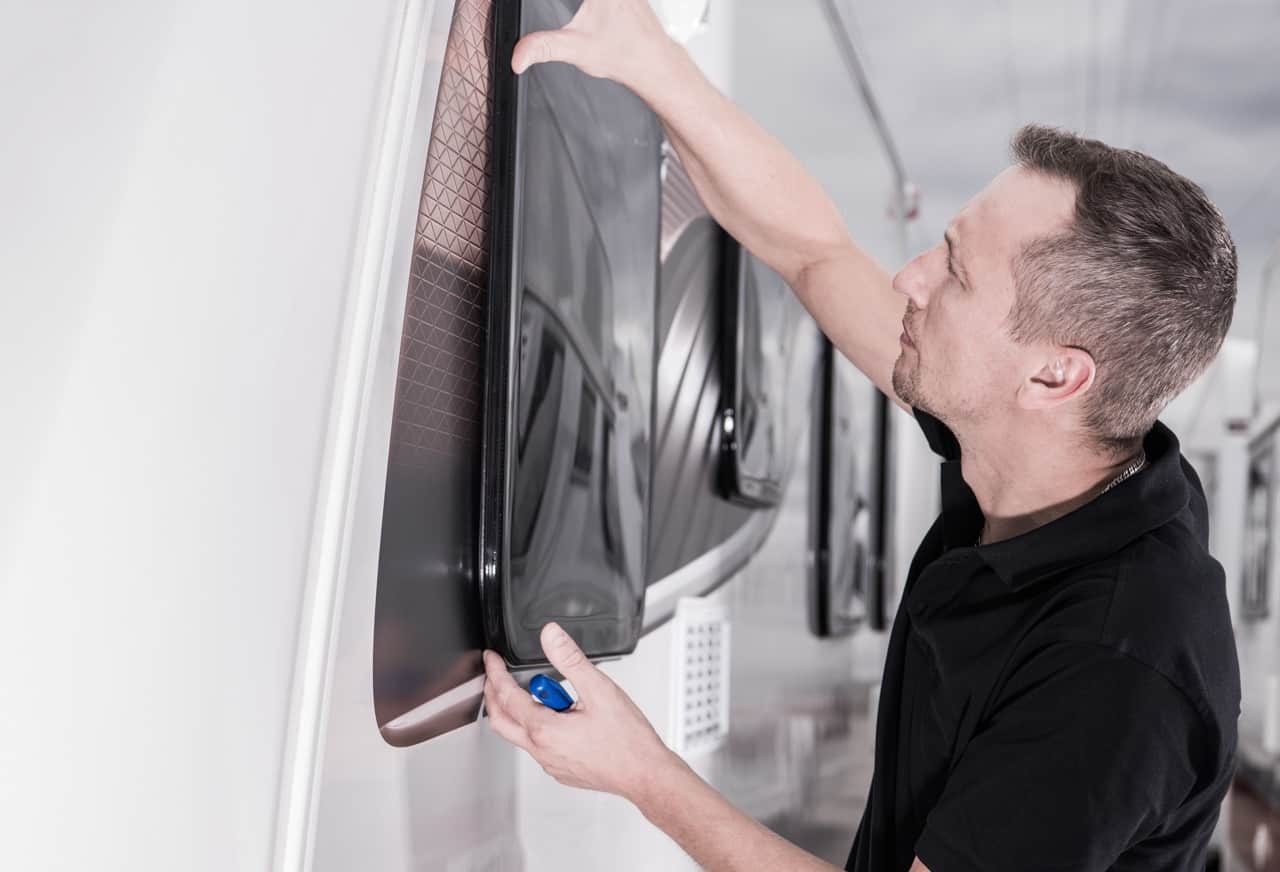
How to inspect RV window seals
Use a ladder (if necessary) to carefully inspect each of the window seals, especially at the top of the windows. Some telltale signs that your RV window seals need maintenance are:
- Cracking
- Shrinking
- Peeling
- Flaking
If the caulking around the edges of the RV windows looks like it’s seen better days, you will need to replace it. It’s a simple DIY process.
What you’ll need
Before you start this simple fix it’s important to have everything you need handy. For this job, here’s what you’ll need:
- Plastic gloves
- Plastic razor blades
- 1 tube of Flexible silicone sealant
- A caulking gun
- A roll of painter’s tape
- Rubbing alcohol
- Paper towels or rags
- An old toothbrush
- A solvent approved for your RV’s surfaces
Pro Tip: Before applying any solvents (or rubbing alcohol) to your RV’s exterior, test it in an inconspicuous spot to ensure it doesn’t cause any damage to the surfaces.
How to replace RV window caulking
Use a clear, flexible, silicone RV window sealant for this job. Pick a warm, dry day when there is no rain or snow in the forecast for at least 48 hours. If you can perform the maintenance in a garage or covered shelter, even better.
Step 1: Completely remove the old caulking
This takes some time, but it’s well worth doing correctly. Use a plastic razor blade to carefully scrape off the old caulking. (Metal blades of any kind can really damage the RV’s exterior finish, so we recommend using plastic instead). Use a small brush soaked in a solvent that’s approved for use on your RV’s exterior type to remove any remnants. Then wipe with a rag or paper towel to remove any trace of the old window sealant.
Step 2: Prep the surface
Prepare the area next to the window in order for the new window caulking to stick to it. Soak a paper towel with rubbing alcohol and use it to clean up any residue from the solvent. Allow it to thoroughly dry.
Step 3: Mask
Use painter’s tape to mask about one-eighth of an inch from the edge of the window frame. This will help to ensure your sealant line is neat, clean, and professional-looking.
Step 4: Apply window sealant
Use a caulking gun to carefully apply sealant.
Pro Tip: Cut the caulking tube applicator tip at a slight angle, but keep the hole in the tube as small as possible to help with the application.
Take your time. When you’re done, use your finger or a caulking tool smooth the caulk line and help adhere it between the window and the RV siding. Carefully remove the painter’s tape.
Step 5: Allow to cure for 48 Hours
Most RV window sealants take 48 hours to cure properly. Do your best to keep things dry for this time frame. After 48 hours, clean up any mistake areas and straighten the caulking line as needed.
Maintaining the seals on your RV’s windows is an easy and effective way to avoid water damage, and to help in the fight of keeping the interior warm.
The post RV Window Inspection and Maintenance appeared first on RV LIFE.
Source: https://rvlife.com/rv-window-seal-inspections/