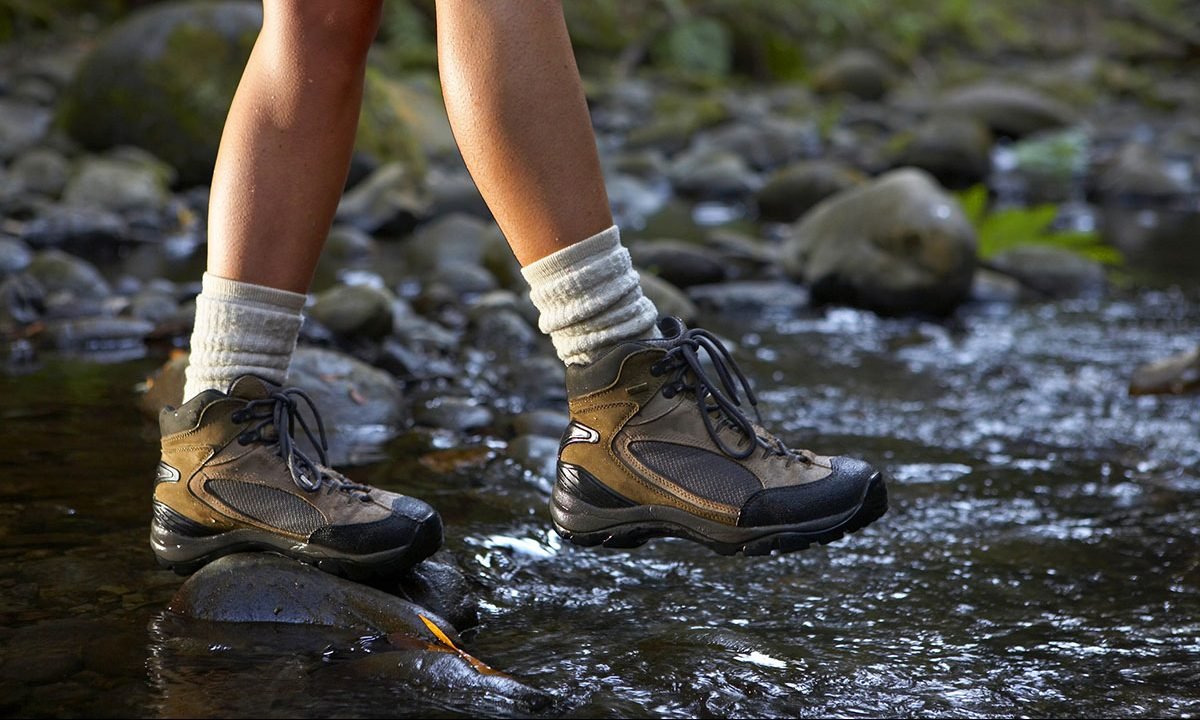
How to Properly Break in Hiking Boots

How to Properly Break in Hiking Boots
Comfortable, quality gear is key to truly enjoying the great outdoors, and arguably nothing in your kit has a bigger impact than hiking boots. If you’ve ever suffered through tender hot spots or burning blisters, you know it’s tough to keep your mind on reaching the next summit as your dogs are barking. Taking the time to properly break in hiking boots can prevent the misery that comes with a stiff, uncomfortable fit and ultimately hurting feet. Here’s how to do it the right way.
Start with the right fit
No amount of wear will make ill-footing boots comfortable. So before you attempt to break in your hiking boots or buy a new pair, make sure you’re working with the best fit possible.
Hiking boots should be snug but not tight. Your feet shouldn’t slide around inside, but you should still have enough wiggle room in there to move your toes.
If your boots don’t fit the bill, upgrade to a new pair. Your feet will thank you.
Try on hiking boots in person whenever possible before you buy them. Different brands offer different fits and features, so not every model will be a good option for every hiker. The best time to try hiking boots for size is after you’ve been on your feet for a while and they’re a bit swollen since you’ll be dealing with similar conditions on the trail. Wear the same thickness of socks you plan to wear hiking for the most accurate fit.
If you have to order hiking boots online without testing them out first, be sure to check manufacturer sizing charts and choose a company that allows for returns in case they don’t work out.
Wearing the right hiking socks inside your boots is important too. Since heat and moisture can contribute to blisters, synthetic or wool socks that regulate temperature and wick moisture away from the skin beat out cotton every time.
Take it slow
Ideally, you’ll begin the break-in process at least a month before your plan to wear new hiking boots on a lengthy trek. Lightweight hikers made with breathable materials such as GORE-TEX and less restrictive constructions might only require minimal break-in time, but more structured leather hiking boots with stiff soles can take much longer. Either way, it’s best to play it safe and plan ahead before any major hiking trips.
Start by slipping on your hiking socks then lacing your boots properly over top. You can tie them snugly for added ankle support, but be careful as tying them too tightly could potentially trigger hot spots.
Rather than sporting your new hiking boots for several miles the first day, start slow and gradually increase the time and distance you wear them.

Wear them around the house for a couple of days, then run errands around town in your boots for a few more days. Next, move on to short outdoor outings, followed by longer trail walks. You can incorporate a day pack with some weight to it at this point too.
If your feet start screaming along the way, give them a break. Don’t rush the break-in process and risk painful blisters that could take weeks to heal.
Once you can comfortably work up to walking distances of about two-thirds of the length of your target trails, your hiking boots should be ready for the mission. Be sure to drop some moleskin and foot powder in your daypack just in case.
Skip the quick fixes
If it seems too good to be true, it probably is.
Avoid the social media hacks that promise overnight results such as tossing hiking boots in the freezer overnight or heating them up with a hairdryer. These methods typically won’t work and more often result in significant damage or decreased lifespan of your boots.
While fast results sound great, the reality is the best solution for breaking in a pair of hiking boots is simply time.
FAQ
How do you break in new hiking boots?
The best way to break in new hiking boots is to help them gradually stretch and mold to your feet. Start by simply wearing them around your house for an hour, then slowly add more time, distance, and weight until you’re able to comfortably wear them on trail walks totaling two-thirds the length of your big hikes.
How long should it take to break in hiking boots?
The break-in period for hiking boots will depend on a variety of factors, including the style and construction of your boots. If you diligently follow the right steps, you can get most hike-ready within two to four weeks.
How do you break in hiking boots overnight?
Breaking in hiking boots should be done slowly and cautiously, so there’s no overnight fix. Avoid supposed hacks that promise overnight results and could damage your new investment. If you’re cutting it too close to a trip, consider lightweight synthetic hikers that typically don’t require the same break-in period as heavy-duty leather styles.
How do you break in hiking boots fast?
Breaking in most hiking boots isn’t a fast fix, but you can help expedite the process by wearing them around the house, town, and short trails every day. If your feet begin to hurt or you develop blisters, back off and stick to short sessions.
A few weeks, the right fit, and a little patience are all you really need to break in a new pair of hiking boots. Taking the proper steps can save your feet from painful blisters and hot spots, making any outdoor adventure much more enjoyable. Found your perfect fit and ready to hit the trail? Follow these 13 hacks to make your hiking boots last for miles and miles to come.


