DIY: Caravan Maintenance Advice
If you’ve recently purchased a new or second-hand caravan, you will want to ensure all of its systems and appliances are functioning correctly and safely. Here are 10 essential caravan maintenance tasks you can do yourself, including a list of the tools you’ll need for the job and simple instructions on how to go about each task. All these tasks can be carried out by any reasonably handy caravan owner.
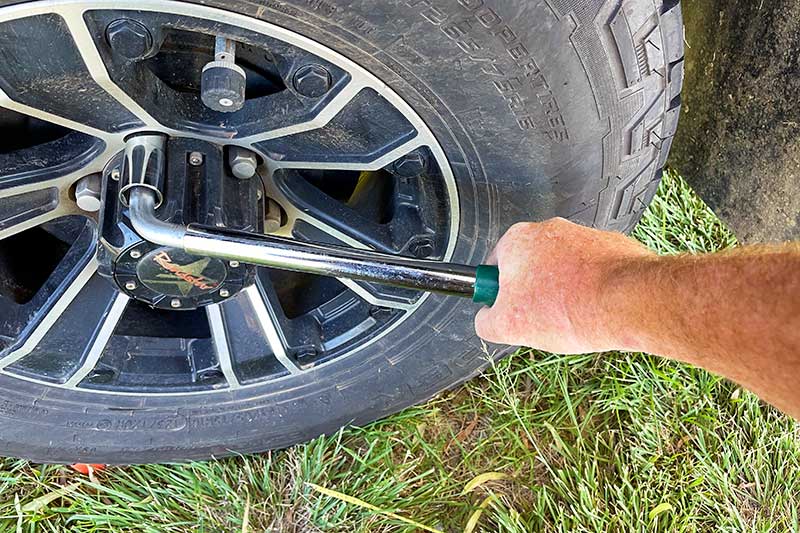
1. TIGHTEN YOUR WHEEL NUTS
- A wheel brace
WHAT TO DO
Fit the wheel brace over each wheel nut and apply gentle but firm pressure in a clockwise direction. If you can’t turn the nut any further, then it is tight enough and can be left as is.
If there is movement, turn the nut in a clockwise direction until it is hand-tight. Place your hand on the wheel brace no more than 30cm from the wheel nut and, using no more than half of your body weight, lean on the wheel brace and put an extra 1/3 to 2/3 of a turn in the wheel nut. Do the same to all the nuts on the wheel in a criss-cross pattern. Repeat the process for each wheel.
If any nuts required tightening, take the van to a tyre shop or mechanic to ensure the wheel nuts are tightened to the correct torque setting.
HOW OFTEN SHOULD I DO IT?
Many people recommend you do this caravan maintenance job before each journey; however, that may not be practical. At a minimum, they should be checked no less than once every 5000km.
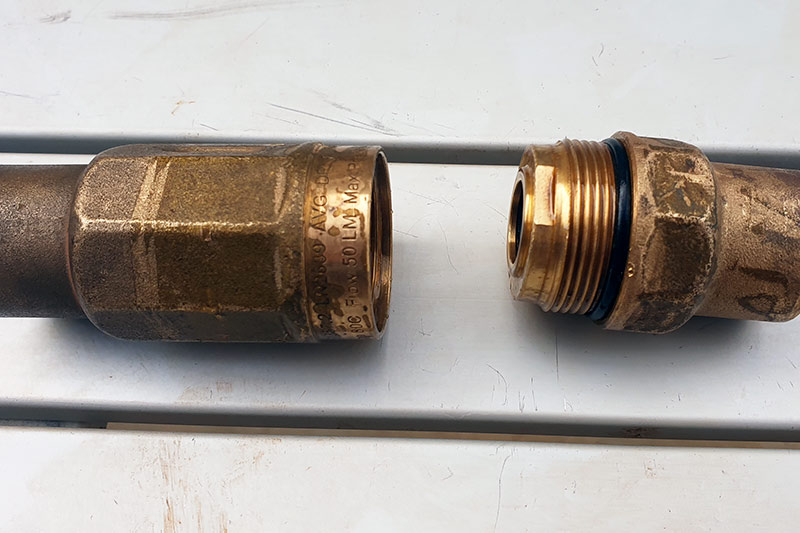
2. CARAVAN MAINTENANCE: WATER PRESSURE VALVE
- Two large shifting spanners or vice grips;
- Long-nosed pliers;
- A tube of plumber’s grease or a jar of Vaseline; and
- A clean rag and white vinegar.
WHAT TO DO
This caravan maintenance task is easier than it sounds. Disconnect the van from mains water, turn off any water pumps and turn on a tap to relieve any pressure remaining in the system.
Remove the brass pressure-reducing valve from the van. Split the valve apart by unscrewing the two halves. This will be tight if you’ve never done it before and will require some strength.
Once apart, remove the steel spring and piston using the pliers. Some slight force may be required to remove the piston.
Clean the internal barrel of the valve and the piston with the rag soaked in vinegar. Now smear a generous amount of the grease or Vaseline inside the valve and over the piston seals. Do not stretch or compress the spring.
Reassemble the valve taking care not to dislodge the seals from the piston. Put the valve back into the van and connect it to mains water and test all water outlets. Water pressure should now be restored.
HOW OFTEN SHOULD I DO IT?
After the van has been stored for a long period or when the water pressure drops to a level that it is unsatisfactory.
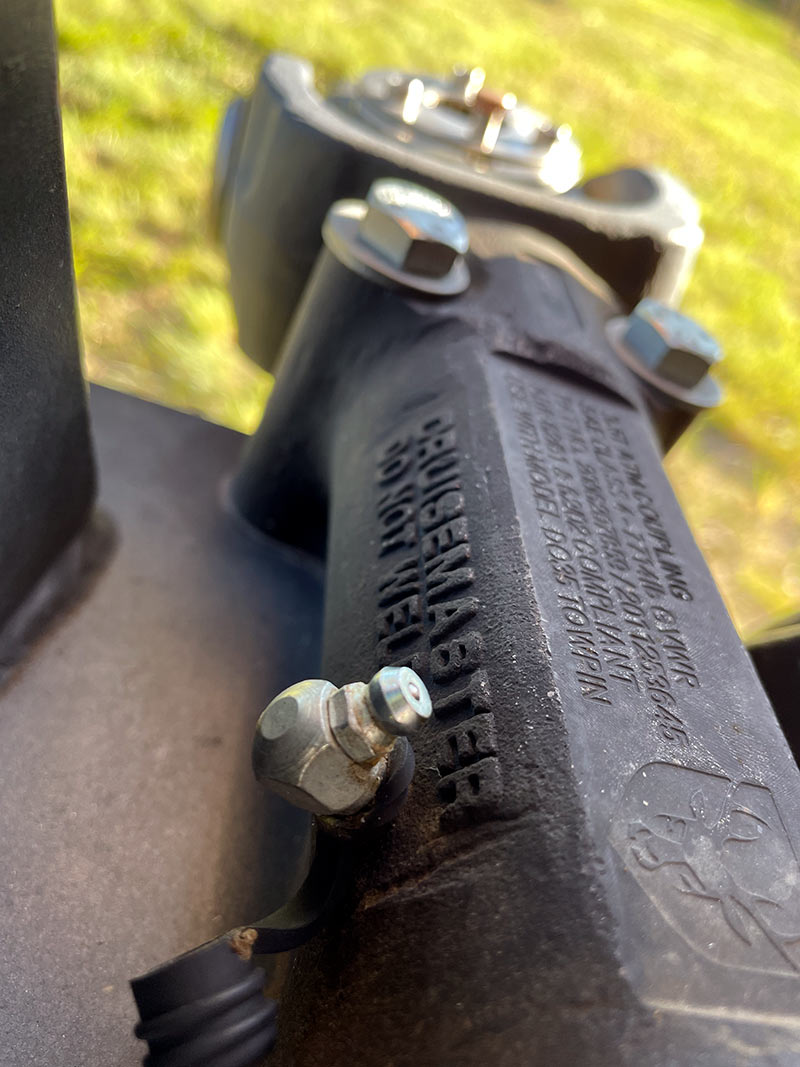
3. RE-GREASE SUSPENSION AND TOWING ATTACHMENTS
- A grease gun;
- A clean rag; and
- A headlamp.
WHAT TO DO
Ensure the van’s hand brake is on, the stabiliser legs are down and the wheels are chocked.
Crawl underneath the van and look for any grease nipples on the suspension. They are generally located around any pivot points. A headlamp will help you to find them.
Thoroughly clean each nipple with the rag. Attach the grease gun to the nipple. A slight click will confirm the gun is properly attached. Pump the gun two or three times. Remove the gun from the nipple and clean off any excess grease.
Repeat the process with any other grease nipples you find. These may be located on the tow hitch, on your weight distribution hitch and even on the door hinges of an aluminium toolbox.
HOW OFTEN SHOULD I DO IT?
This caravan maintenance task should be done every 10,000 km or if you hear squeaking noises emanating from the suspension, your weight distribution hitch or the tow hitch.
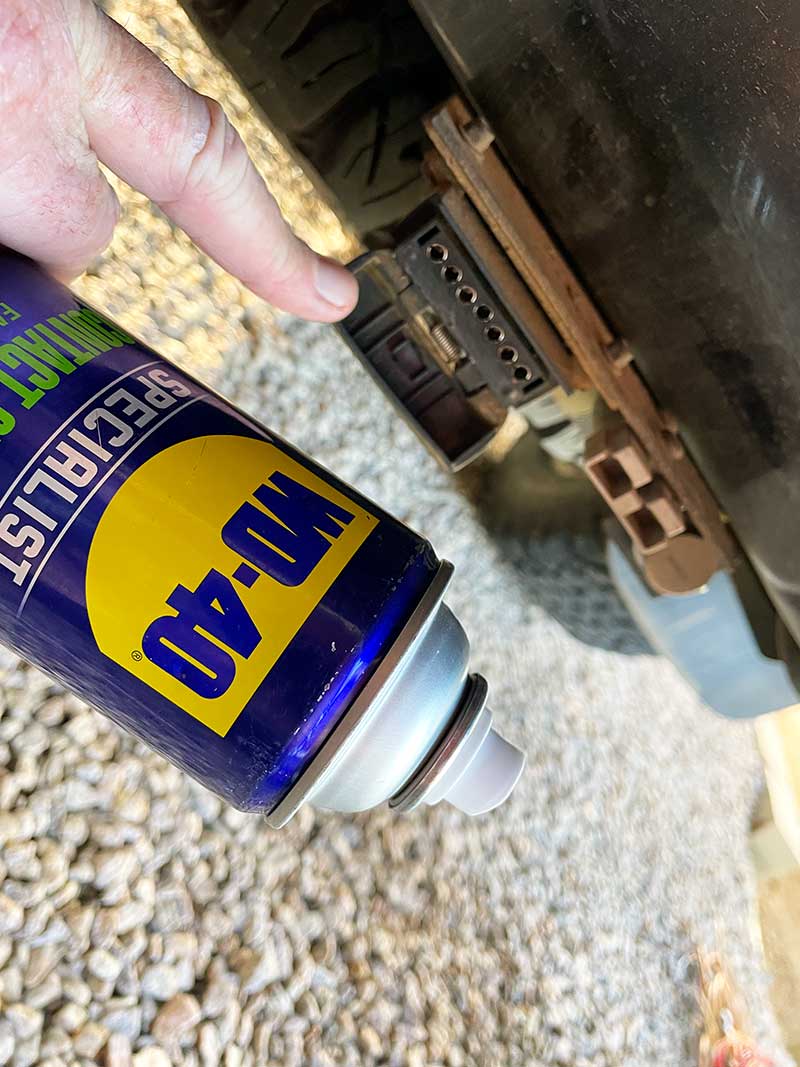
4. CLEAN TRAILER PLUG CONNECTIONS
- A spray can of electrical contact cleaner;
- A spray can of silicon lubricant; and
- A small piece of fine sandpaper.
WHAT TO DO
Spray a liberal amount of contact cleaner over and inside all trailer plug connections. Allow any residual contact cleaner to evaporate.
Visually inspect each contact for signs of tarnish, rust or oxidation. If present, remove the contaminant using a piece of sandpaper.
Clean the contacts again with the contact cleaner. Once dry, lightly spray all contacts with the silicon spray, reconnect all the plugs and test lights and other appliances, such as the reversing camera, not to mention the 12V fridge operation and battery charging.
HOW OFTEN SHOULD I DO IT?
This is a particularly important caravan maintenance task, so you should inspect the state of the plugs at least once every 1000km but if you have been in humid weather, coastal areas or along dusty roads, you should do this as often as possible.
5. RENEW RUBBER WINDOW SEALS
- A couple of clean rags and some plain water; and
- A spray can of silicon lubricant.
WHAT TO DO
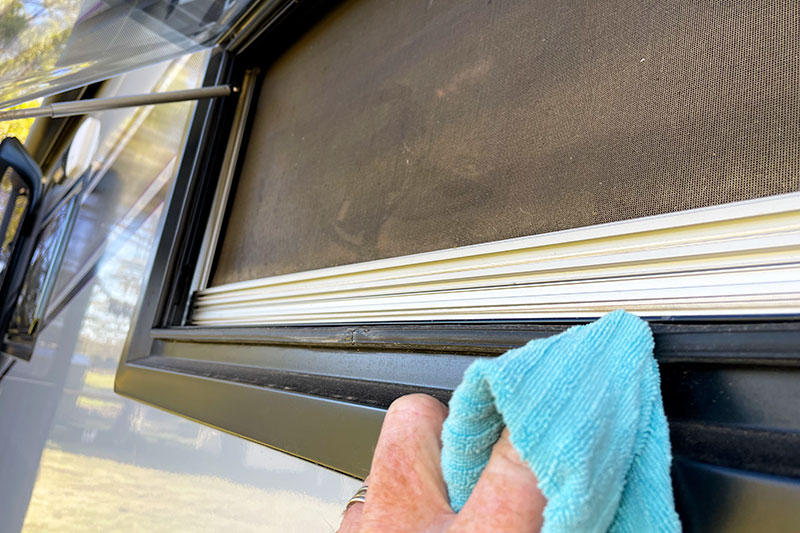
Open all the windows. If any can’t be opened easily, do not force them open. Instead, spray some of the silicon lubricant over the seal and allow the lubricant to seep between the seal and the window.
Once all windows can be opened easily, clean each seal with the wet rag and allow it to dry.
Spray another clean rag with the silicon lubricant and wipe it all over the rubber seals. This will renew the rubber and ensure a weather-tight seal with the window. It will also help prevent the seals from sticking to the windows.
HOW OFTEN SHOULD I DO IT?
Once every six months or at least before and after every trip.
6. CHECK/REPLACE HOT WATER ANODE
- A new anode;
- A socket set with a 1-1/16 or 27mm socket;
- Some plumber’s tape; and
- A hose.
WHAT TO DO
Isolate the van from the 240V power supply, turn off any water pumps and turn off the gas supply at the cylinder.
Remove any water pressure from the system by turning on a hot water tap until the water stops coming through. Then, locate the external access panel to the hot water system, open the cover, and locate the pressure relief valve and relieve any residual pressure by lifting the lever on the valve.
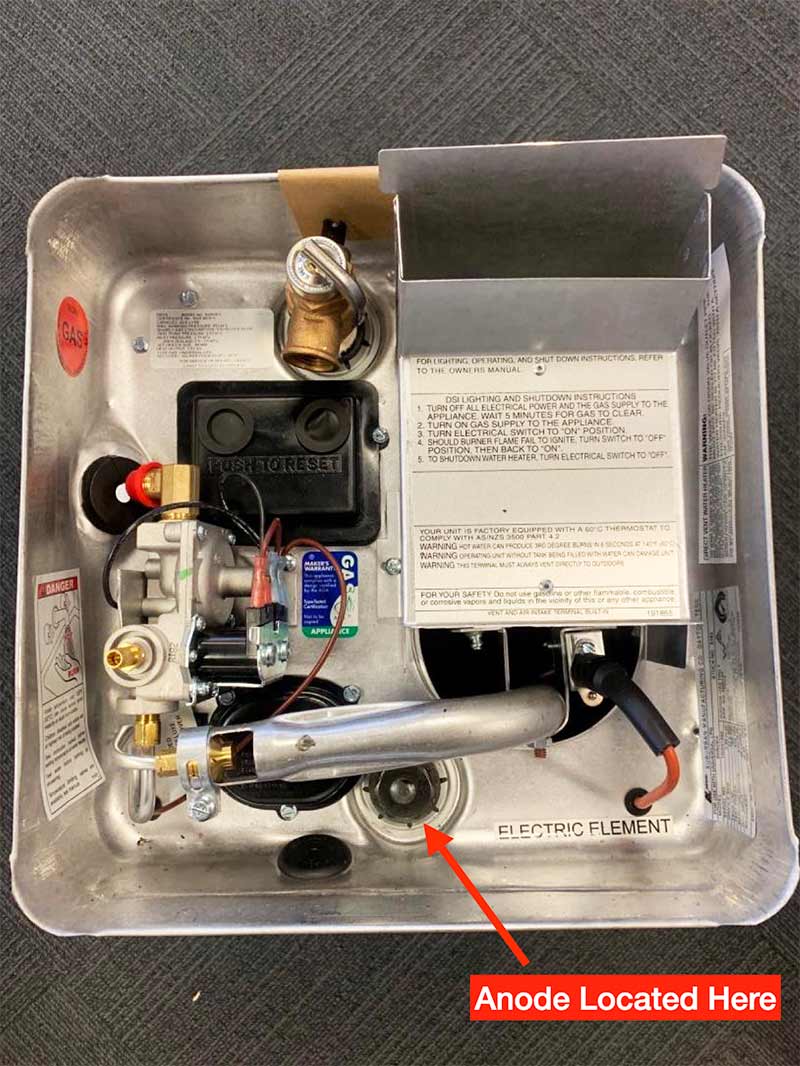
Remove the old anode using the socket set. The anode is usually located at the bottom of the system. Turn counter-clockwise to undo.
Remove the old anode or whatever is left of it. If more than two-thirds of the anode is gone, replace it. You may notice some white solid material at the base of the tank. This is calcium and if it is not removed, it can cause blockages in the plumbing. Remove as much as you can by spraying inside the tank with a water jet from the hose.
Wrap the thread of the new anode with at least five turns of plumber’s tape. If refitting the old anode, remove any remaining plumber’s tape from the thread first. Fit the new anode and tighten it.
Test for a proper seal by restoring the mains water pressure or by turning on your water pump, looking for any leaks from around the new anode. Tighten further if necessary.
HOW OFTEN SHOULD I DO IT?
You should check the anode at least once every three months.
7. TEST GAS CONNECTIONS FOR LEAKS
- A spray bottle filled with very soapy water.
WHAT TO DO
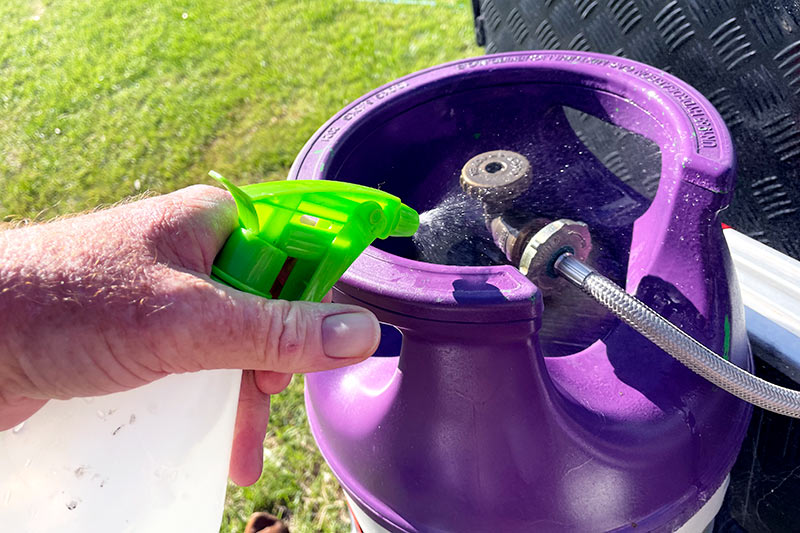
Spray the connection points on the top of each gas cylinder with a few squirts of soapy water. If bubbles start to appear, the connections are either loose or damaged.
Try tightening the connection up to hand-tight only. If bubbles continue to appear, the O-ring seals on the hose connection may have dirt on them or they are damaged. Remove the hose from the gas cylinder and clean the seals with a dry rag. Refit the hose and test for further leaks.
If bubbles continue to appear, isolate that cylinder and have the system checked by a qualified gas fitter.
HOW OFTEN SHOULD I DO IT?
Before any trip and at least monthly while travelling.
8. UPDATE FIRMWARE IN SMART DEVICES
- The manual for any smart devices in your van. These include smart TVs, wi-fi routers and smart battery management systems;
- A smartphone may also be required.
WHAT TO DO
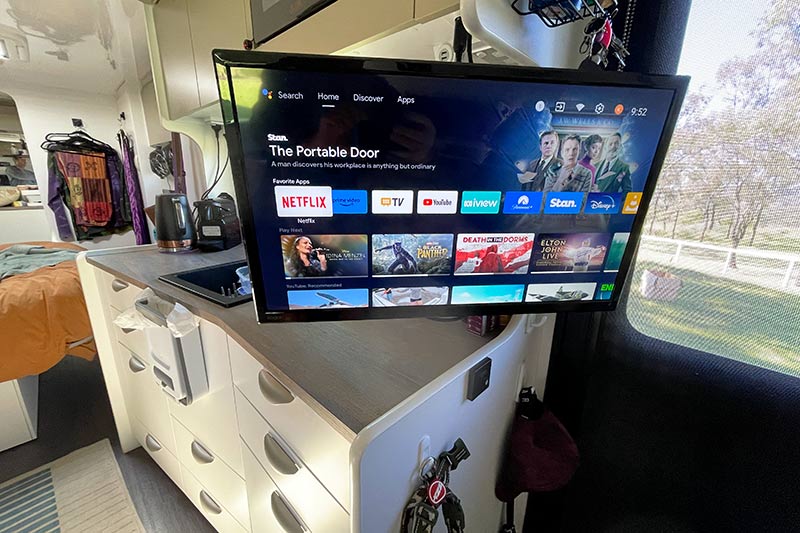
Look for the instructions in the manual describing how to update the firmware of the device. This usually involves scrolling through the menu for the option to update the firmware or software. These options can normally be found under the ‘About’ or ‘Software’ menu items.
Start the process and follow any on-screen instructions. You will likely need to have internet access while performing this task. Most devices must not be switched off during this process.
HOW OFTEN SHOULD I DO IT?
Some devices will perform this function automatically as soon as you turn them on. Some may alert you to do an update through a dedicated control app on a smart device.
Otherwise, perform an update check once every three months or if you find you’re having issues operating the device.
9. DISINFECT YOUR GREY WATER SYSTEM
A strong disinfectant or dedicated cleaning product such as Thetford’s Grey Water Fresh Concentrated (daily use) or Duo Tank Cleaner (periodical use).
WHAT TO DO
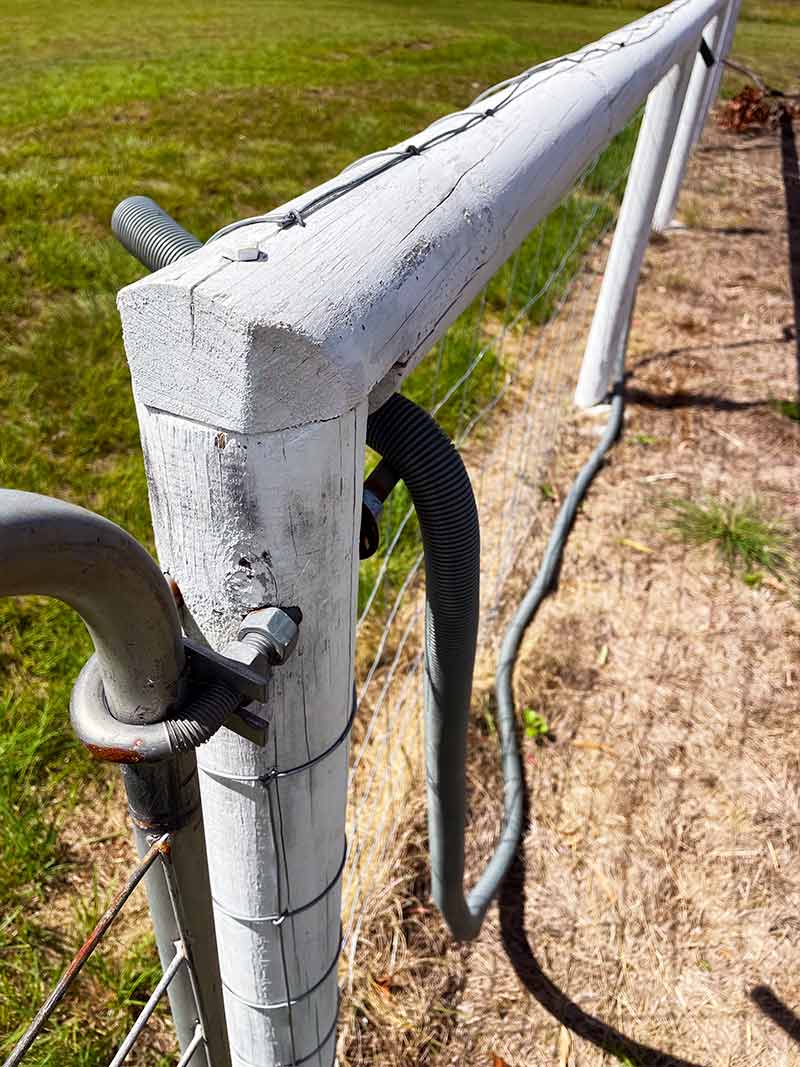
Flush out any solid material from the grey water hose by placing one end of the hose over a water tap and turning the tap on hard. Do this from both ends of the grey hose.
Hang the hose in a U-shape by securing both ends to a fence or other suitable structure ensuring the two ends are at roughly the same height.
Pour a generous amount of the disinfectant into the hose and then completely fill it with water.
Leave the hose to soak with the water in it for at least an hour. Remove and flush out the grey hose.
If you have a grey water tank, close off the valve and pour a generous amount of cleaning product down each drain inside the van.
Take the van for a drive to allow the cleaner to agitate inside the tank. Empty at your next spot preferably into a dump point.
If using a product specifically for cleaning grey water tanks, as mentioned above, follow those directions instead.
HOW OFTEN SHOULD I DO IT?
This caravan maintenance task should be done once a month while travelling or as often as necessary to prevent further odours.
10. CLEAN AIR-CON FILTERS
- A battery-powered blower vacuum;
- An old toothbrush; and
- The user manual for the air-conditioner.
WHAT TO DO
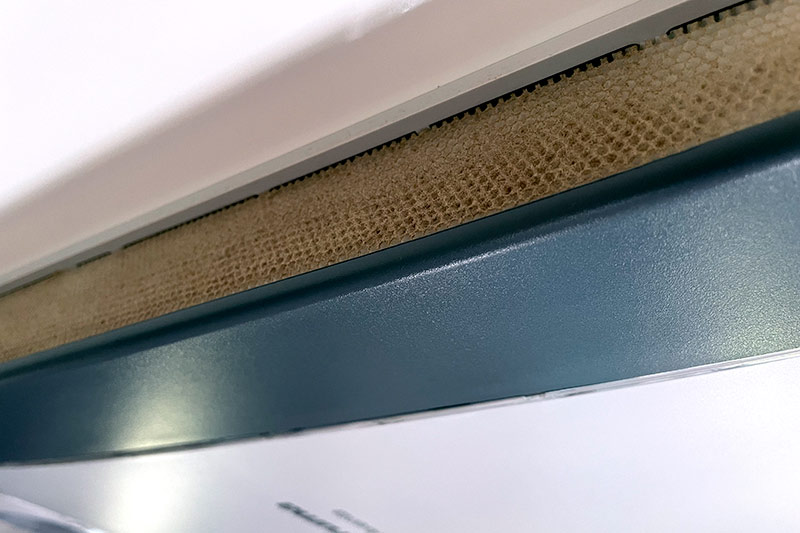
This is an easy caravan maintenance task. Remove the filters according to the procedure described in the user manual. Be very careful: many of these filters are very delicate and are easily broken if handled roughly.
Remove any dust you can by hand. Blow away any remaining dust using the blower vac. Start at a low fan speed and slowly increase until any remaining dust has been removed. An old toothbrush may be required to dislodge any hard-set dust. Carefully refit the filters.
HOW OFTEN SHOULD I DO IT?
The frequency of this caravan maintenance task will depend on how often you use the air-conditioner. Once a week if you’re using the air-conditioner continuously should suffice.
The post DIY: Caravan Maintenance Advice appeared first on GoRV.
Source: https://www.gorv.com.au/diy-caravan-maintenance-advice/

