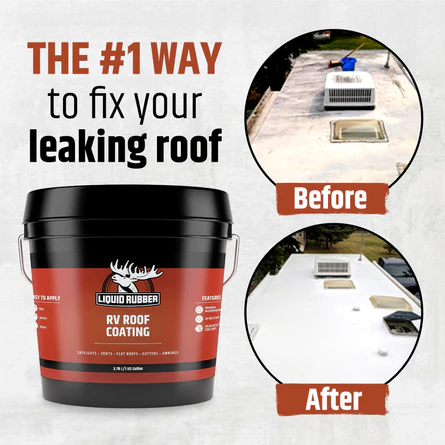
Make Your RV Roof Like New In Just 48 Hours

Sponsored by Liquid Rubber
48 Hours To A New RV Roof: The Liquid Rubber Solution
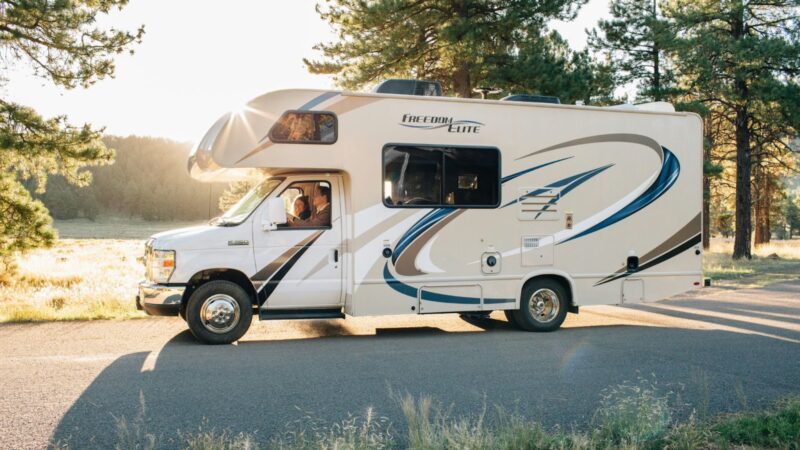
The integrity of an RV roof is paramount to the longevity and safety of the vehicle. Over time, exposure to elements can degrade the roof’s quality, necessitating timely maintenance or replacement. Preventative maintenance is key, and much of that can be done by the RV owner.
Liquid Rubber offers a robust solution for RV owners seeking a seamless, efficient, and durable alternative. In this article, we detail a 48-hour process using the Liquid Rubber coating system.
What is Liquid Rubber?
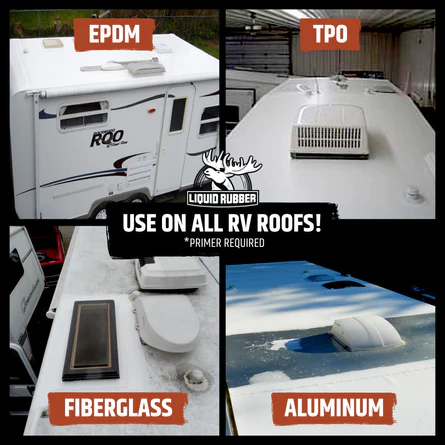
Liquid Rubber’s RV roof coating stands out in the market due to its unique features:
- Seamless protection: It offers an uninterrupted waterproof barrier, ensuring protection against moisture intrusion.
- UV stability: Designed to combat the detrimental effects of UV radiation, it provides an added layer of protection against sun-induced wear and tear.
- Eco-friendly: Liquid Rubber’s eco-conscious formulation aligns with sustainable practices, emphasizing environmental safety.
Let’s explore the step-by-step guide to refreshing your roof using Liquid Rubber.
Comprehensive guide to achieving a new RV roof
Hour 1: Preparation
Surface cleaning: Prioritize removing any dirt, debris, or old caulking to ensure optimal adhesion.
Damage assessment and repair: Conduct a thorough inspection for cracks or damage. Apply patches or sealants for minor issues, ensuring they are dry before proceeding.
Area masking: Utilize painter’s tape to safeguard vents, skylights, and other components not intended to be coated while applying a new RV roof.
Hour 3: Mixing and priming
Product mixing: It’s imperative to stir Liquid Rubber thoroughly before the application to achieve a consistent mixture.
Primer application: For RV roofs exhibiting significant weathering, a primer application increases the bond of the coating to the roof, which extends the life of your project.
Hour 6: Liquid Rubber application
Liquid Rubber application: Deploy a roller to uniformly spread Liquid Rubber across the entire roof, ensuring no accumulation in any area.
Drying period: The initial heavy coat generally requires a six to eight hour drying duration, contingent on environmental conditions.
Hour 12: Second coat application
Second coat: To achieve optimal durability and protection, it is recommended to apply a second heavy coat of Liquid Rubber.
Hour 24: Curing of the new RV roof
After applying the second coat, allow a full 24 hours for the coating to cure thoroughly. Though the surface might seem dry enough for gentle walking on your new RV roof, extended curing will ensure optimal performance.
Hour 48: Your new roof is complete!
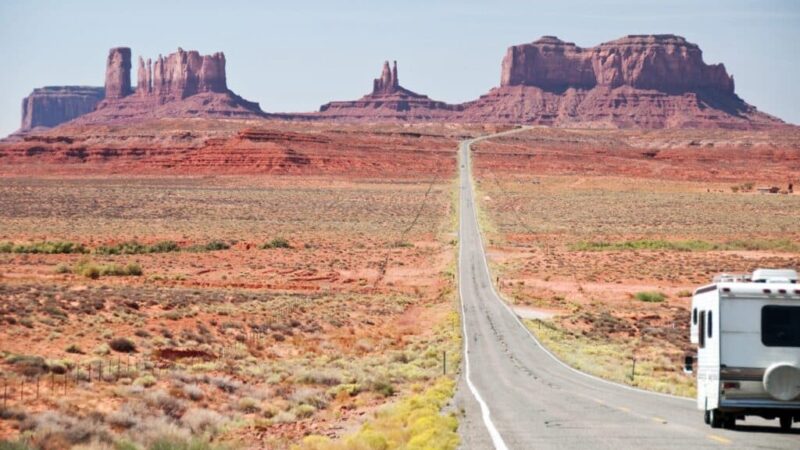
Your new roof is done! RVs, being significant investments, require meticulous care, especially their roofing systems. Liquid Rubber presents an innovative, efficient, and sustainable solution for those seeking to refurbish their RV roofs without a comprehensive replacement. When considering an RV roofing solution, Liquid Rubber provides you with all the products you need, from cleaning to the coating, and stands out as the compelling choice.
For detailed instructions on the Liquid Rubber application, kindly consult the official RV Roof Coating Application Guide. To learn more about Liquid Rubber products, visit shopliquidrubber.com.
The post Make Your RV Roof Like New In Just 48 Hours appeared first on RV LIFE.
Source: https://rvlife.com/rv-roof-liquid-rubber-solution/