How to Fix RV Hail Damage
Insurance companies deal with millions of dollars in insurance claims for hail-damaged RVs every year. Fortunately, you can avoid hail damage by knowing a few things about when and where hail storms occur. Additionally, if you do find yourself dealing with the aftermath of a hail storm there are ways the problem can be fixed.
Where are the worst areas for hail storms?
If your RV is ever damaged by hail, you won’t be alone. Every year, hail storms cause devastating damage throughout the North America. That said, some spots see far more hail storms than others. According to the National Insurance Crime Bureau, the top five states for insurance claims for hail damage are:
- Texas
- Colorado
- Nebraska
- Kansas
- Illinois
Of course, those places are just the record holders for claims, and hail can happen pretty much anywhere in the country, especially in the west and Midwest. In fact, the biggest hailstone ever recorded wasn’t in any of the states listed above. Instead, it fell in Vivian, South Dakota. It was 8 inches across and weighed a whopping 2 pounds. Yikes!
Going to be in Canada The top place for devastating hail damage in Canada is anywhere in south and central Alberta, which has been nicknamed Hail Storm Alley.
How To Avoid Hail Damage
It’s definitely better to avoid hail damage than have to repair it. If you own an RV and camp or live in any of the areas that are susceptible to hail storms, we recommend taking steps to protect your RV, particularly during hail season (March–August). To do this, store it under a shelter or at least use an RV cover.
If you happen to be traveling when a hail storm hits your area, you can minimize damage to your RV by sheltering under an overpass, at a gas station, or under some trees until the storm passes. Just be careful using trees as shelter during high winds, as limbs have been known to fall and damage RVs!
What to do About RV Hail Damage
No matter how hard you try, it isn’t always possible to protect your rig from hail damage. If hail manages to cause damage to your RV, you will need to look into options for repairing the damage.
On a car or truck, hail damage can be fixed relatively simply using a process called paintless dent removal. Unfortunately for owners of campers, this process can’t be used on RVs. Repairs to RVs are more intensive and complicated than dent removal on metal surfaces.
RVs roofs are made of layers of rubber, oriented strand board, framing, and insulation. Generally, a hail-damaged RV roof needs to be replaced entirely, and all of those layers make for a complicated replacement process that could cost thousands of dollars.
Hail doesn’t just damage the roof either. It can cause cracks and holes in the vents, air conditioning housing, and anything else on the roof of the RV. On top of that, it can damage all four exterior RV walls. RV windows are also frequently damaged in hail storms. All this makes it really arduous and labor-intensive to repair RV hail damage.
Afraid of that enormous repair bill? The first thing you should do is check your RV insurance policy to see if hail damage is covered. You may be able to get your hail damage repairs paid for by your insurance company.
How to Fix Hail Damage Yourself
As mentioned above, RV hail damage repair is complicated, hard work. Some feel it is best left to the experts and fortunately, it is often covered by RV insurance. That said, it is possible to make some hail damage repairs yourself if you have the right tools, know how, and helpers. If you’re feeling up to the task, this section is for you!
Repairing the Roof
Cracks or small holes in your RV roof can temporarily be repaired using Dicor self-leveling sealant and Eternabond tape. In most cases, this is only a temporary solution to get you through the time it takes to get your RV into an RV repair place or gather the tools to replace the roof yourself. However, if the damage is minor enough, a simple patch job might hold up for years to come.
Completely replacing your RV roof is a labor intensive project that can take a lot of time. The video below provides excellent instructions on how to go about it, as does this guide to rubber roof replacement. Make sure you gather your materials and a helper or two before you dive in!
Spiderweb Cracks in Fiberglass Gel Coat
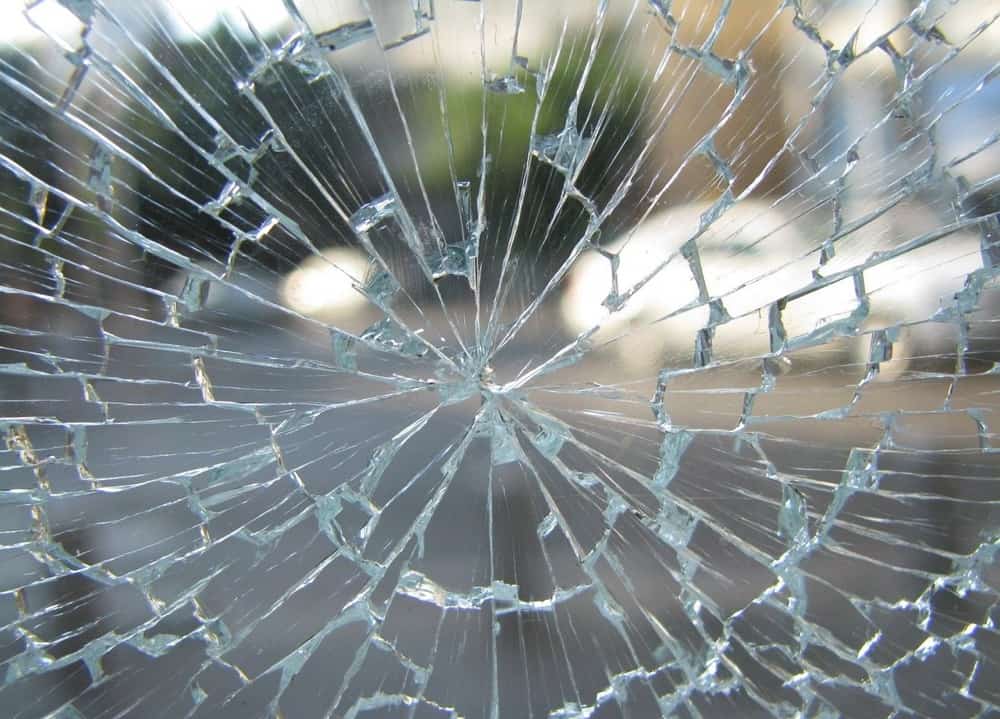
Fiberglass begins to show damage with spiderweb cracks, which allow moisture in and cause rapid delamination and other damage to the RV. You can’t leave it and hope it will go away. It needs to be fixed right away unless you have a dry place to store the RV.
Minor spiderweb cracks in the fiberglass gel coat can be repaired, but require skill and the right products and tools to achieve a professional-looking finish.
Here is how to fix spiderweb cracks in your RV’s fiberglass gel-coat:
- Move your RV to a safe workplace. First, get your RV to a dry, well-ventilated area where it can be sheltered overnight.
- Clean the area of the crack with acetone. Use a rag to protect your fingers and to do a thorough job of removing dirt and debris that might have caught in the cracks. Even if you can’t see all of this debris, it has the tendency to build up and lead to discoloration.
- Sand down the area. An electric sander is optional here, especially if the affected area is still small. Sanding by hand is more economical (if you don’t already have an electric sander) but it also might take you longer.
- Remove dust from sanding, using a rag and acetone to get every last speck.
- Tape off and apply gel coat. Use painter’s tape to mask off the area. Then use a soft paintbrush to apply gel-coat. Use a marine-grade fiberglass resin. Be sure to keep it in a separate container until it’s ready to apply. When it is, make sure that the brush doesn’t have any loose bristles. Carefully apply the gel coat, following the manufacturer’s directions from the gel coat package.
- Dry, sand, clean, and paint. Allow the gel coat to cure overnight. In the morning you can smooth the area out with sandpaper. Then clean the sanded area before priming and painting the fiberglass to match the existing fiberglass.
Replacing Aluminum Siding
If you have aluminum siding rather than fiberglass walls, you may be wondering what to do about the hail damage there. The answer is to replace the siding entirely. This is another one of those longer projects. It will definitely require some knowledge about building and fixing things and you may also want a helper to make the process a bit easier or just to keep you company.
Rather than attempt to explain the entire process in words, we’ve shared a handy video below that gives you step-by-step instructions as well as a really good visual of how the process should go.
Hopefully, you are able to avoid hail damage to your RV. That said, if you do find yourself dealing with this super common problem, we recommend starting by checking in with your insurance company to see what they will cover. If the insurance company is no help, use the information above to see if the repairs might be something you can tackle yourself!
The post How to Fix RV Hail Damage appeared first on RV LIFE.
Source: https://rvlife.com/how-to-fix-hail-damage-on-a-camper/

