How to De-Winterize Your RV [A Step-By-Step Guide]

Spring is Here — Time to De-Winterize Your RV!
The snow is melting, flowers are blooming, and your RV is calling! But before you hit the road, it’s important to de-winterize your RV to ensure your water system is in safe working order and that other camper components survived the winter.
A properly de-winterized RV means no lingering antifreeze taste, no surprise leaks, no broken water heater elements and no misbehaving slide-outs or other appliances. Taking the time to do this the right way will save you headaches later and make your first trip of the season much more enjoyable.
No matter which method you use for RV winterization (RV anti-freeze or air blowout), stick to this step-by-step guide to de-winterize your camper.
Understanding Winterization Methods
Before we dive into the de-winterizing process, it’s important to review the two main methods used to winterize an RV. Knowing which one was used on your rig will determine how you approach de-winterizing your camper.
The Antifreeze Method
This is the most common and effective method for protecting an RV’s water system during freezing temperatures. It involves displacing water in the lines by pumping non-toxic RV antifreeze throughout the system.
The biggest advantage of this method is that it provides solid freeze protection, ensuring no water lingers in nooks and crannies to expand and cause damage.
However, come springtime, you’ll need to flush the system thoroughly to remove all traces of antifreeze. It’s non-toxic, but no one wants to taste that stuff in their drinking water.
The Air Blowout Method
Some RV owners prefer to use compressed air to push residual water out of the pipes instead of antifreeze.
This method can be quicker and eliminates the need for flushing out antifreeze in the spring. However, it isn’t foolproof. Small amounts of moisture can remain in the system and freeze, creating micro-cracks in your pipes that can become a major issue.
It’s also possible for fittings to loosen when pumping compressed air through water lines. That’s why the air blowout method still requires going through some essential steps before using your water system again.
De-Winterizing After Antifreeze Use: Step-by-Step Guide
Step 1: Initial drainage
Start by opening the low-point drain valves, which are designed to allow the majority of water (and, in this case, antifreeze) to drain out.
Next, follow the steps in your owner’s manual to drain the water heater of antifreeze. Open all the faucets, including sinks, showers, and the toilet, to let any remaining antifreeze drain from the system.
This initial step removes as much antifreeze as possible before you begin flushing with fresh water.
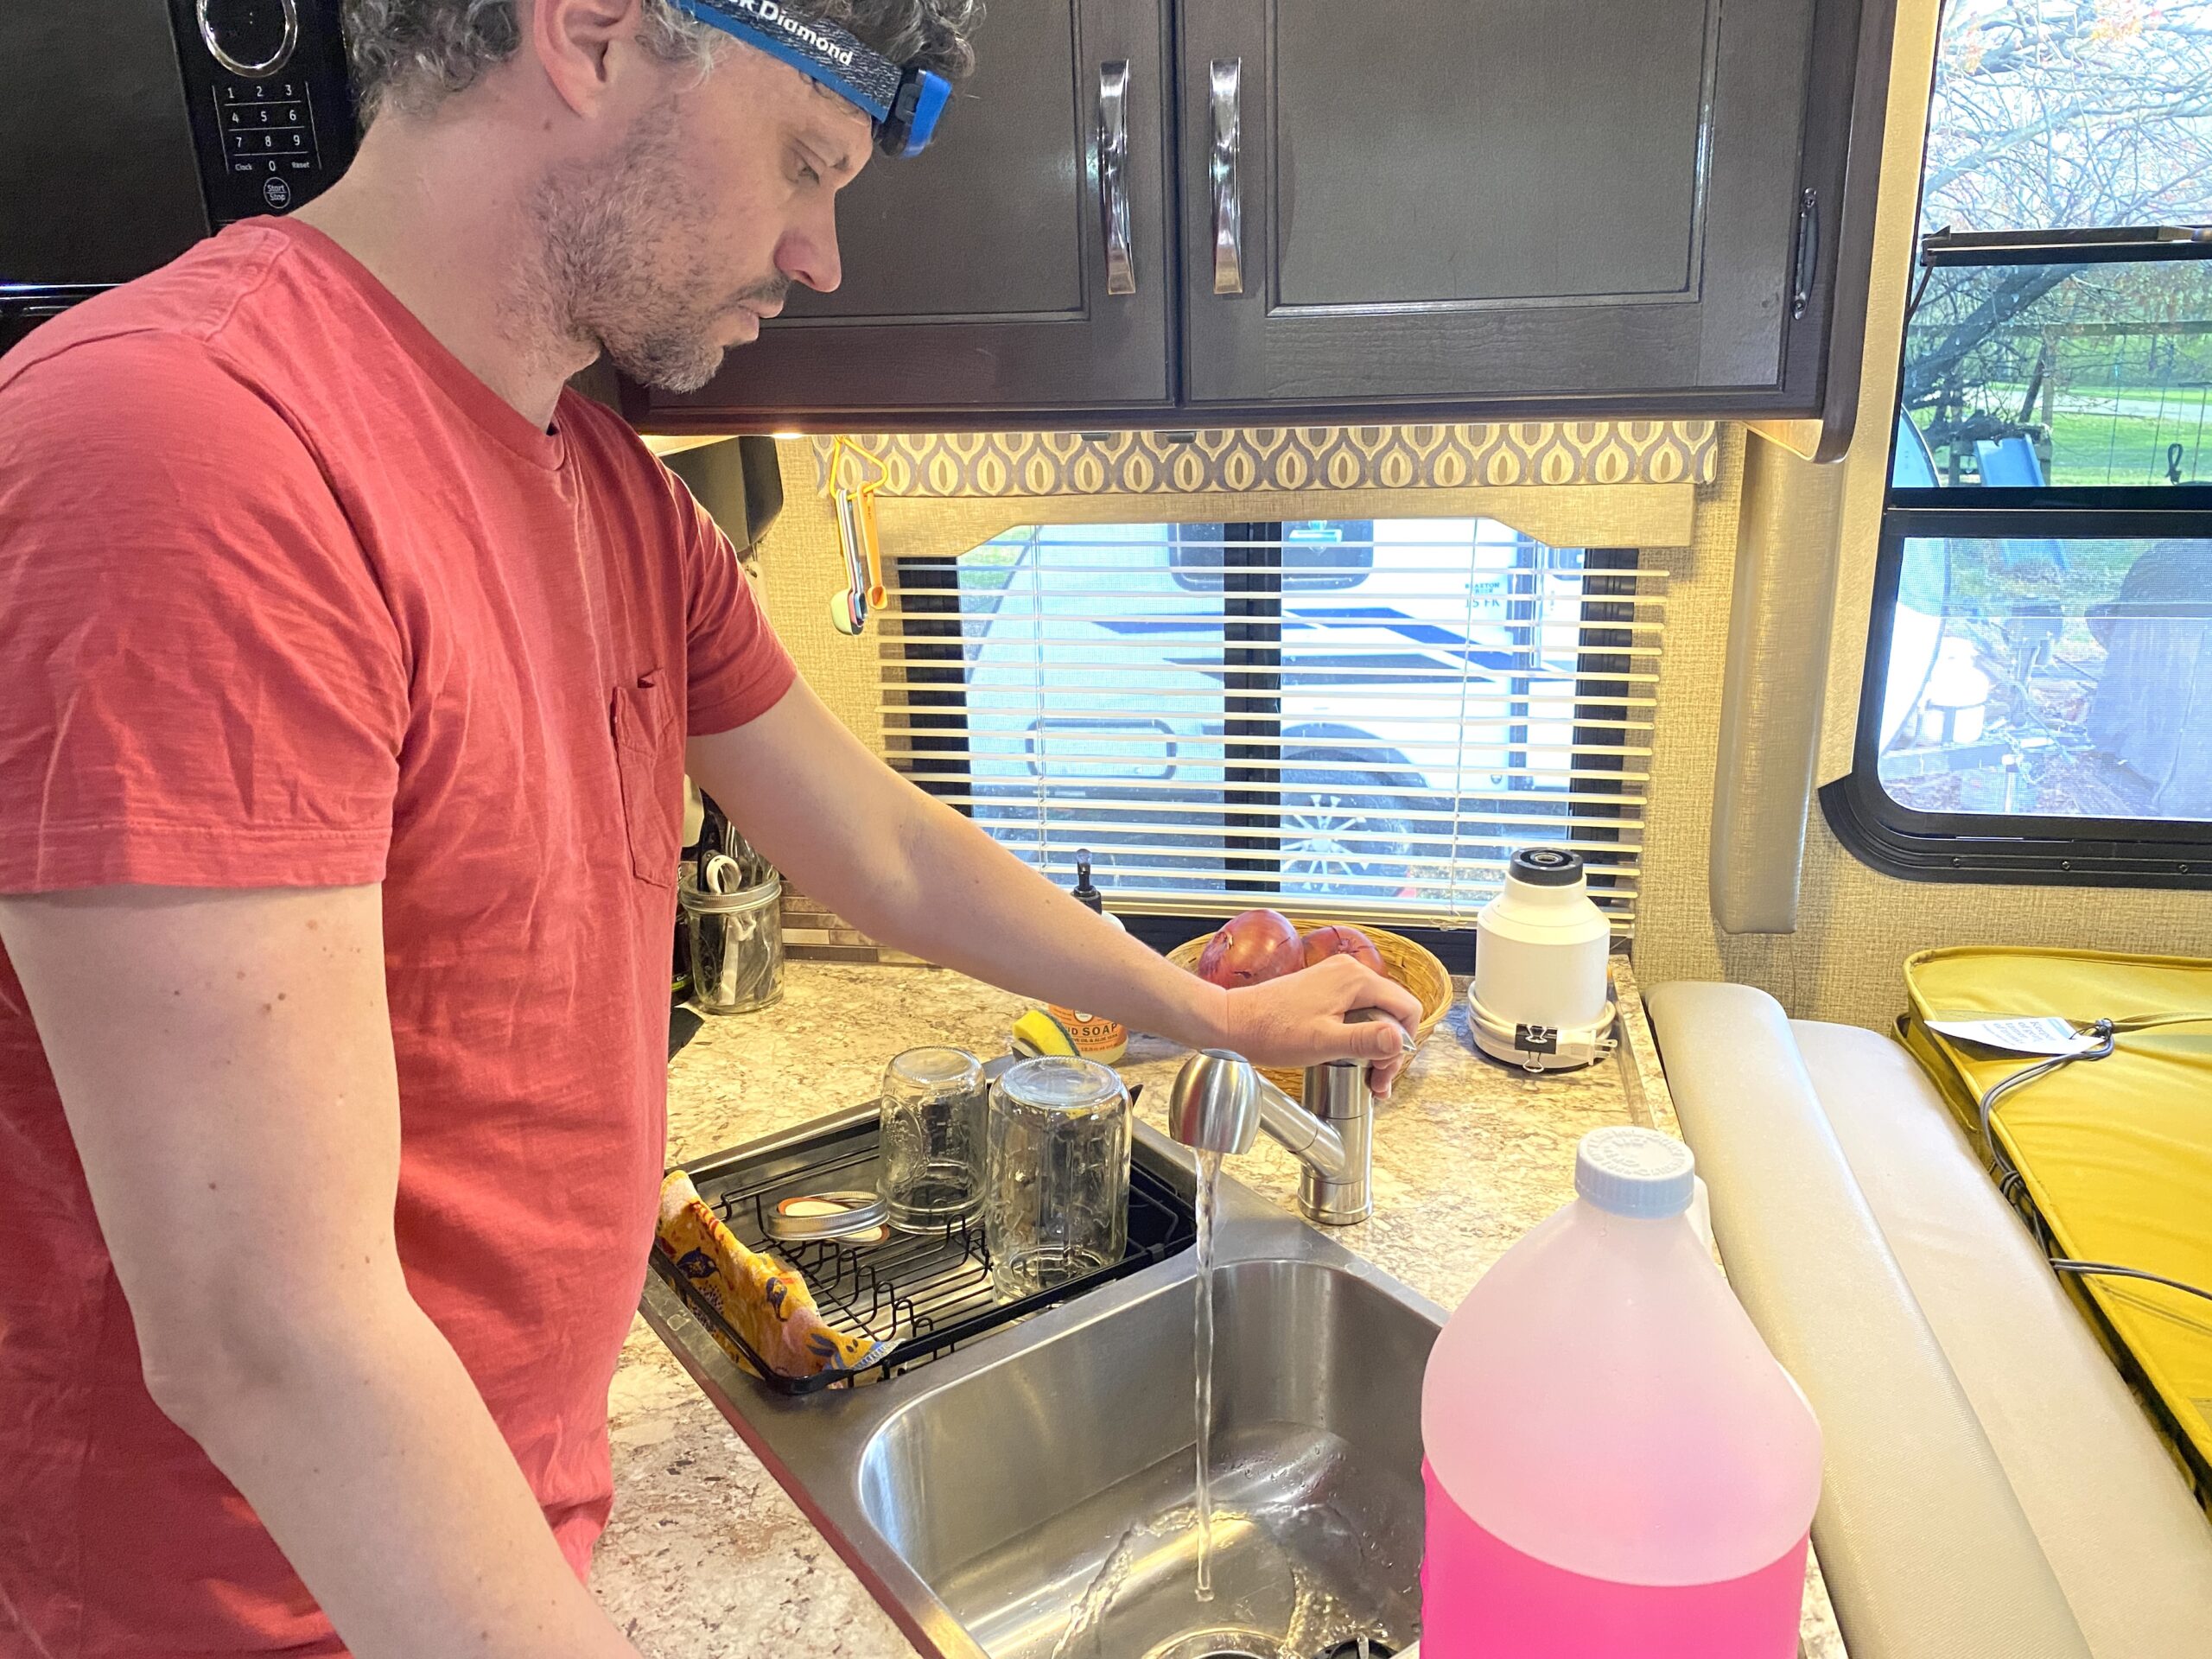
Step 2: Flushing the system
Now that the bulk of the antifreeze has drained out, it’s time to push fresh water through the system.
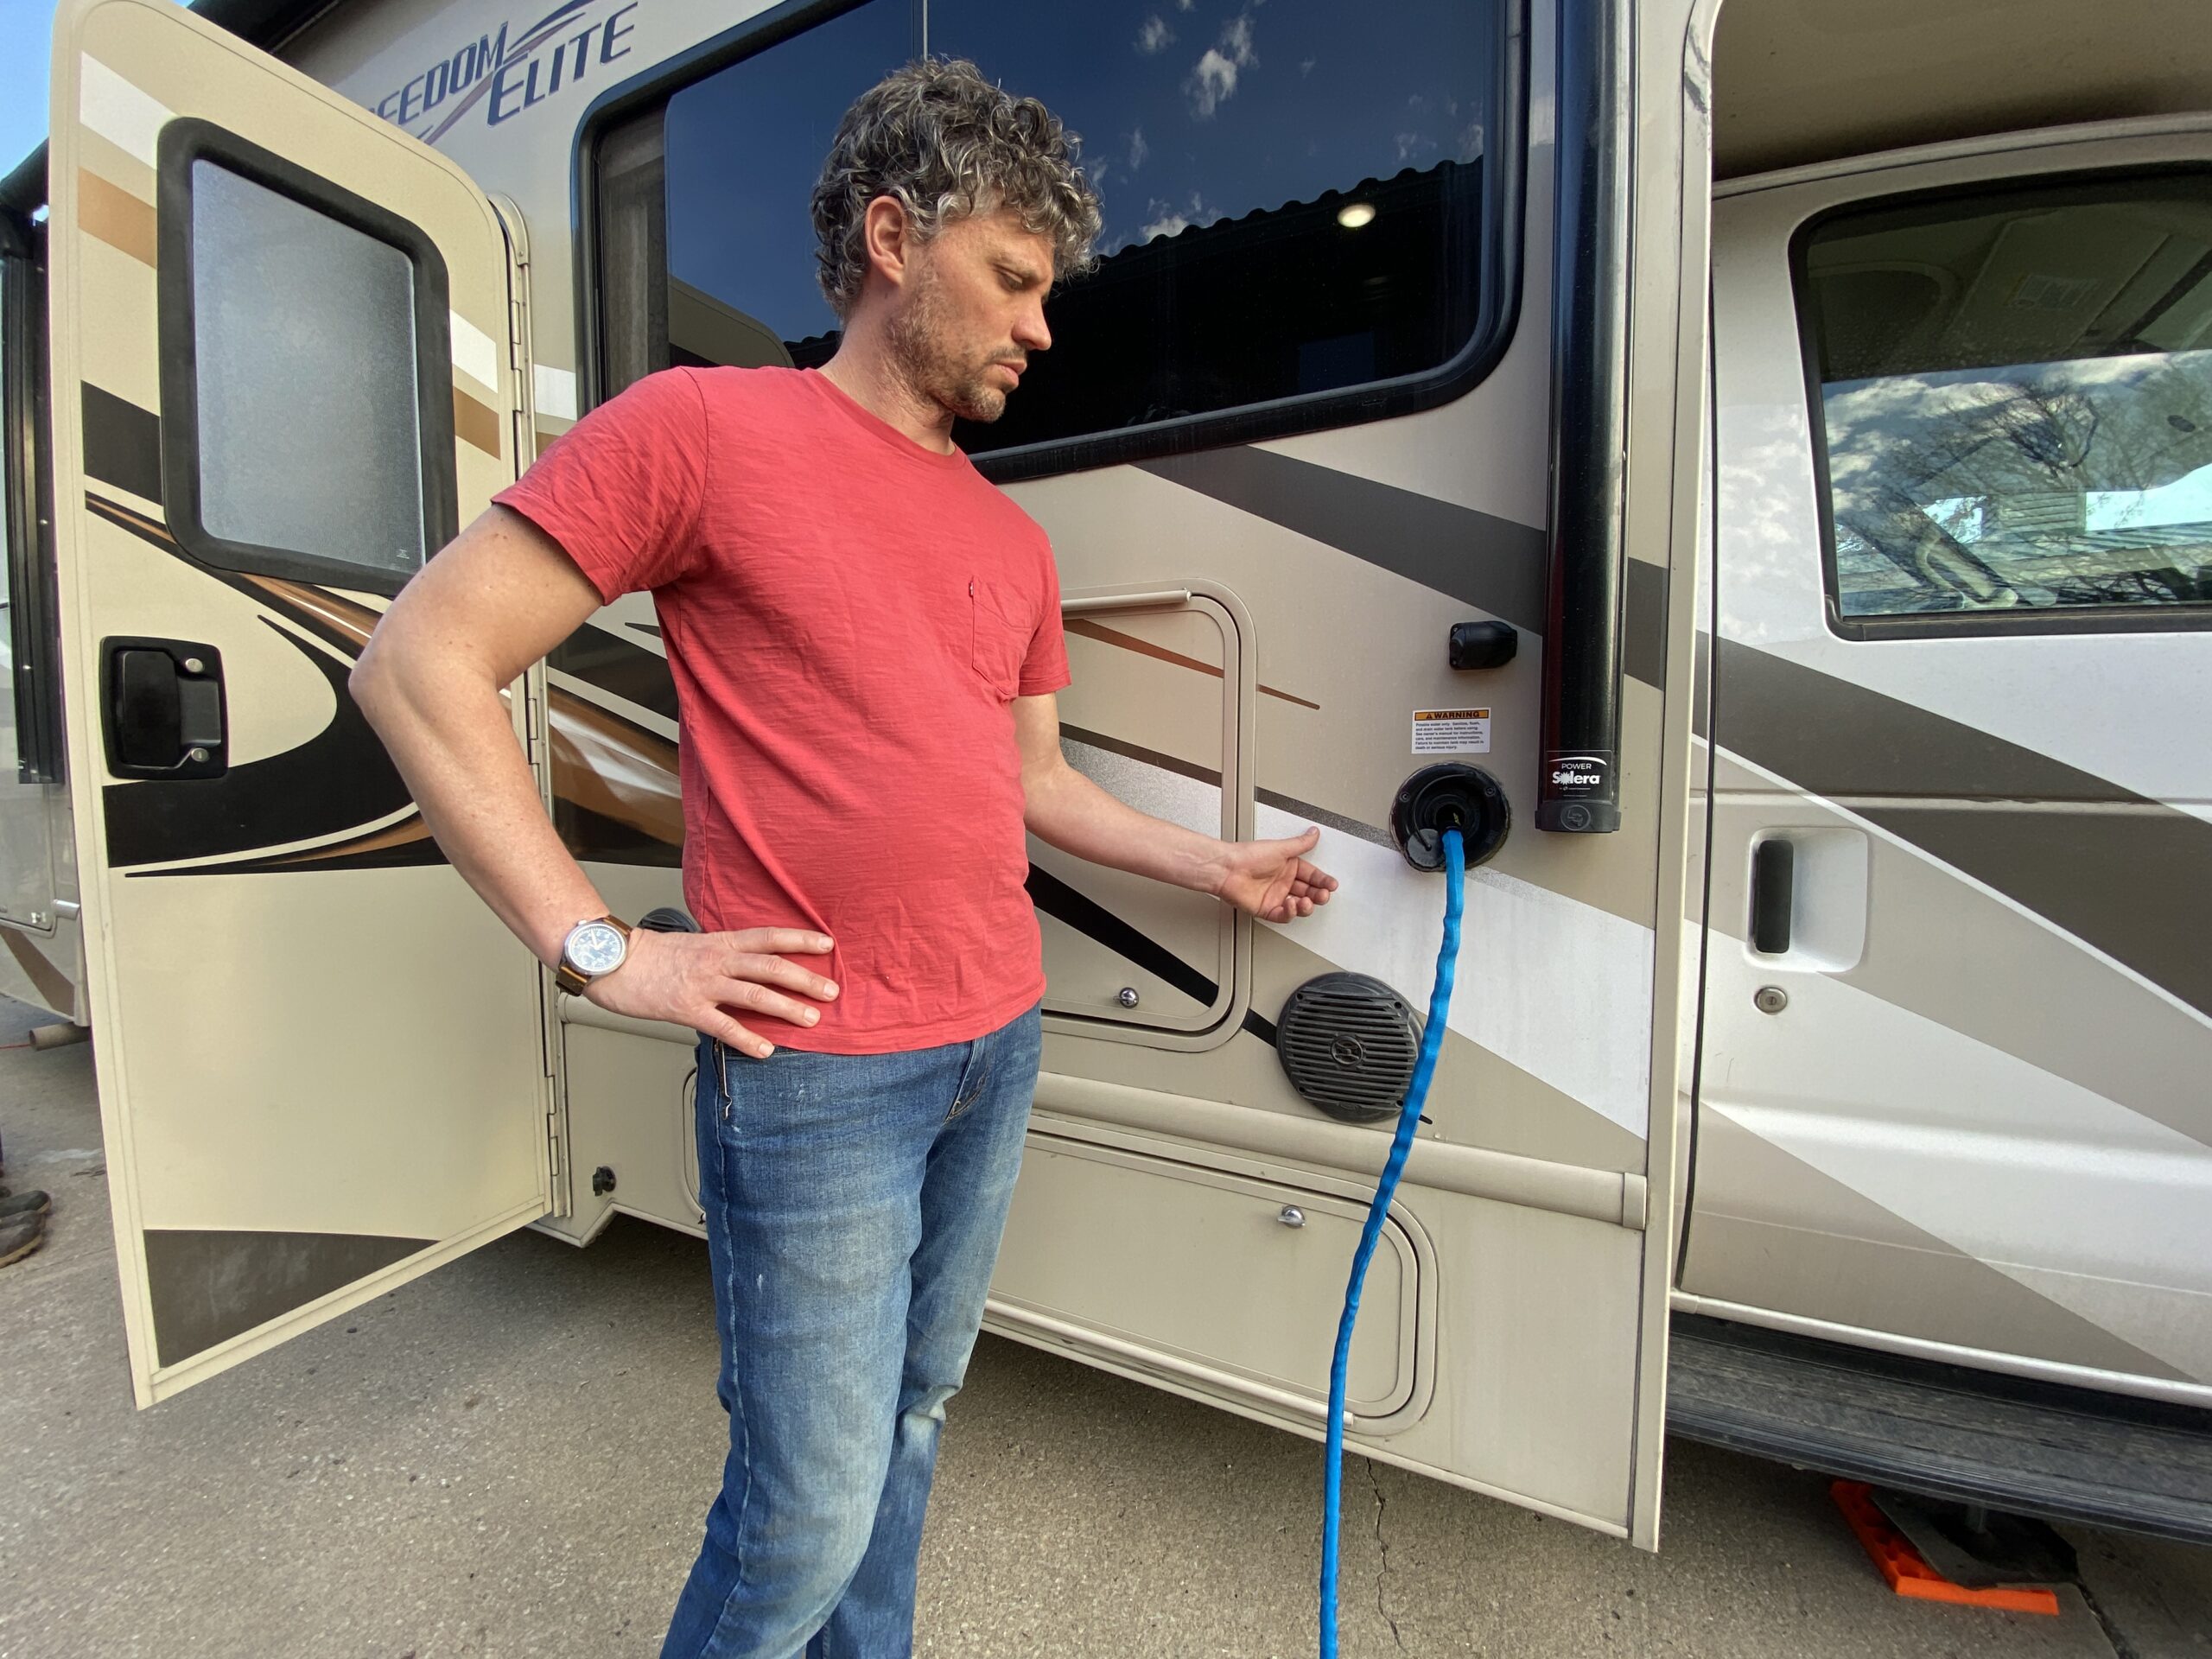
Close your low-point drains and connect your RV to a freshwater source. It’s best to use a city water connection rather than your RV’s water pump so you can flush the system with a large amount of water.
Begin running water through each faucet, one at a time, until the water runs completely clear. Once it’s clear, keep running water through for an additional 1-2 minutes to ensure it’s cleaned out.
This process may take a while, but it’s essential to remove every last bit of antifreeze.
Pro tip: Don’t forget to flush out easy-to-forget places like outdoor showers and kitchens.
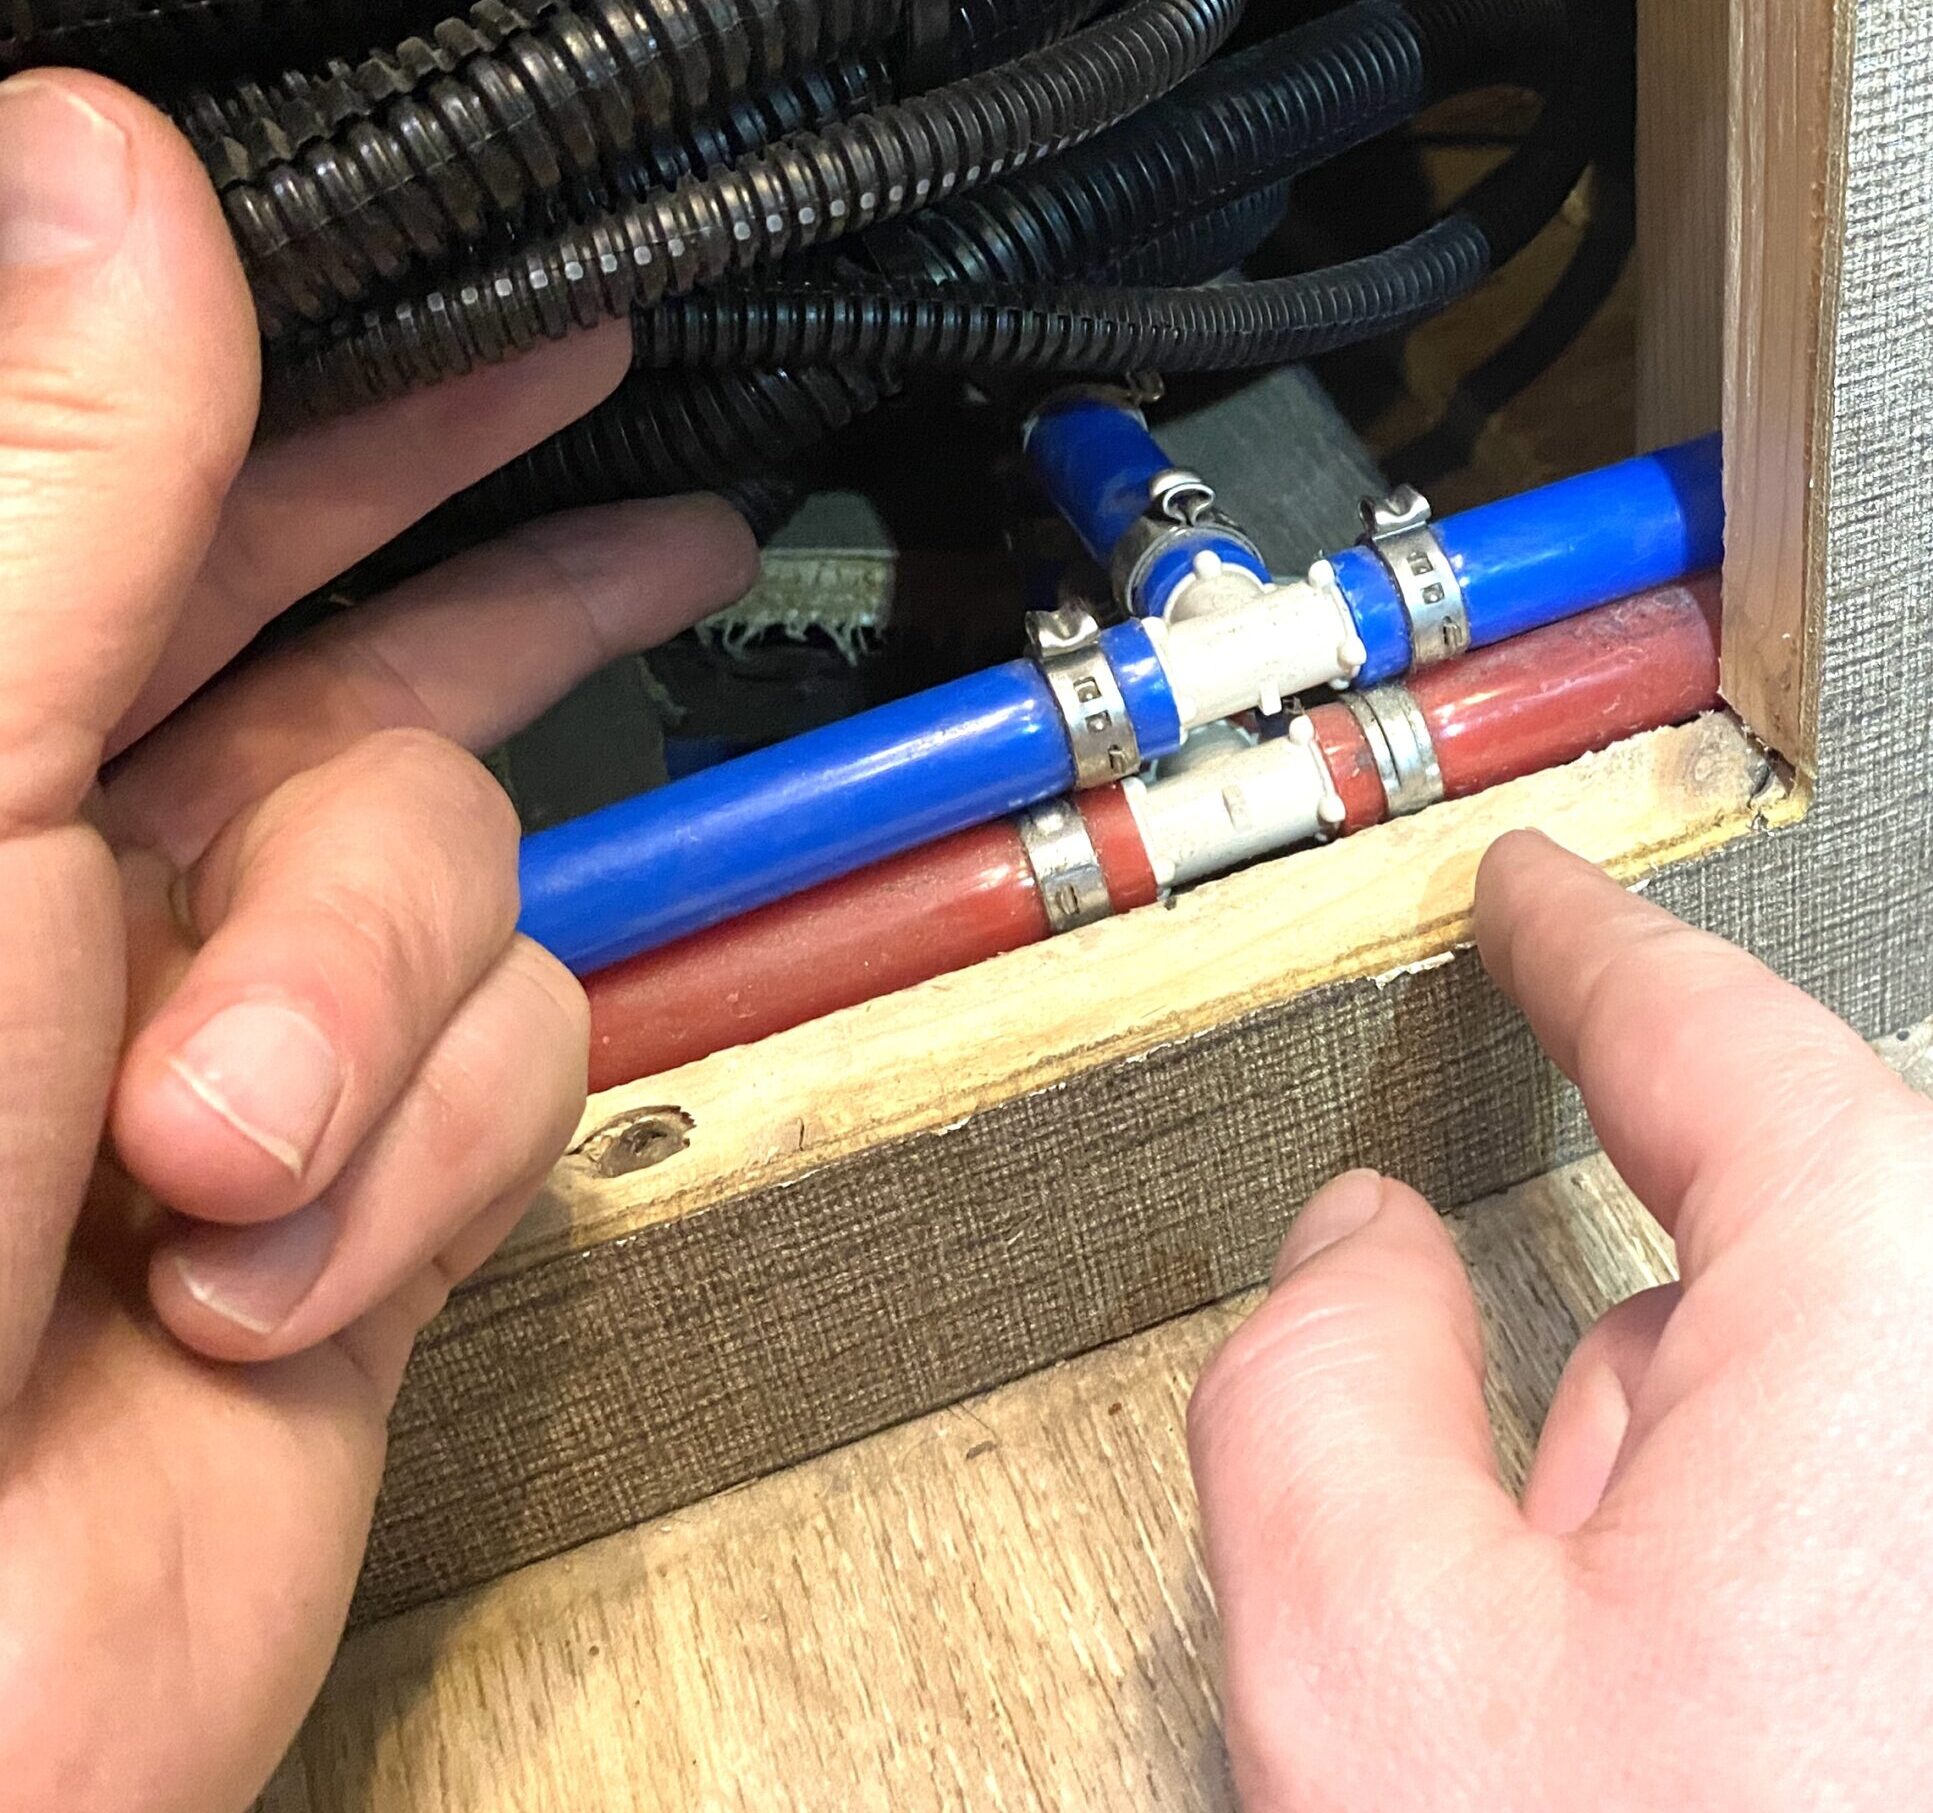
Step 3: Checking for leaks
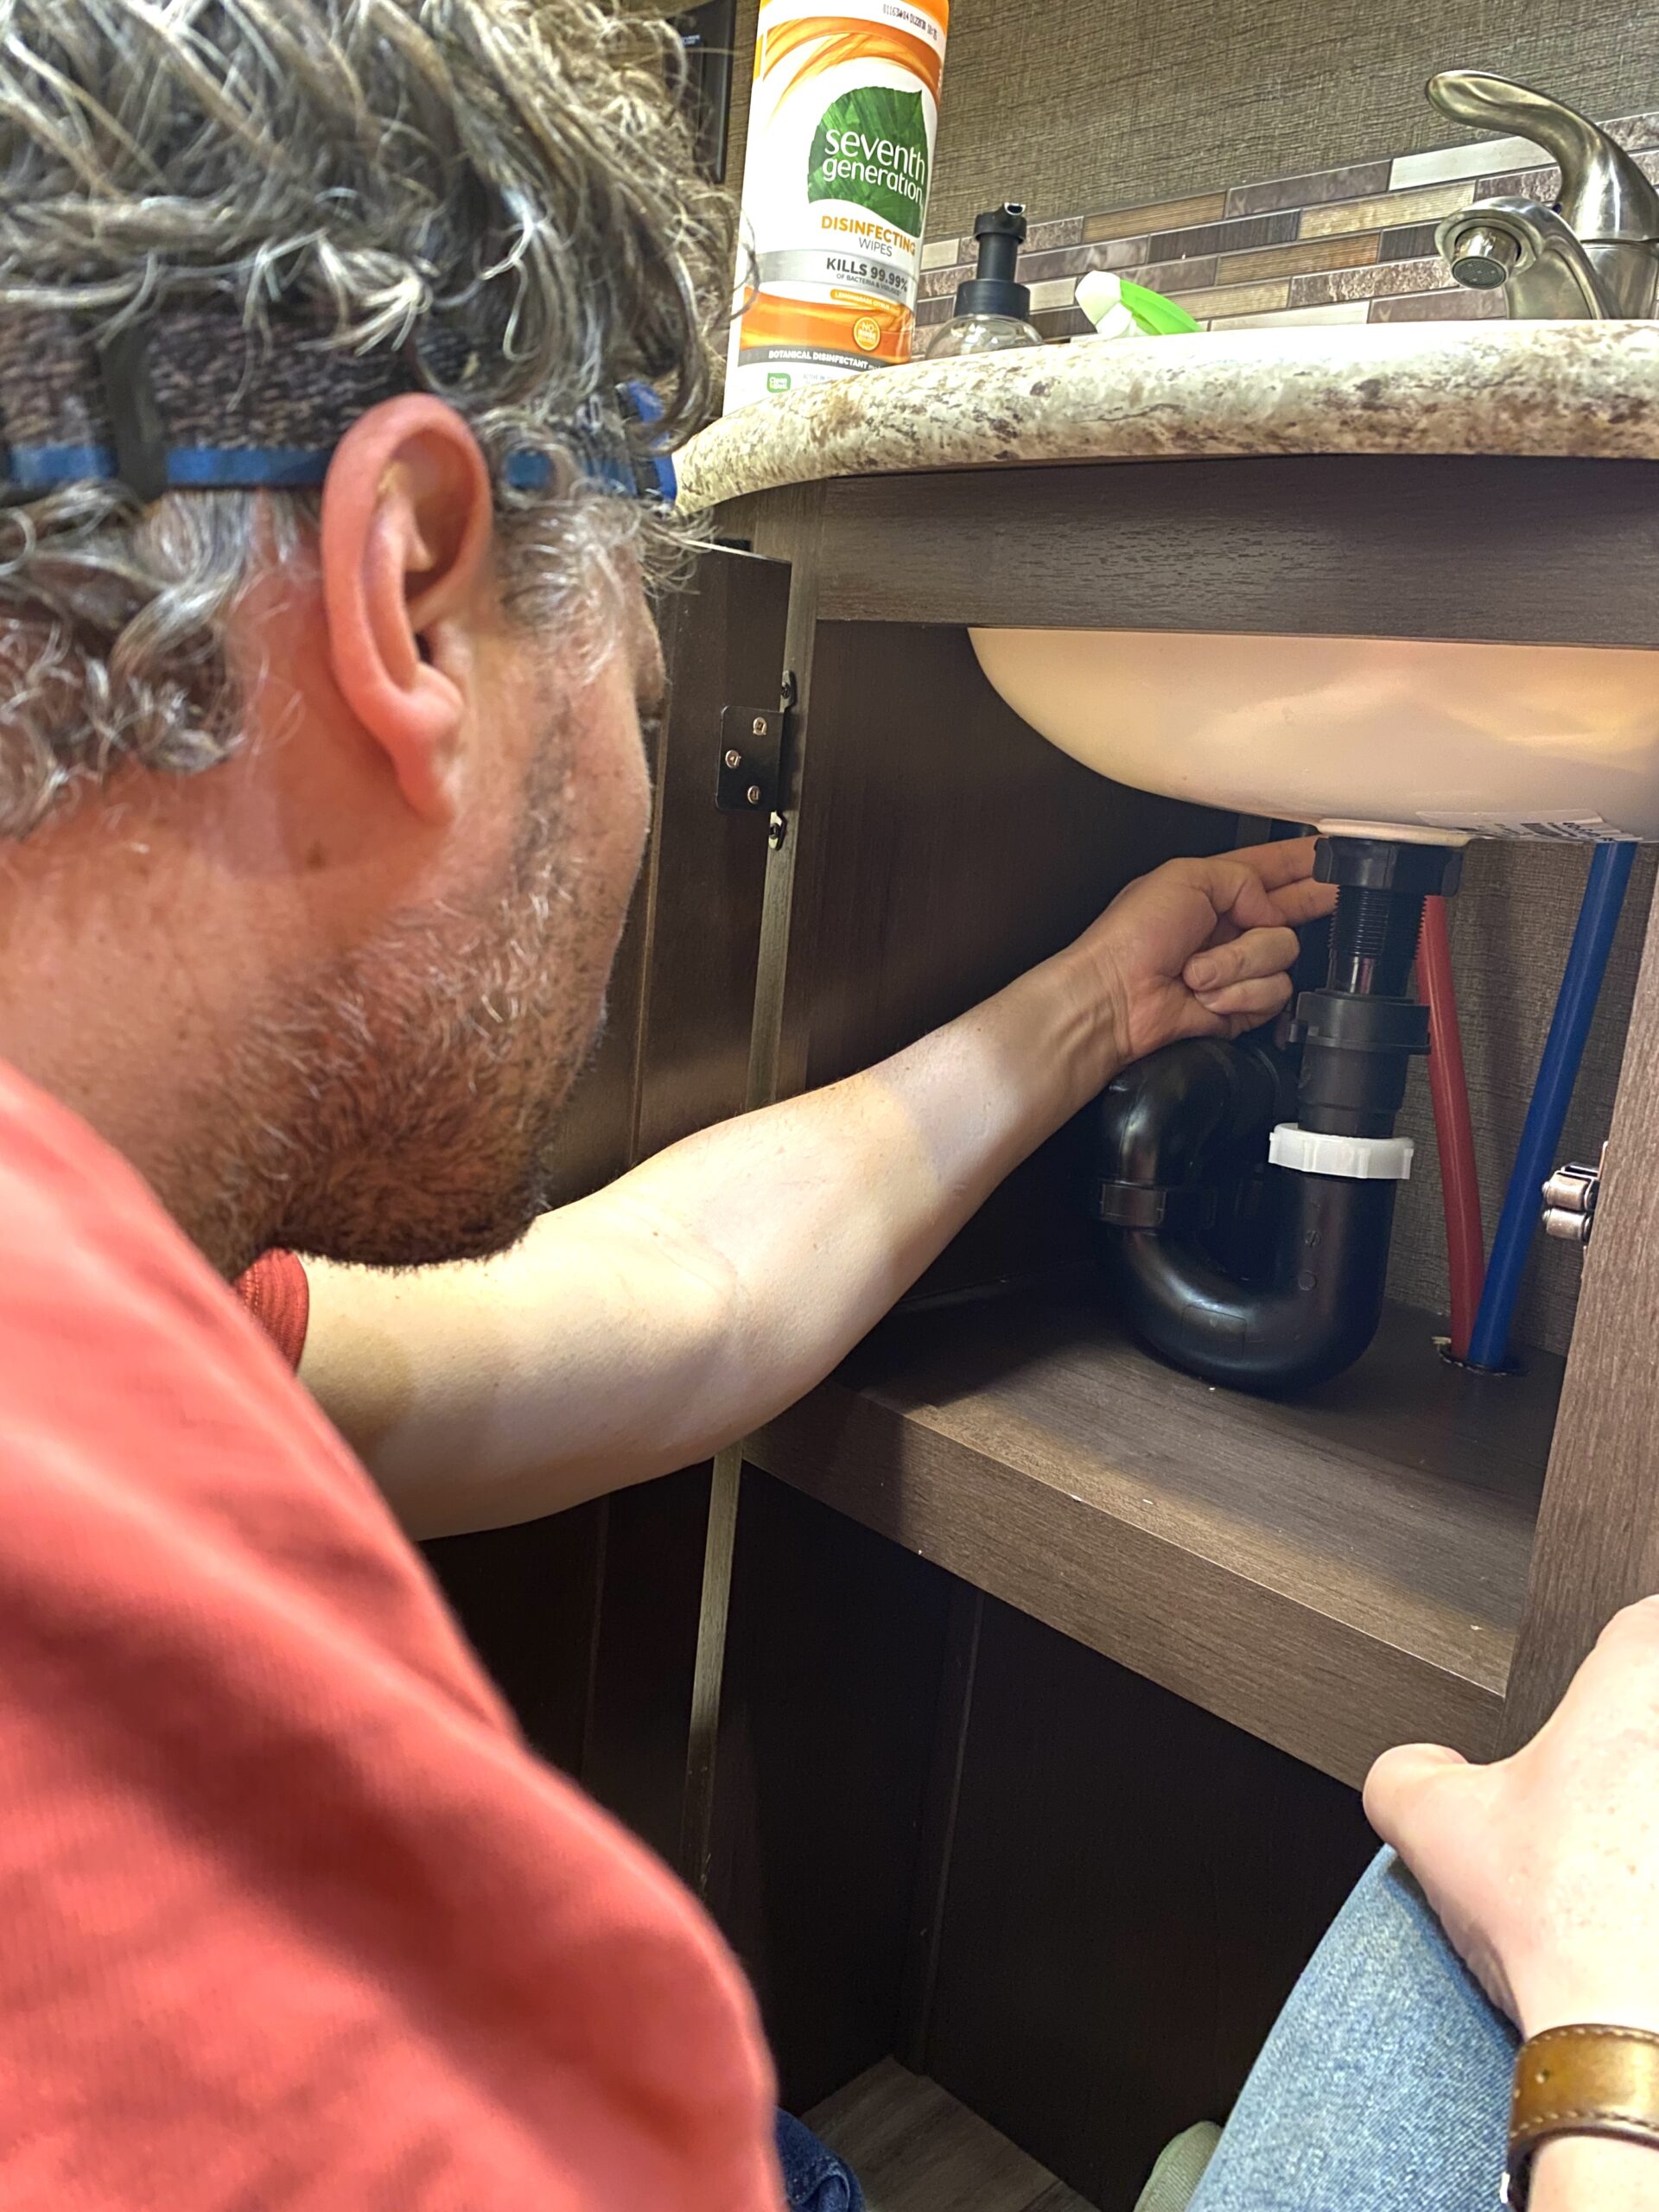
Now that your system is pressurized, take a close look at all your plumbing connections. A visual inspection of fittings, pipes, and the pump itself will help you catch any issues before they become significant problems. Get into all the nooks and crannies to check for standing water.
Keep an ear out for the water pump cycling on and off—if it runs when no water is being used, there may be a leak somewhere.
Bonus leak test:
- Pressurize your system using your water pump.
- Turn off your water pump and leave your RV for 10+ hours.
- Re-enter your RV and open any faucet without turning on your water pump.
- If there’s still pressure, the odds are good that you don’t have a leak. If water pressure is gone, you likely have a leak somewhere in the system.
Step 4: Sanitization
Even if you put RV antifreeze into your RV’s freshwater tank, there’s still a chance that bacteria and other nastiness got in there while your RV sat unused. That’s why sanitizing is a crucial step.
Mix about 1/4 cup of bleach per 16 gallons of fresh water and pour it into your freshwater tank. Run the solution through the system until you can smell bleach at each faucet. Let it sit for a few hours to disinfect the lines completely.
Afterward, flush the system with fresh water multiple times until there’s no bleach smell left.
Step 5: Resetting the water heater bypass
Winterizing your RV involves draining and bypassing your RV water heater so you don’t unnecessarily fill it with anti-freeze.
To properly de-winterize your RV, refer to your owner’s manual and take the steps needed to switch off your water heater bypass and return it to normal operation.
Failing to do this properly will result in cold water, even if your water heater is functioning properly. Worse still, you can cause severe damage to your water heater if you fire it up without water in it. That’s why it’s critical that you double-check your water heater bypass setting during RV de-winterization.
De-Winterizing Your RV After the Air Blowout Method
Step 1: Prep the system
Before introducing water back into the system, make sure all drain plugs are secure and that your low-point drains are closed.
Then, connect your RV to a city water source. It’s possible to use your RV water pump, but a hose connection allows you to flush more water through.
Step 2: Flushing and removing air
Since there’s no antifreeze to flush out, your primary concern is removing any remaining air pockets.
Open each faucet and let the water run until there’s a steady flow with no air sputtering. Flush all other items in the plumbing system, including the toilet, shower, and outdoor kitchen/shower.
Step 3: Sanitization is still key
Even if you didn’t use antifreeze, your water system still needs to be sanitized. Follow the same bleach solution method mentioned above to ensure your freshwater tank and lines are free from bacteria and mold.
Step 4: Inspect for Leaks
One downside of using the air blowout method is that it can sometimes loosen fittings. Carefully check all water connections, faucets, and your pump for leaks before christening your system ready to use.
The same leak tests above may also be used.
Other RV De-Winterizing Considerations
- Replace your water filter before using the system to ensure clean drinking water.
- Inspect your water heater’s anode rod and replace it if it’s significantly corroded.
- Relubricate slide-outs and other items as recommended in your owner’s manual.
- Take your time! Rushing through this process can lead to costly issues down the line.
- Keep a record of your de-winterizing steps—it’ll make next year even easier.
RV De-Winterization FAQs
How do I get rid of the antifreeze in my RV water lines?
Flush your system thoroughly by running fresh water through all faucets, showers, and the toilet until no pink color remains and the water tastes normal. Be sure to also drain and refill your water heater.
I de-winterized and water pressure is still low. Why?
This might indicate you have a small leak in the system. Double-check all plumbing lines and connections that you can see. Get under cabinets, behind panels, and anywhere else you can access water lines.
If you see standing water at any plumbing connection points, call a qualified professional to fix the leak before using more water.
If you don’t see standing water, it may be that there’s a leak you cannot see. Perform a DIY water leak test to check.
If you can’t find any leaks and the DIY water leak test comes back good, it may simply be that the aerators on your sinks are clogged. Aerators can get debris in them, causing the entire water system to get wonky.
When all else tests good and you still don’t have water, clean out those aerators, and you may find that water starts flowing again!
If that fails to resolve the issue, it’s time to call in a professional.
How do I test my RV’s appliances after winter?
Turn on your RV’s power supply and systematically test each appliance. Run your stove burners, check your fridge for proper cooling, and verify that your water heater ignites properly. If anything isn’t working, check for tripped breakers or propane supply issues.
How do I prevent damage to my camper’s water heater element when de-winterizing?
Never turn on your water heater before refilling it with fresh water. Turning on an empty heater can burn out the heating element quickly. Once refilled, test it by running hot water through the taps to ensure it’s functioning properly.
How do I safely test my camper’s propane system for leaks after being in storage?
Apply a mixture of soapy water to all propane connections and fittings. Turn on the propane and check for bubbles forming—if you see any, you have a leak that needs immediate attention. Always perform this test in a well-ventilated area.
How do I ensure all the RV antifreeze is out of my camper’s low-point drains?
Open the low-point drains while running fresh water through the system to ensure no pockets of antifreeze remain. Run each faucet for a few minutes to confirm complete flushing.
How do I check the condition of my camper’s slide-out seals after winter?
Inspect all rubber seals for cracks, dryness, or damage. Apply a rubber seal conditioner to keep them pliable and prevent leaks. Also, test the slide-out mechanism to ensure smooth operation.
How do I know if all the antifreeze is out of my RV’s water lines?
Run water through every faucet and toilet until there’s no pink color and the water no longer smells or tastes like antifreeze.
Do I still need to sanitize if I used the air blowout method?
Yes! Sanitizing is essential regardless of your winterization method to keep your water fresh and safe.
How do I check my propane system for leaks?
Consult a certified RV mechanic to complete an annual pressure test of your RV’s propane system.
Completing these RV de-winterizing steps now ensures a smooth camping season ahead. By taking the time to properly de-winterize your RV, you can prevent plumbing mishaps, funky-tasting water, and unexpected repairs.
Be thorough, and before you know it, you’ll be ready to roll out on your first adventure of the season!
The post How to De-Winterize Your RV [A Step-By-Step Guide] appeared first on RV.com.
Source: https://www.rv.com/rv/how-to-de-winterize-your-rv/