Get Ready For The Travel Season: RV Spring Cleaning

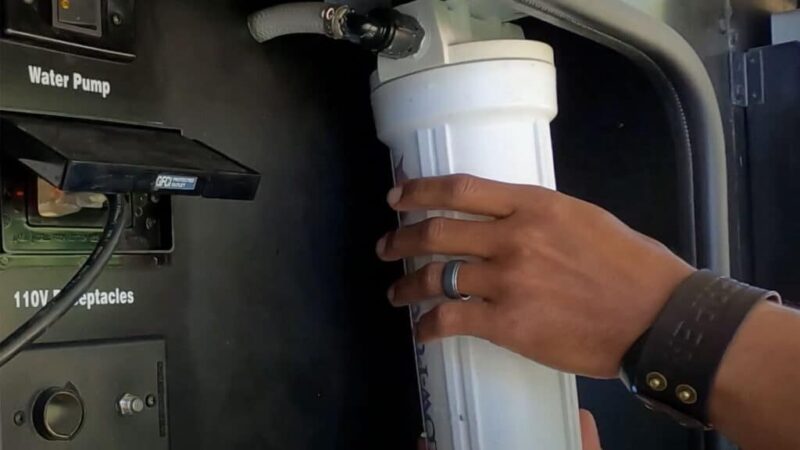
Spring is a great time for most RVers because it marks the beginning of RV trip planning and vacation travel. The initial focus after dewinterizing the plumbing system is getting the RV ready with a good spring cleaning.
Spring cleaning an RV is much like prepping a country cabin that’s been locked up since the previous fall. It requires a thorough walk-around inspection, a top-to-bottom cleaning, and doing the necessary maintenance and repairs to make the RV ready for use.
Clean The Roof
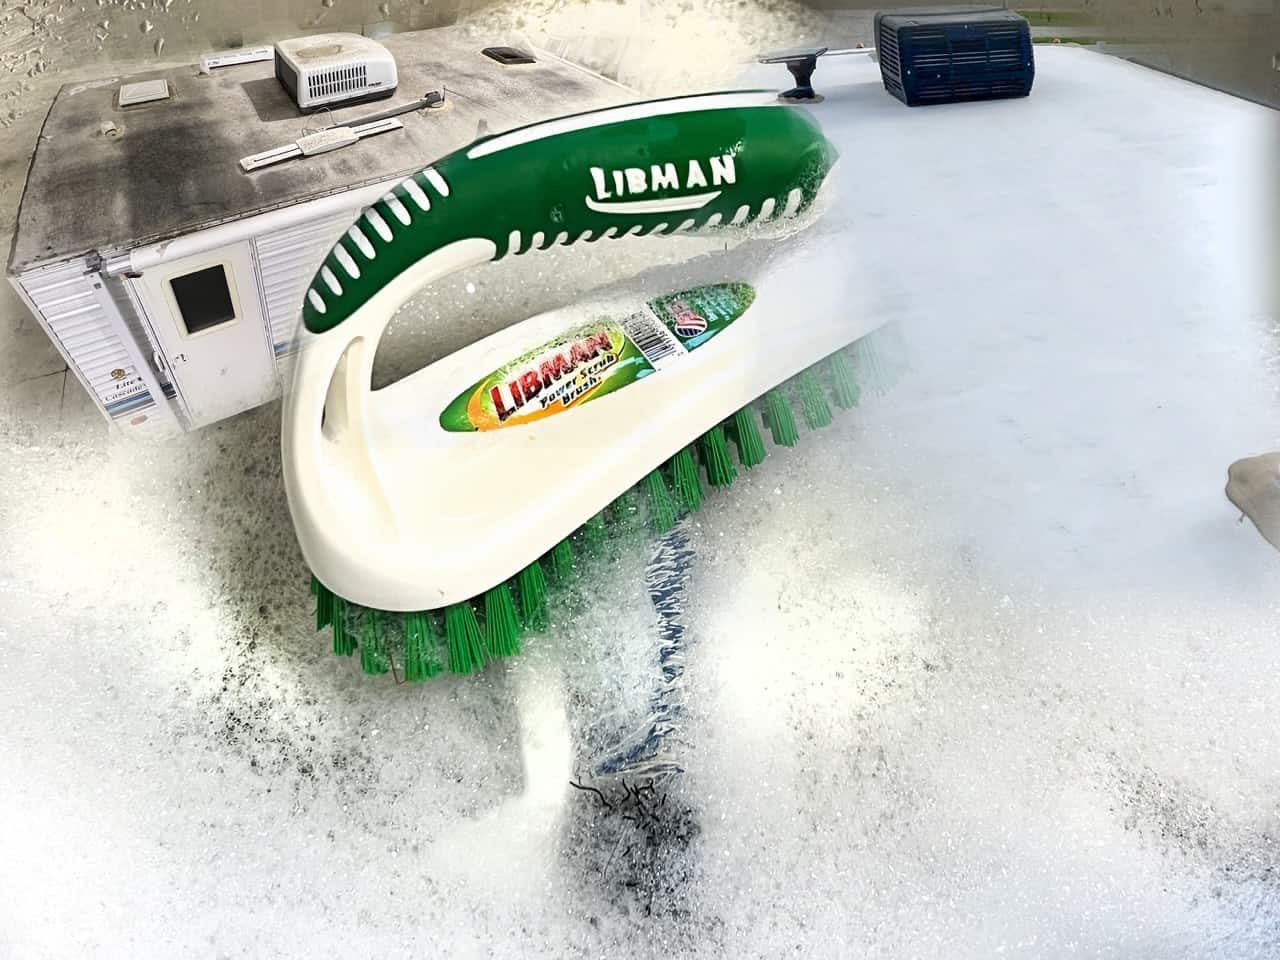
The first place to begin spring cleaning an RV is the roof. That’s where most RV issues begin because the RV’s roof takes the brunt of the damaging effects. This is the result of being constantly exposed to wind, water, sun, bird droppings and airborne debris when stored outdoors and uncovered. RVs with rubber roofs are the most vulnerable to damage from the elements. Even RVs stored under a cover need a good roof washing and inspection.
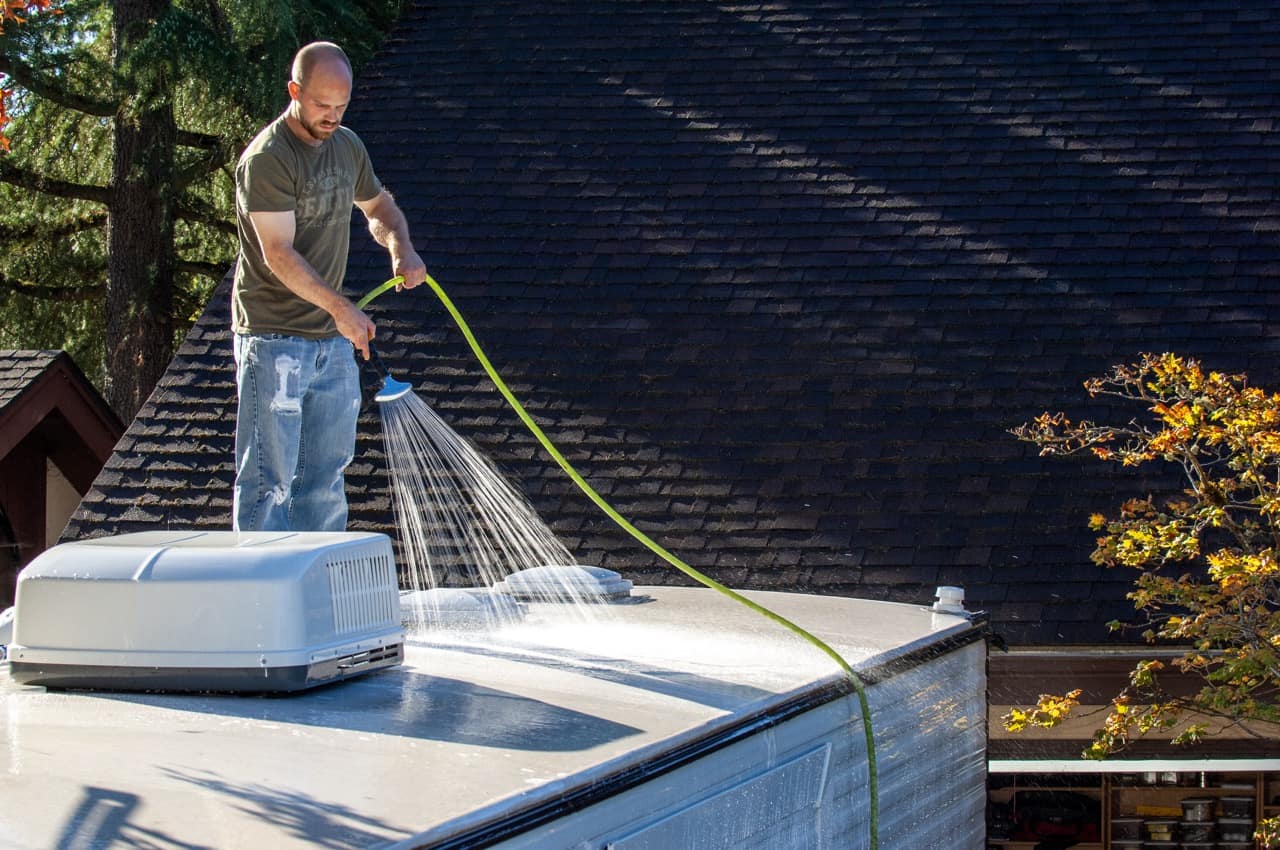
Drag a water hose up onto the roof (taking great care not to fall), along with a bucket of soapy water and long-handle, medium-bristle roof-cleaning brush. Use a cleaner/conditioner designed for RV EPDM and TPO roofs. They are available from Valterra, 303, Thetford, Camco and Dicor. Give the roof a good scrubbing. Wash the slide roofs and awnings as well.
Note: Do not use abrasive cleaners, or those that contain petroleum distillates or citrus because they will damage the roofing membrane.
Roof Inspection
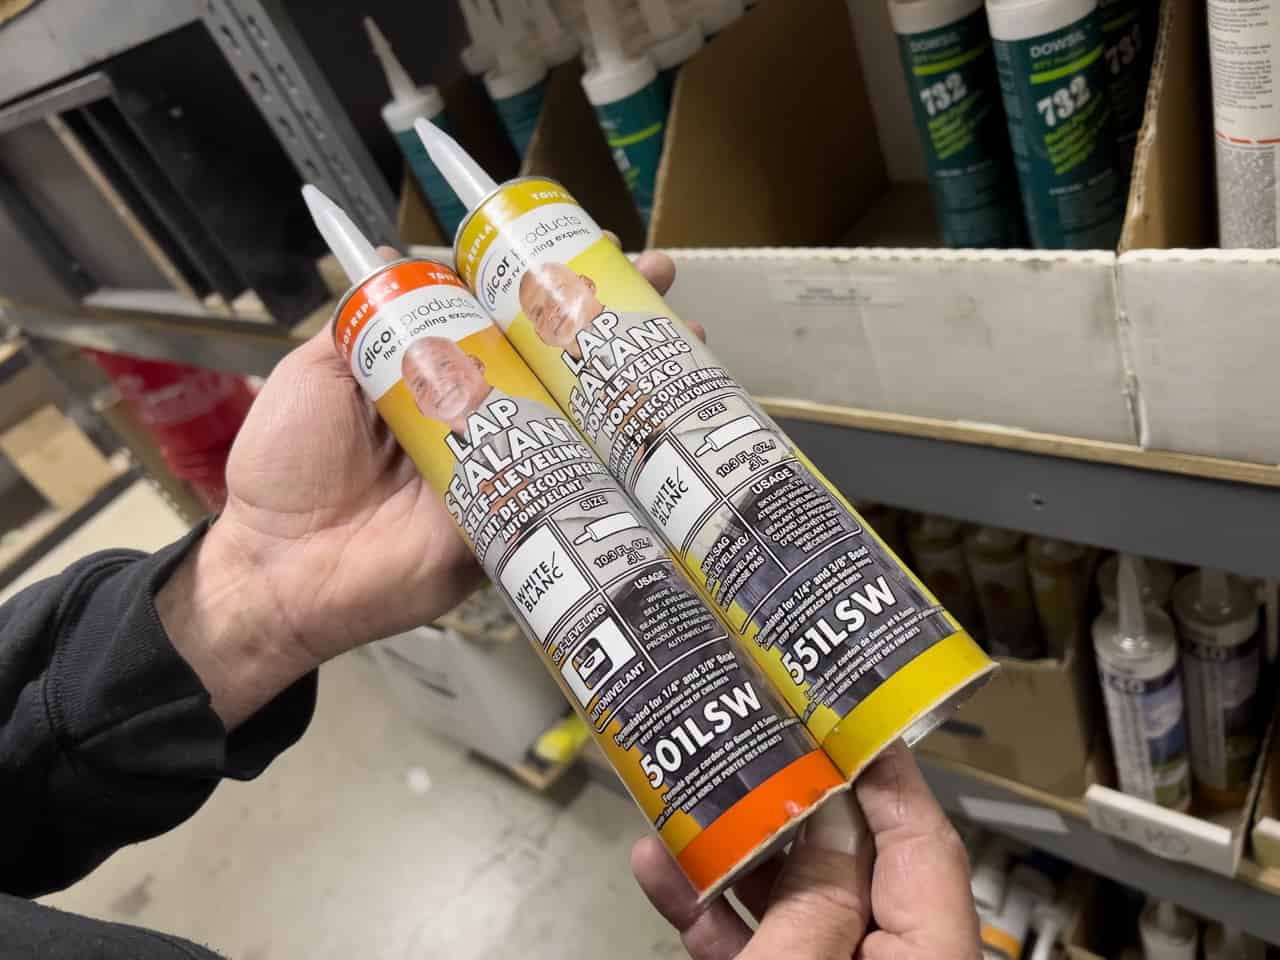
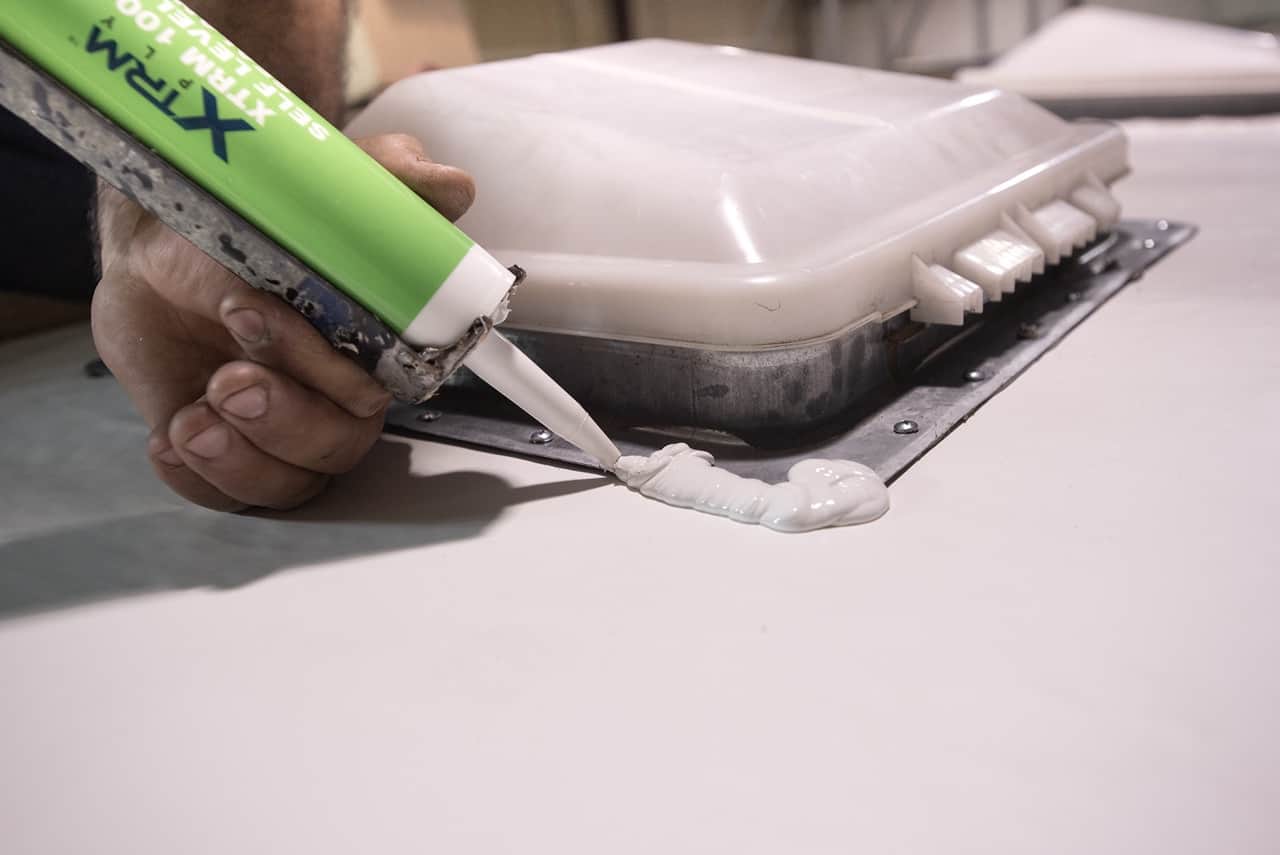
After the roof is washed, give it a really thorough inspection. Look closely at the roof membrane for tears or punctures, and check the sealant around everything mounted on the roof. Also inspect all the edge seams for pin holes, cracks, or loose sealant. That’s where water could make its way inside. Repair and re-seal any suspect areas with a quality RV sealant or caulk.
“The main thing I try to stress to our customers is closely inspecting their RV at least once a year,” says Matt Bryan, Assistant Service Manager at Oregon Motor Coach Center in Eugene, Oregon. “Better still, RV owners should do a thorough walk-around twice a year, spring and fall, inspecting all the seals and seams for tears, looseness, or voids in sealant.
“If you can catch bad seals early, or tiny holes in seams and molding sealants, you’re going to save a lot of money by preventing water damage. Once you start seeing the effects of water damage, such as stains in the walls, ceiling, or floor, it’s been leaking for a while and you already have a big problem,” says Bryan.
Exterior Cleaning
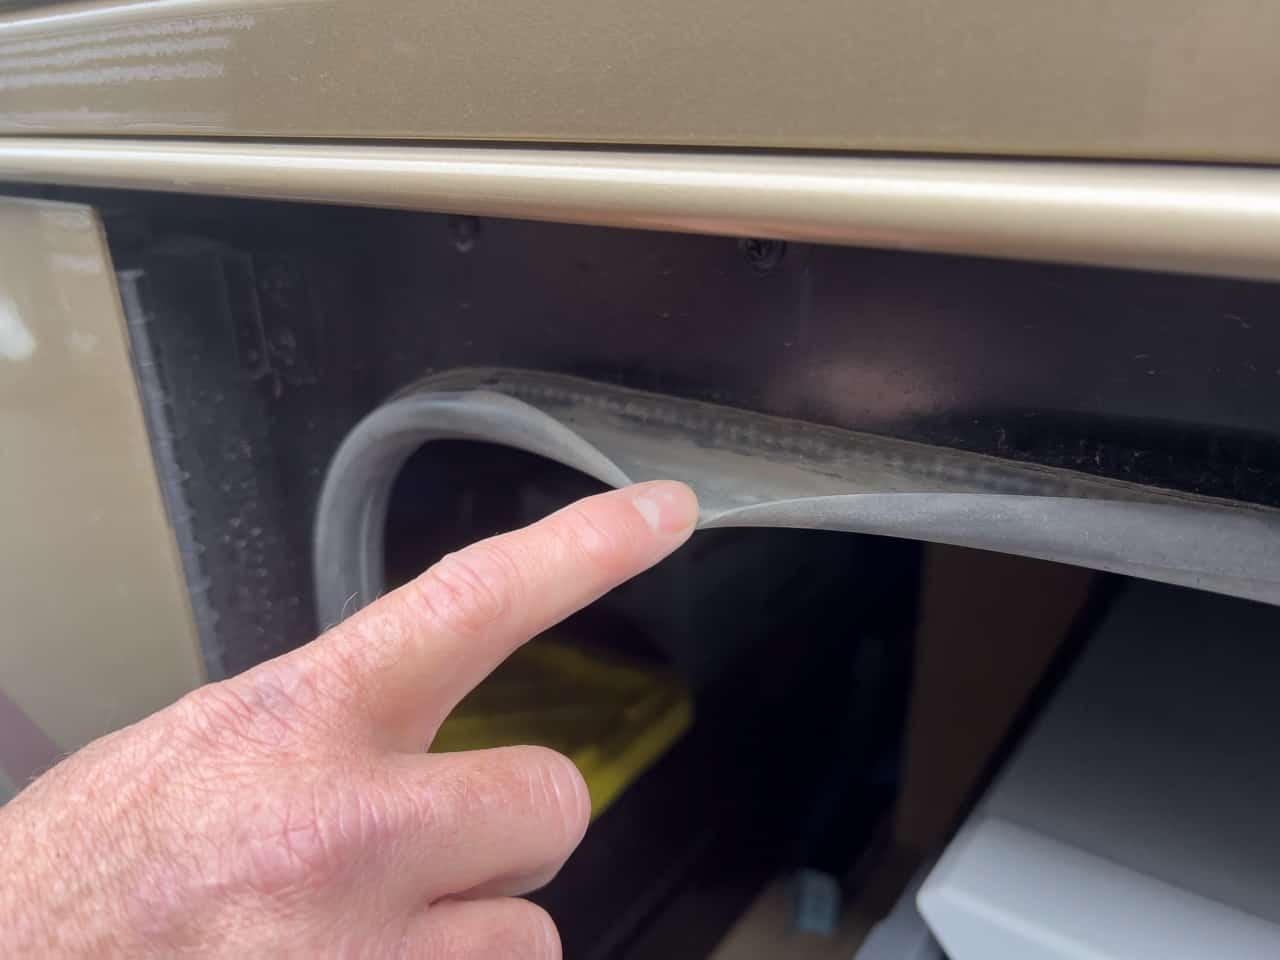
Next, wash the exterior and continue the inspection. The flexing movement of an RV’s body is almost imperceptible to those inside. But over the miles it’s enough to eventually cause overlapping seams along the side walls to separate. Rivets can also pop loose, screws can back out, cracks can form along slide corners, sealant beads lose grip, and belt moldings come unglued.
If your RV has external storage compartments, wash and inspect them as well. Pay close attention to the state of door seals, locking mechanism, and hinges. Critters can make themselves at home in RVs to that have been stored or parked for extended periods of time. Motorhome engine compartments are also a favorite place for pests to make home in RVs that have been idle for months.
Clean and maintain the generator and its compartment if there’s one. Rodents love to make nests in dry, dark spaces. Open the battery compartment, and clean all battery cables and charger/inverter connections.
While doing your spring cleaning, give the hitch or other towing components a good washing and re-coat with a quality lubricant. Wash and inspect the wheels and tires. Trailer wheel bearings must be cleaned, inspected, and repacked every 12,000 miles or so to keep them functioning properly.
Cleaning The RV Interior
The last phase of spring cleaning an RV is the tackling the interior. The professional cleaning crews at more than a dozen Bish’s RV locations approach RV interiors much like professional house cleaners. They start from the top down, open up all the windows to let in fresh air, clean the blinds and shades, and vacuum the carpets.
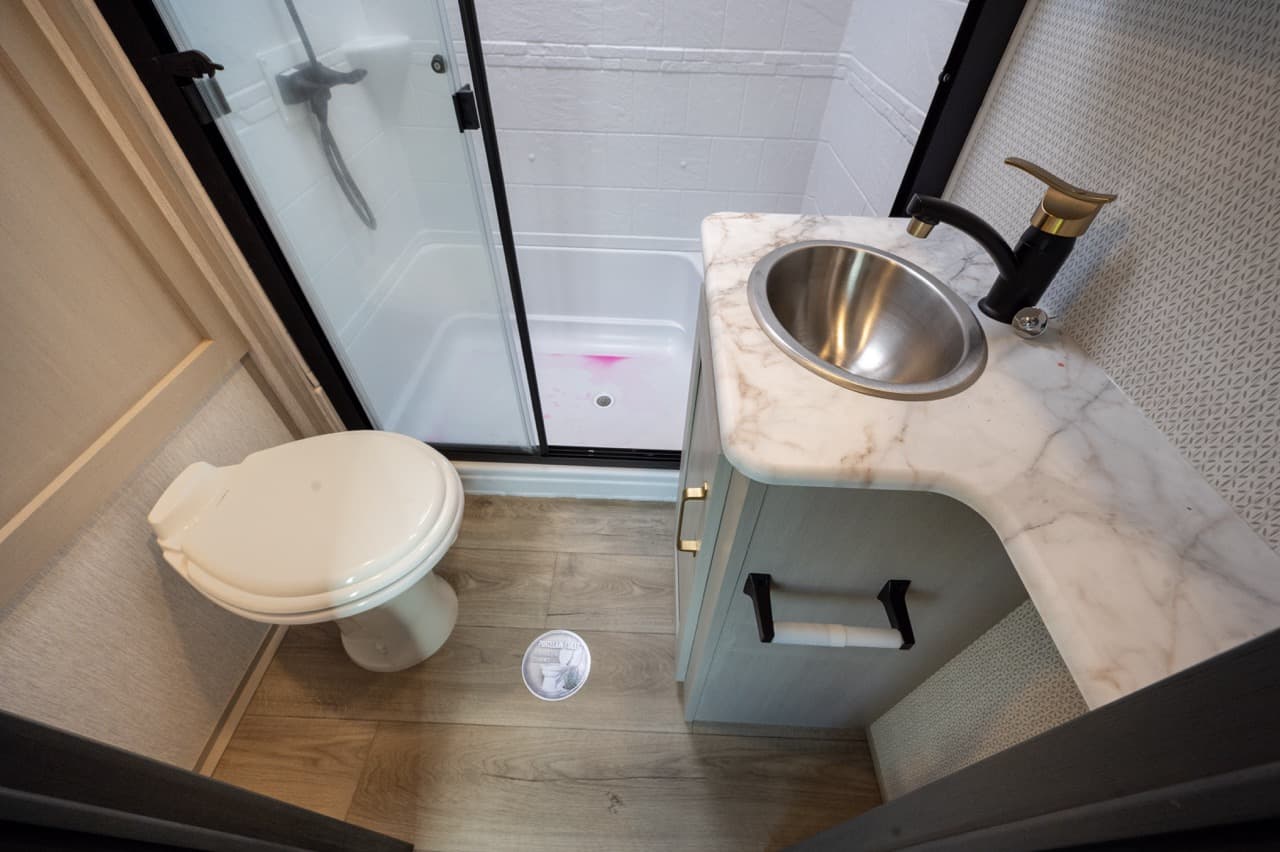
The floor is mopped and all surfaces dusted and cleaned. Bedding is also washed. Professional RV preppers also take the time to clean and disinfect the bathroom and kitchen. This includes cleaning out the fridge and freezer, plus wiping down the shower stall.
This is also the time to clean and inspect the A/C system. Every spring and fall the A/C filters should be washed in warm soapy water and set in the sun to dry. If the filter is more than two seasons old, replace with a new one.
Clean And Disinfect
A little note about what product works best to clean an RV interior: Use a product or products that are a disinfectant/cleaner like you’d find from companies such as Bio-Kleen, Simple Green, and Thetford. A solution of water and vinegar is a cheap cleaner, but it’s not a disinfectant. Disinfectants kill mold, mildew and germs.
Following these RV spring cleaning tips should get your motorized or towable RV in great shape for a long, wonderful, trouble-free camping season.
Related Posts
- 10 Things You’ll Need For Spring Cleaning
- Top Early Spring Destinations
- Dewinterize Your RV’s Plumbing
The post Get Ready For The Travel Season: RV Spring Cleaning appeared first on RV LIFE.