Everything You Need to Know to DIY an Outdoor Shower

Choosing the Right Location:
When considering where to put an outdoor shower, one should look for a spot that offers privacy while still being conveniently accessible. If you want hot and cold water, you’ll need to hook up to your home’s plumbing, so you’ll need to install the shower close to the house to simplify plumbing installation. Alternatively, some outdoor shower kits are garden hose compatible, so if you go this cold water-only route just be sure your shower is within 25, 50, or 100 feet of the nearest house spigot. Also take into account factors such as sunlight exposure, existing landscaping, and foot traffic patterns.
Consider the Best Materials for your Location:
Materials matter both for aesthetics and durability of your design. Though arid, warm climates have more leeway in terms of material, regardless of location you will want to choose materials that are durable and suitable for outdoor use, such as weather-resistant woods, stone, tile, and stainless steel.
Cedar and teak are top choices due to their natural resistance to decay, rot, and insect damage. Cedar, particularly Western red cedar, boasts natural oils that make it naturally rot resistant even in very wet environments. Teak also contains oils and silica that enhance its resilience. Both woods offer excellent aesthetic appeal and can withstand the harsh outdoor elements with proper maintenance, making them ideal for constructing a long-lasting and visually appealing outdoor shower.
Pressure-treated lumber, composite materials applied with weather-proofing stains, and basic PVC outdoor shower designs may provide a more cost effective alternative.
Site Prep & Drainage Considerations:
When building an outdoor shower, ensuring proper drainage is essential to prevent water accumulation and potential damage to your property—not to mention breeding grounds for mosquitos in warmer months. Install a solid foundation with a suitable slope and incorporate a drainage system, such as a French drain or surface drain, to collect and redirect water flow away from the shower itself. Apply waterproofing to the shower floor and walls to prevent water seepage, and install a grate or drain cover to prevent debris buildup.
Additionally, consider integrating the drainage system with the surrounding landscape to promote sustainable infiltration and prevent erosion.
What Are the Different Types of Outdoor Showers?
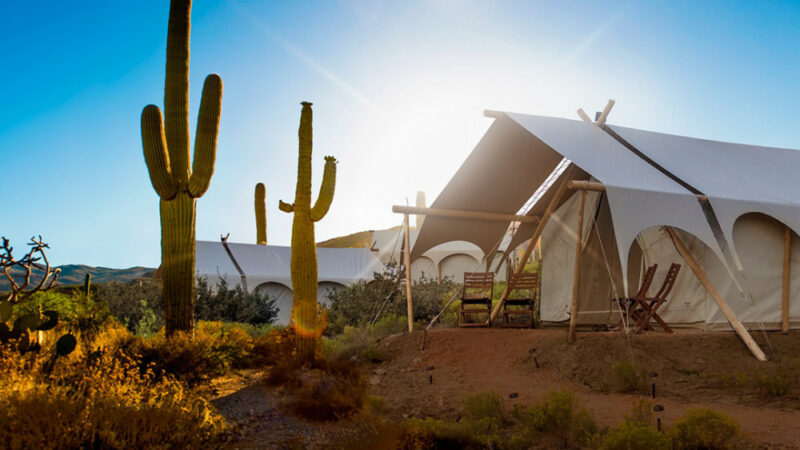
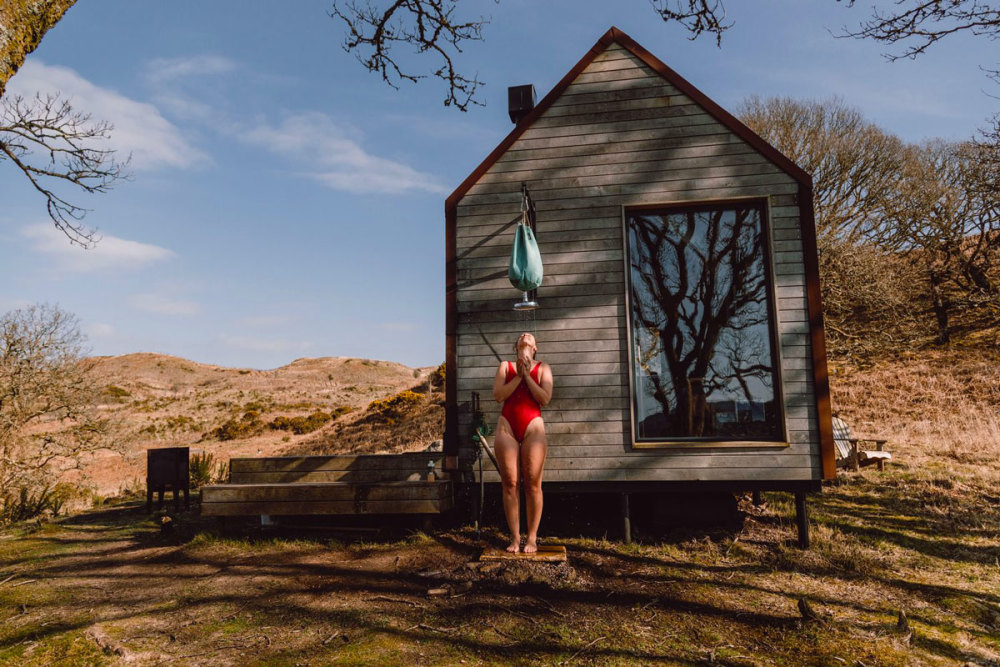
Freestanding outdoor showers are standalone outdoor structures that do not require attachment to existing walls or structures. They typically consist of a sturdy base or platform, a vertical support structure, and a showerhead. Freestanding showers offer flexibility in placement, such as on a deck, patio, or poolside. These showers often feature a sleek and modern design, with options for various materials such as stainless steel, teak, or composite materials. Freestanding outdoor showers provide a convenient and refreshing way to rinse off after swimming or sunbathing, enhancing the outdoor living experience.
On the other hand, wall-mounted outdoor showers are fixtures attached directly to an existing wall or structure. They come in a range of styles and designs, from simple and utilitarian to more decorative and elaborate. Wall mount showers save space and can be installed in areas with limited room, such as on the side of a house or near a garden wall. These showers typically require plumbing connections to the existing water supply and drainage system. Wall-mounted outdoor showers offer a permanent and convenient bathing solution for outdoor spaces, providing a seamless blend of functionality and style.
6 Best Outdoor Shower Kits to Buy
Outdoor shower kits include building materials and can cost anywhere from $900 to over $4,000 for a high end Cape Cod shower kit. Here are a couple shower systems we like, but the variety available is vast so be sure to do your own research, too.
Source: https://www.fieldmag.com/articles/outdoor-shower-kit-guide