DIY RV Roof Reseal: No More Leaks
Resealing Your RV Roof Protects Your RV
When it’s working correctly, your RV’s roof system protects your entire RV from rain, snow and nearly everything else nature throws it’s way. In order to do this effectively, the roof requires a little help in the form of regular inspection and resealing to make sure everything on it is sealed against the elements. While an RV roof is made up of multiple layers, it’s the outer layer, called a membrane that shields the roof system and the rest of the RV from the weather. In order to keep moisture at bay, the roof membrane needs to be uniform, with no openings. Of course, holes have to be cut into it for extrusions such as air conditioners and roof vents, but RV roof manufacturers seal these openings in the roof membrane with RV roof sealants.
RV roof sealants to seal potential entry points against water intrusion. When used correctly, they’re very effective at keeping moisture from seeping into the RV. Like the roof membrane, roof sealants are impervious to the elements, including UV rays. However, they eventually wear out and need to be replaced.
Take Care of Your RV Roof so it Can Take Care of You
Over time and exposure to weather, RV roof sealant can dry out and develop little cracks that allow moisture to penetrate through the membrane and into the RV. Once moisture seeps in, it can create rot, mold, and structural problems that can make your RV unlivable.
That’s why you should put RV roof inspection and regular resealing onto your RV maintenance schedule. Of course, any certified RV technician could do this job. However, learning how to inspect and reseal your RV roof yourself can save you thousands of dollars per year. That being said, that kind of money could go a long way for fun things (like camping in your RV).
Should You Reseal Your Own RV Roof?
Inspecting and resealing your RV roof is a simple DIY. Sure it takes careful preparation and a steady hand, but it’s very easy to do. However, it’s also essential to have the right tools and to use the right caulking for the roof type and the part of the roof that’s being caulked. Oh-and of course you need to be familiar with ladder safety and comfortable with heights. That being said, safety always comes first. If you have balance issues, are unsteady on your feet, or are not comfortable with heights, it’s a good idea to get someone else to take care of RV roof inspection and maintenance.
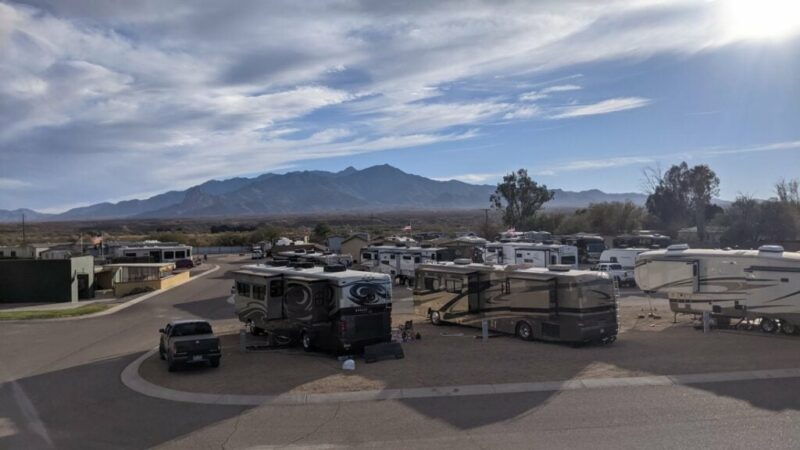
Also, because resealing your RV roof requires you to be up on the roof, make sure your RV has a “walkable” roof before you get on it. This information will be available from your RV manufacturer.
Safety First: RV Ladder Safety Tips
Using a ladder can be inherently dangerous so it’s important to ensure you’re doing so safely. Every year thousands of people suffer from debilitating injuries resulting from falls from ladders. Because nobody wants to sit out a camping season due to an injury, here are ladder safety tips that pros use:
- Extension ladders should extend at least 3 feet above the roof surface when deployed
- Ladders should always be set up on firm, level ground
- Extension ladders should be 1 foot out from the RV for every 4 feet of height.
- Have a helper on the ground holding both sides of the ladder when possible
- Ascend and descend with three points of contact at all times
- Keep the ladder area free from clutter
- Avoid overreaching from the ladder
- If you’re by yourself, bring a cell phone to call for help if needed.
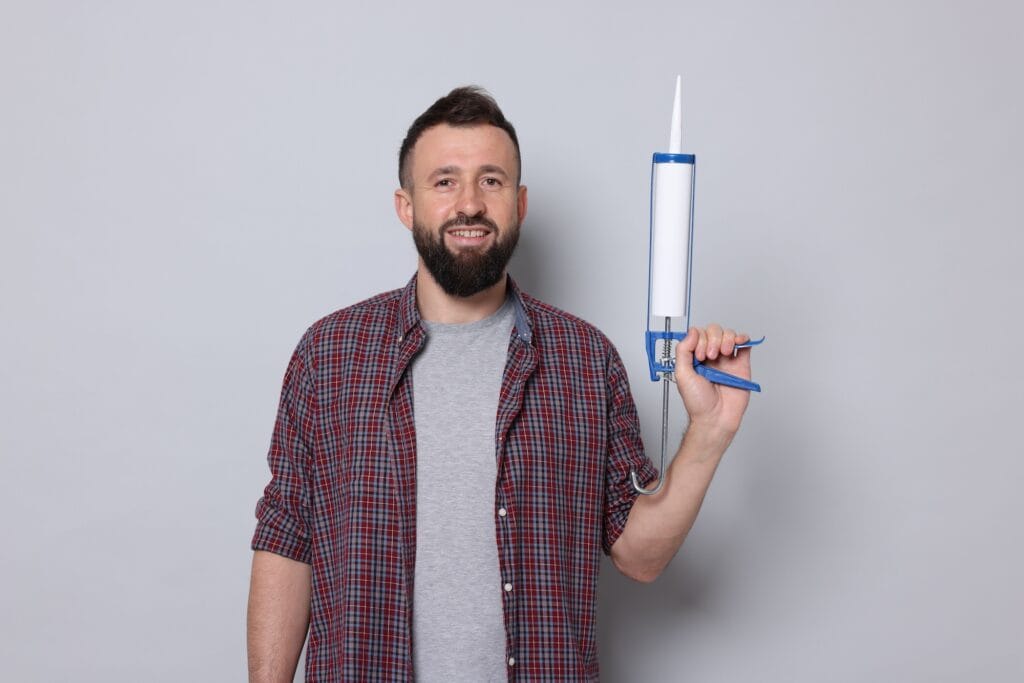
Tools
You’ll need both self leveling and no sag sealant that’s the right formulation for your roof. The easiest way to tell what type of roof you have is to read the operator’s manual that came with your RV. You can always contact your RV manufacturer’s customer service team, too. Another simple way to learn what type of roof your RV has is to check IRV2 forums for a thread on the subject. Chances are that somebody else has already asked what type of roof it has and got a resounding answer from other RVers.
If all the above fails, it’s often recommended to pull out screws or staples and pull back a section of the roof to see if it’s TPO or EPDM rubber. Basically, if it’s TPO it will a single color. If it’s EPDM, it will be black on one side.
Here’s what you’ll need to reseal your RV roof:
- Nalgene gloves
- 2 Caulking guns
- 1–2 tubes of self-leveling lap sealant. Self-leveling lap sealants flow horizontally as they cure, creating a uniform, consistent seal. They are perfect for sealing small tears and holes and around fixtures and extrusions
- 1–2 tubes of no-sag lap sealant. No-sag lap sealants stay in place, making them ideal for use where the RV roof meets the side walls
- Mineral spirits
- 2–3 clean, soft rags
If you don’t have a sheltered area to work in, wait for a dry period (not hot) where the temperature will stay at a comfortably warm temperature for a few days in a row. This will ensure the sealant gets a chance to cure properly.
Inspect the RV Roof
Inspecting the roof needs to be thorough. Even a tiny pinhole in the roof membrane can allow enough water through to damage the sheathing under it. So it’s a good idea to inspect the roof on your hands and knees so you don’t miss any pinholes or small tears. I like to start at the front of the RV and carefully work my way back, taking note of any extrusions as I go.
Start by examining the cap seam at the front of the RV roof. If it looks dry, cracked, or shriveled up, it will be time to add more sealant. Then carefully work your way back on the roof, inspecting the roof membrane and noting any tears or small holes.
When you get to the roof extrusions, inspect the sealant around them for cracks, dryness or shrinkage. These are all signs you need to add more sealant. Continue to the back end of the roof, inspecting the roof membrane as you go and making note of any holes. When you reach the back of the RV, inspect the seal that runs parallel to the rear end cap.
Now it’s time to inspect the seals along the sides of the roof one at a time. If they look cracked, worn or shriveled, you’ll need to add sealant.
How to Reseal an RV Roof
Here’s how to reseal your RV roof.
- Wear nalgene gloves
- Load a tube of no-sag lap sealant sealant into a caulk gun. Cut the tip at about 3/8 inch from the tip. Use a nail to Puncture the seal of the tube
- Load a tube of self-leveling lap sealant into a caulk gun. Cut the tip at about a 3/8 inch from the tip. Use a long nail to puncture the seal of the tube
- Dampen a soft rag with mineral spirits to clean each area you’ll be resealing
- Starting at the front sealant seam, clean the area with mineral spirits and dry with a soft absorbent rag
- Work in sections that are about 2 feet long
- Apply two parallel lines of self-leveling lap sealant
- Working toward yourself, distribute sealant back and forth between the two lines, pushing the closest line into the one further away to join them together. When one 2-foot section is complete, repeat with a closer section
- Once the front cap seam is complete, apply sealant in a similar fashion around any extrusions or appliances
- After cleaning the seams along vertical walls apply a single bead of no-sag lap sealant, working in 2-foot sections
- Clean any holes and tears in the roof membrane with mineral spirits and apply self-levelling lap sealant
- Admire your roof
Final Thoughts
Resealing your RV roof is a simple job, but it can cost thousands to get a pro to do it for you. Doing this easy job yourself not only saves you money, but you’ll h a delightful feeling of self sat
The post DIY RV Roof Reseal: No More Leaks appeared first on RV LIFE.
Source: https://rvlife.com/rv-diy-resealing-an-rv-roof/