Bikepacking 101: Everything You Need to Get Started
Bikepacking delivers all the benefits of mountain biking with the added adventure of exploring deeper into the backcountry or farther on the road than walking allows. As a great way to get more miles under the belt, bikepacking is the perfect activity to cross more adventures off your list as summer winds down. Riders swear by the excellent fitness, stress relief, and confidence boost bikepacking gives them—not to mention the fact that it has less impact on the environment than traveling by car.
If you are thinking about jumping into bikepacking, it can be overwhelming between the gear, repairs, and physical exertion. Bryn Merrell, an avid bikepacker with thousands of miles under her belt, says that all the pain, bruises, and effort are worth it, because it offers a great way to travel, get outdoors, and explore more in the same amount of time as hiking.
Her two-wheeled trail experience has taken her down the coast of California (her longest trip being around 1,000 miles), through the saguaro-filled Black Canyon Trail in Arizona and countless routes around her home in the Sierra Nevada. She loves paved and gravel adventures as much as dirt, saying that a favorite trip of hers was when she and friends created their own route from Florida to New Orleans.
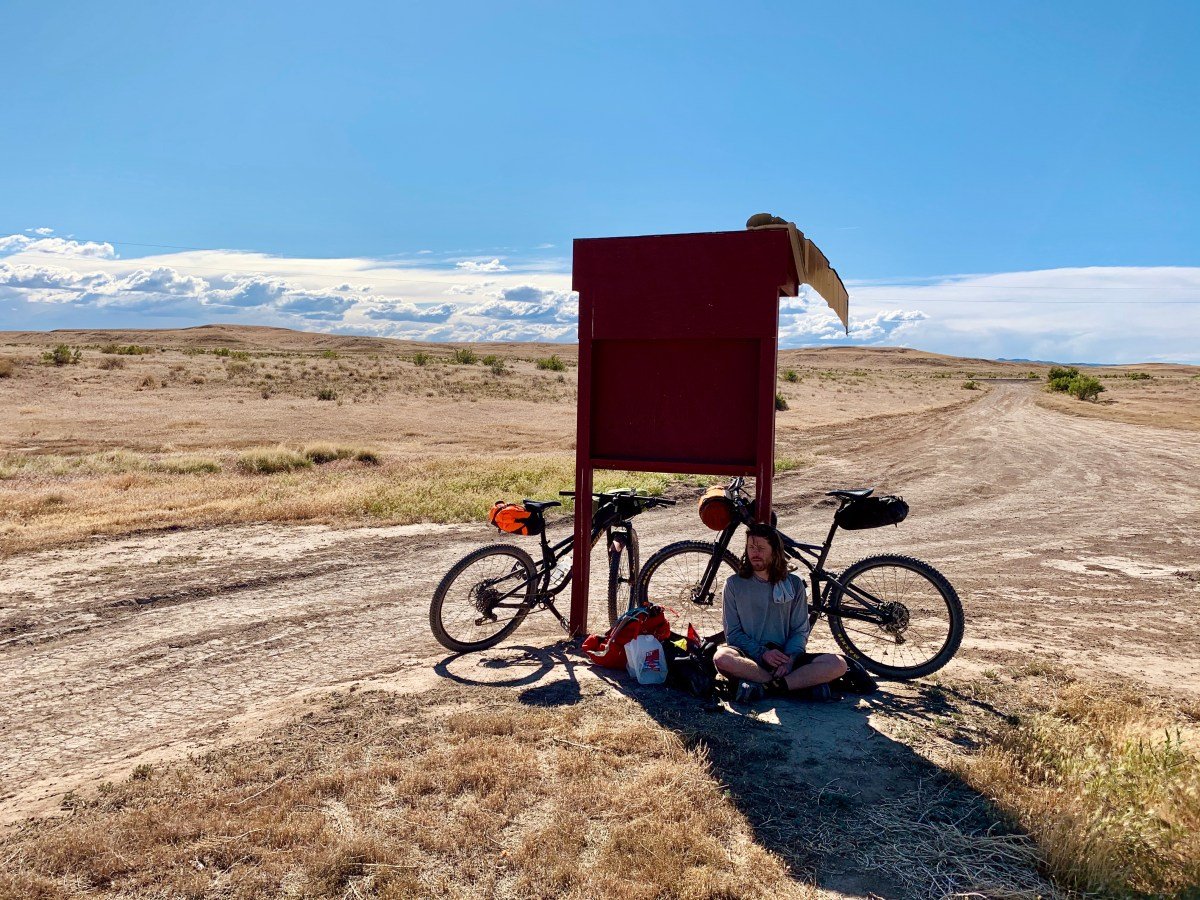
“There’s something special about creating your own trip,” Merrell says. “That was a fun project, and a very unexpectedly cultural experience as well.”
In this way, bikepacking can split the difference between backpacking and road trips, giving you the ultimate exploration tool without leaving a detrimental ecological footprint. If this piques your interest but you still have no idea where to start, then the following guide with expert tips from Merrell will get you the knowledge and tools you need to make the single track your new terrain.
What Gear Will You Need?
One of the biggest barriers to bikepacking is the gear. Prices add up quickly and can be a huge detriment to a beginner. However, you do not need to rush to empty your wallet. In fact, a lot of your camping equipment can be reused on your bike set up.
“As long as you have a bike and some camping gear, you can make whatever you have work for a trip,” Merrell confirms. “We have had many adventures where we have had to jerry-rig a set up to make it happen. If this ends up being a sport that you enjoy, there are several gear options out there to help rig up your bike to create the ideal setup.”
Keep in mind that like any sport, bikepacking might take a while for you to fine tune the gear that you want to use or that works best for you. Many gear shops provide rentals and more in-depth knowledge of your specific region’s requirements. Reach out to local outdoors groups, too, to shop (deeply discounted) used gear. Facebook groups like this Bikepacking Gear Swap can be super helpful for this.
Bike
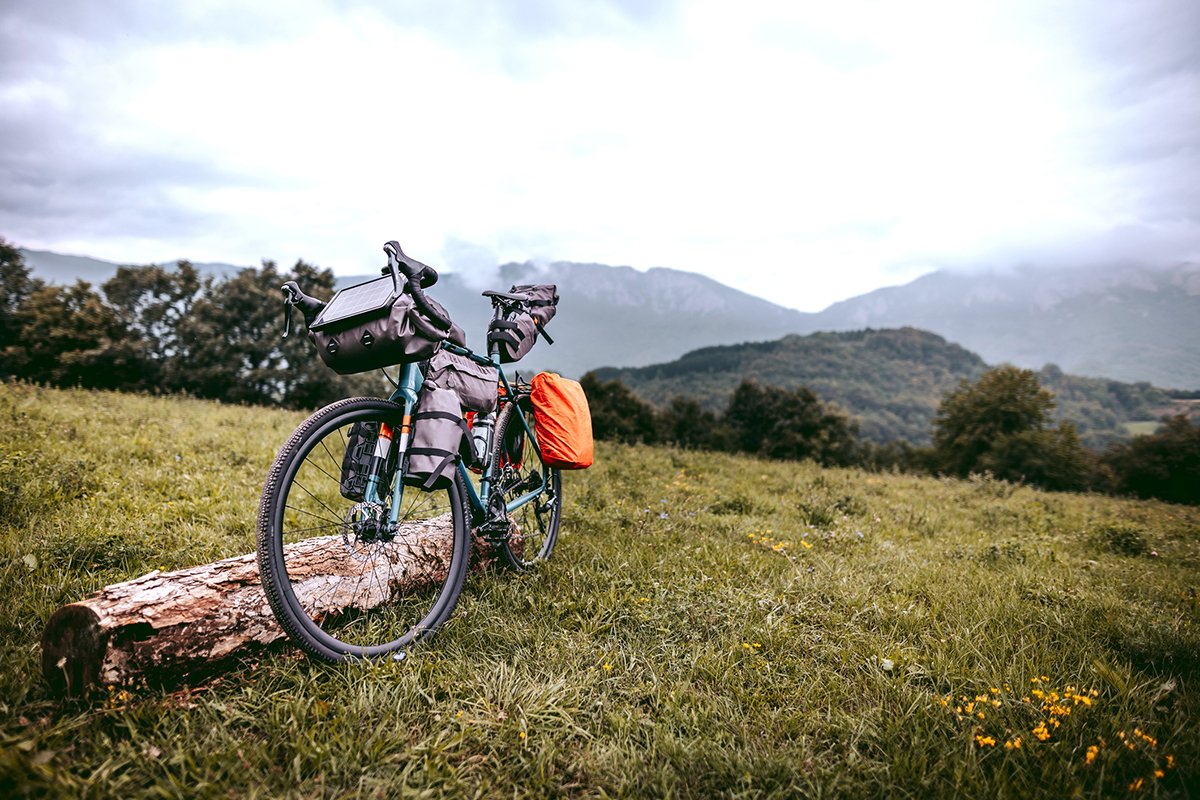
Your bike will be the most expensive piece of gear you need for bikepacking, but it may be the purchase you save for last. According to Bikepacking.com, beginners may consider using whatever bike they already have, “whether it’s a rigid 90s mountain bike, a gravel bike, a full-suspension mountain bike, or an old hardtail.”
While it may not be as efficient or comfortable as a new bike designed for your specific packing needs, it will be fine. If you don’t have a bike or want to try out something new, check with your local gear shops about rentals. Select REI locations offer mountain bike rentals for $30-$65 per night, along with bike racks for your car.
Bags
Merrell suggests that the most important piece of equipment for a beginner to invest in is a good bike bag. “Do some research on what setup will work for you and your bike and buy a bag to help get the weight off your back,” she says, noting that keeping weight off your back significantly improves the riding experience.
When looking for the right bag, she warns that “it is all dependent on your bike setup,” so if you haven’t yet sorted out your forever bike, stick with investing in a saddlebag or handlebar bag setup. Either option is made to fit most bikes, whereas frame bags are more fitted to a specific one.
Camping Gear
Assuming you’d prefer the comfort of a mesh barrier between you and bugs, plus some sort of cushion and warmth against the cold nights, you will need camping gear. The big four are tent, sleeping pad, sleeping bag, and water filter. If you already have camping gear, great—utilize it for bikepacking. If not, seek rentals for these as well, since there is a huge variance in preference and options.
Repair Kit
This list can be the most daunting to someone who hasn’t stepped foot on a pedal in the backcountry. Keep in mind, these are the absolute necessities and there might be other pieces you’d like to add for your particular setup.
- Spare tubes
- Tubeless sealant (if you have tubeless tires) like Stan’s
- Patch kit and tire plugs (plugs will help larger, more stubborn gashes)
- Tire lever, try 5-star rated Pedro’s Tire Levers
- Air pump—coming in at 30 cm and only 5.3 oz, plus with good reviews throughout the biking community, the Lezyne Micro Floor Drive is a solid choice.
- Bike specific multi-tool—two loved multitools are the Topeak Mini PT20 and the crankbrothers M19
- Zip ties and duct tape for any and all emergencies
Satellite Device
We’d be naive to believe we can go out into the backcountry without a satellite device. Biking can be dangerous and result in a serious fall; you will be thankful to have one when the time comes. The Garmin inReach is a beloved option.
Kick-Ass Attitude
While not gear per se, you’ll need this too. Like any outdoor activity, bikepacking will come with its share of hardships and unpleasantries. Aside from physical exhaustion, you may experience a rainbow of adverse emotions and scenarios while on the trail. Keep your chin up, focus on the positive, and don’t convince yourself to quit bikepacking for good in the heat of a bad moment.
How to Pack
As with backpacking, you will be hard pressed to find a bikepacker who will not stress the importance of traveling as light as possible. Being light will make your ride more enjoyable, but it may be taxing on your budget. Don’t be intimidated by the sleek, sexy, and confined packs on other peoples’ bikes.
Even with leaving the specialty items at home, Merrell says she “almost always has every nook and cranny on the bike filled.” Embrace your glorious monster in whatever creative shape it may take—especially if it helps you balance your checkbook and still get to adventure.
Packing all comes back to the advice on how to invest in the proper bike bag (dependent on gear and bike). “I work with the system I’ve got,” Merrell explains. “Bike bags have come a long way but can also be a pricey item to purchase, so I haven’t altered my older setup in quite a while.”
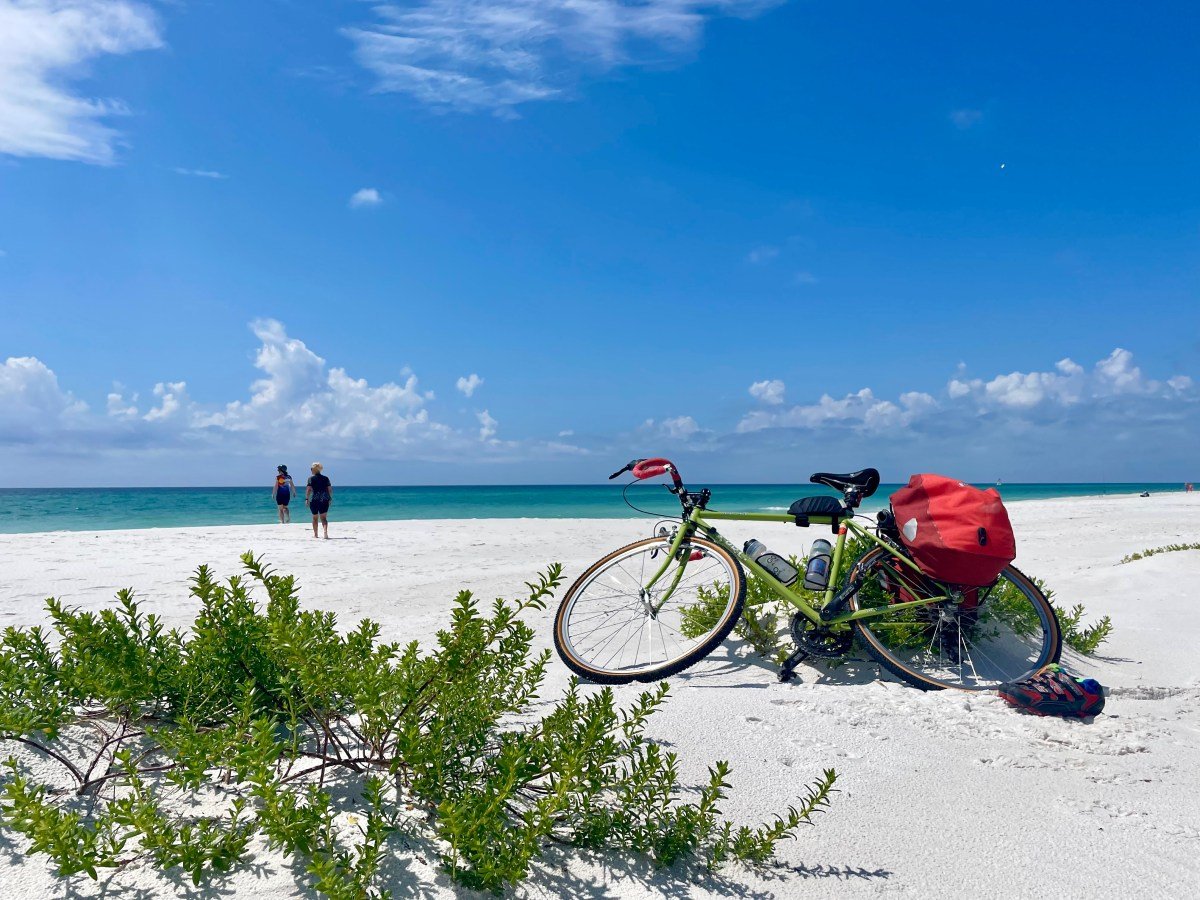
Your pack may look a lot different, but here’s how Merrell operates: “My (original and consistent) setup for my mountain bike is a seat jammer (which I fill with clothing and dinner items), a frame bag (great for stashing bike tools, snacks, and everyday essentials), and a handlebar bag (where I usually keep my sleeping bag, pad, and stove).”
She admits, however, that if she is “cramped for space,” she’ll add on either a fanny pack or backpack, but only as a last resort. Merrell says: “Eliminating the need to wear a backpack will be very freeing, especially if you are in a hot environment.”
Common Hardships and How to Overcome Them
The most common issue bikepackers face? “Mechanicals!” Merrell says, and it shouldn’t be much of a surprise. There are a lot of moving parts when it comes to bikepacking.
So, how does one overcome mechanical issues? “The fact of the matter is that you can’t fix all mechanical issues you may face while on the trail,” Merrell laments, and there might be times that you have to walk your bike out.
“While on a trip near the Marin Headlands,” she continues, “my husband Michael kicked up a stick, which snapped his derailleur clean off. Luckily, it was at the top of a climb, and we were able to remove the chain and flintstone his bike about 15 miles to the nearest town and have someone try to fix it. Sometimes zipties can’t fix the issue.”
However, there are plenty of instances (especially as a beginner) when you can fix the issue yourself if you prepare the proper repair kit and understand the basics of how your bike works.
“We’ve been pretty lucky in terms of being able to fix the issues we’ve faced . . . and sometimes the misadventures are more memorable,” Merrell says.
Seeking Comfort
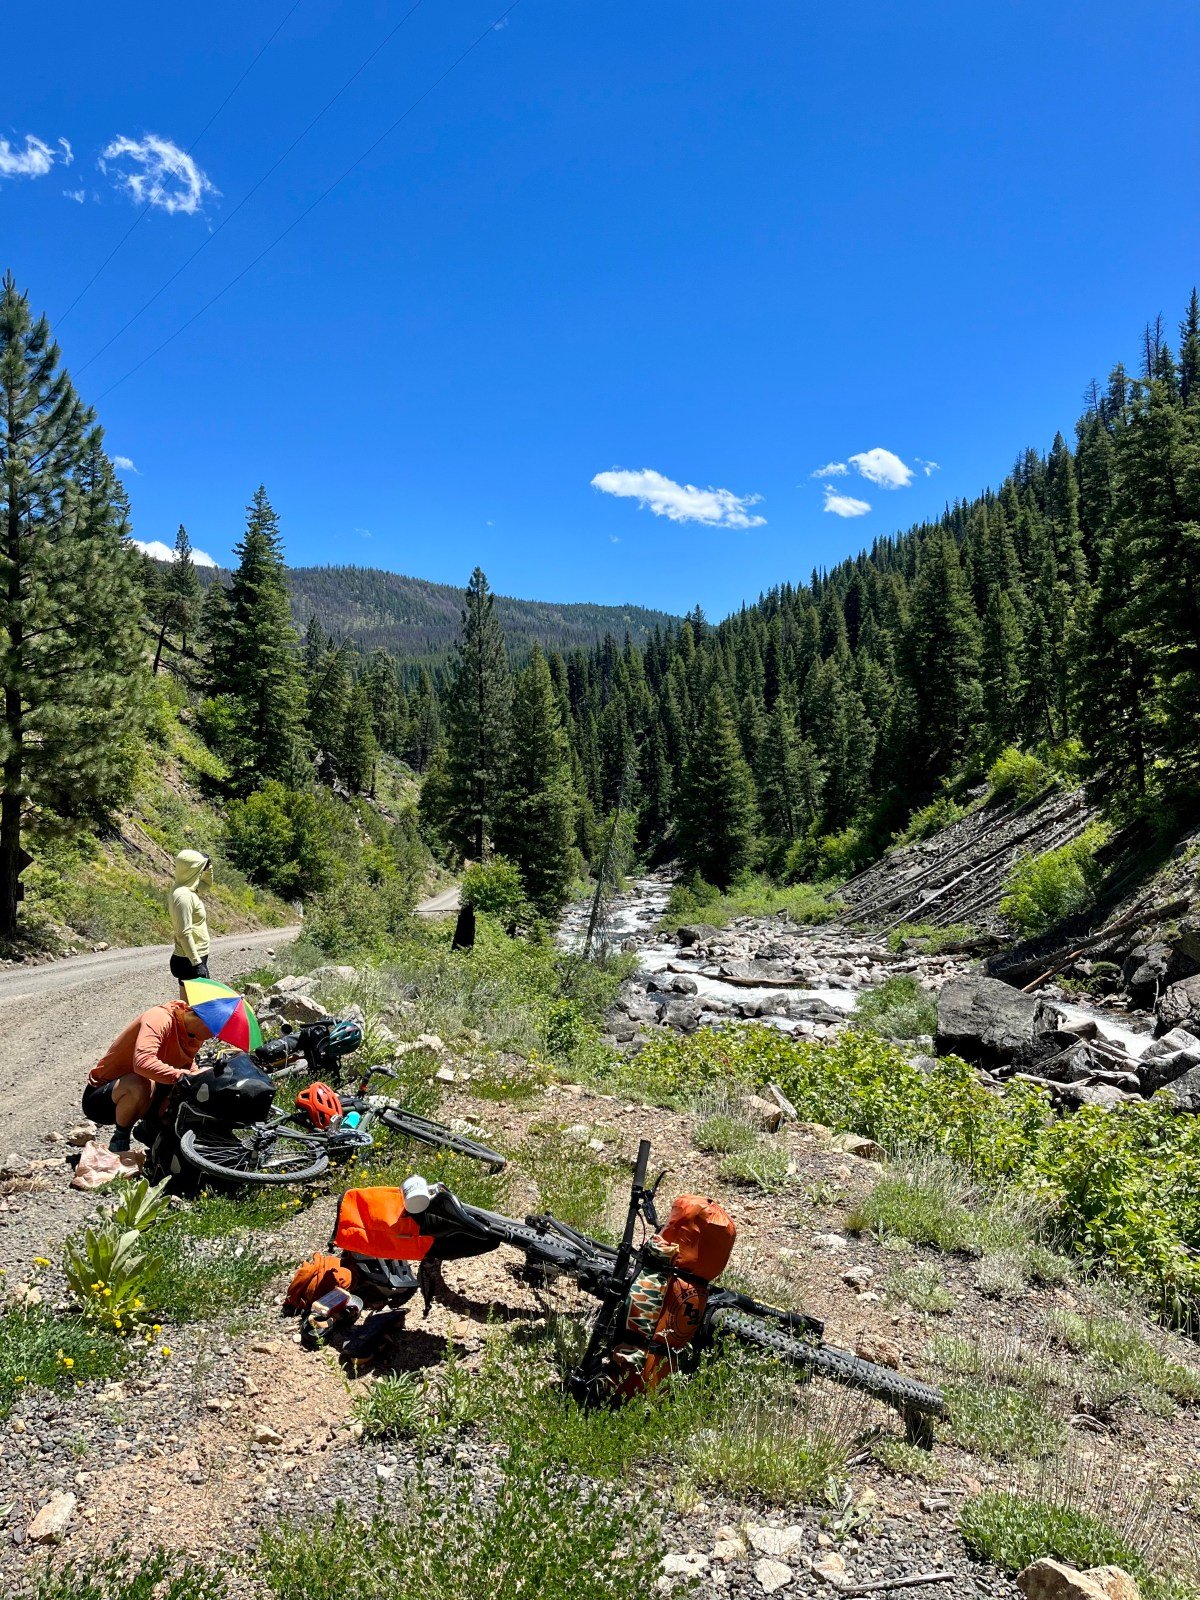
One way to make a bikepacking trip more comfortable is being physically prepared. Keeping an active routine of both cardio and strength training will help, but it is also recommended to pack your bike and do a few shorter day trips leading up to your first overnight. Try biking to the grocery store, fill up your bags there, and bike back home.
Whatever shape you come into your first trip with, however, “sitting on the saddle each morning is always the most painful for me,” Merrell says. Not to worry, though, she says this is a pain you can push past, adding “it eventually dissipates after the first handful of miles.”
Planning Your First Route
Once you’ve made it past the gear, it’s time to start planning. Everything else (the expensive gear, learning about your bike, getting in a good squat routine) might be looking easy when you first consider how to plan for your first bikepacking trip.
No need to overwhelm yourself, however. Your first couple of trips don’t need to be thousand-mile rides along the Pacific Coast (though, this may come in time). In fact, Merrell suggests that “for beginners, plan a one- or two-nighter only.”
She says she tends to keep her time on the saddle under 30 miles a day (especially for single-track trails). “My biggest push on a single-track trail ride was 55 miles on the first day of the Kokopelli Trail, which runs from Fruita, Colorado and descends into Moab, Utah,” she explains, noting that this was a “big stretch for her.”
“I usually like to stop and smell the wildflowers, but we really wanted to complete the route on the Whole Enchilada (a famous downhill trail) and extend the classic route a bit, which meant we had to make a big push the first day.”
For a beginner or someone coming back into the sport after a long break, though, keep the miles succinct and plan to be exhausted.
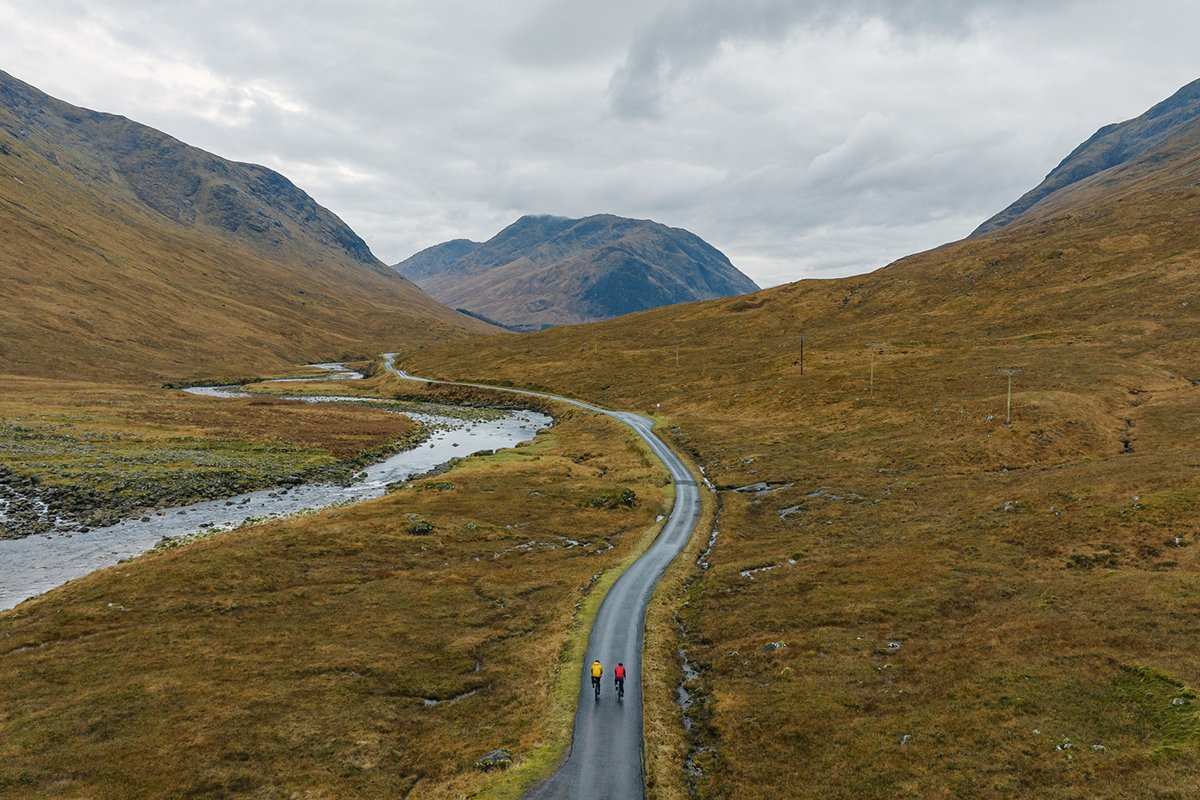
Another great piece of advice for your first couple of trips is to stick to trails that are close and familiar, leaving you with one less unknown. As for the trail itself, Merrell suggests also staying on the terrain you are already used to biking on.
“The type of trail would depend on what kind of riding you are used to,” she explains. “If you are generally a beginner rider, gravel trails are great because they aren’t as technical as single-track trails. Another perk is that they may have access to towns in case you would need to restock or fix a mechanical issue.”
Are you ready to give this type of adventure a try? Here are some final thoughts from Merrell: “The best experience you can get is through trial and error. Rig up whatever bike you have, and hit the trail!”
Source: https://outdoors.com/everything-to-know-about-bikepacking/


