A Beginner’s Guide to Backpacking
We may earn revenue from the products available on this page and participate in affiliate programs. Learn More ›
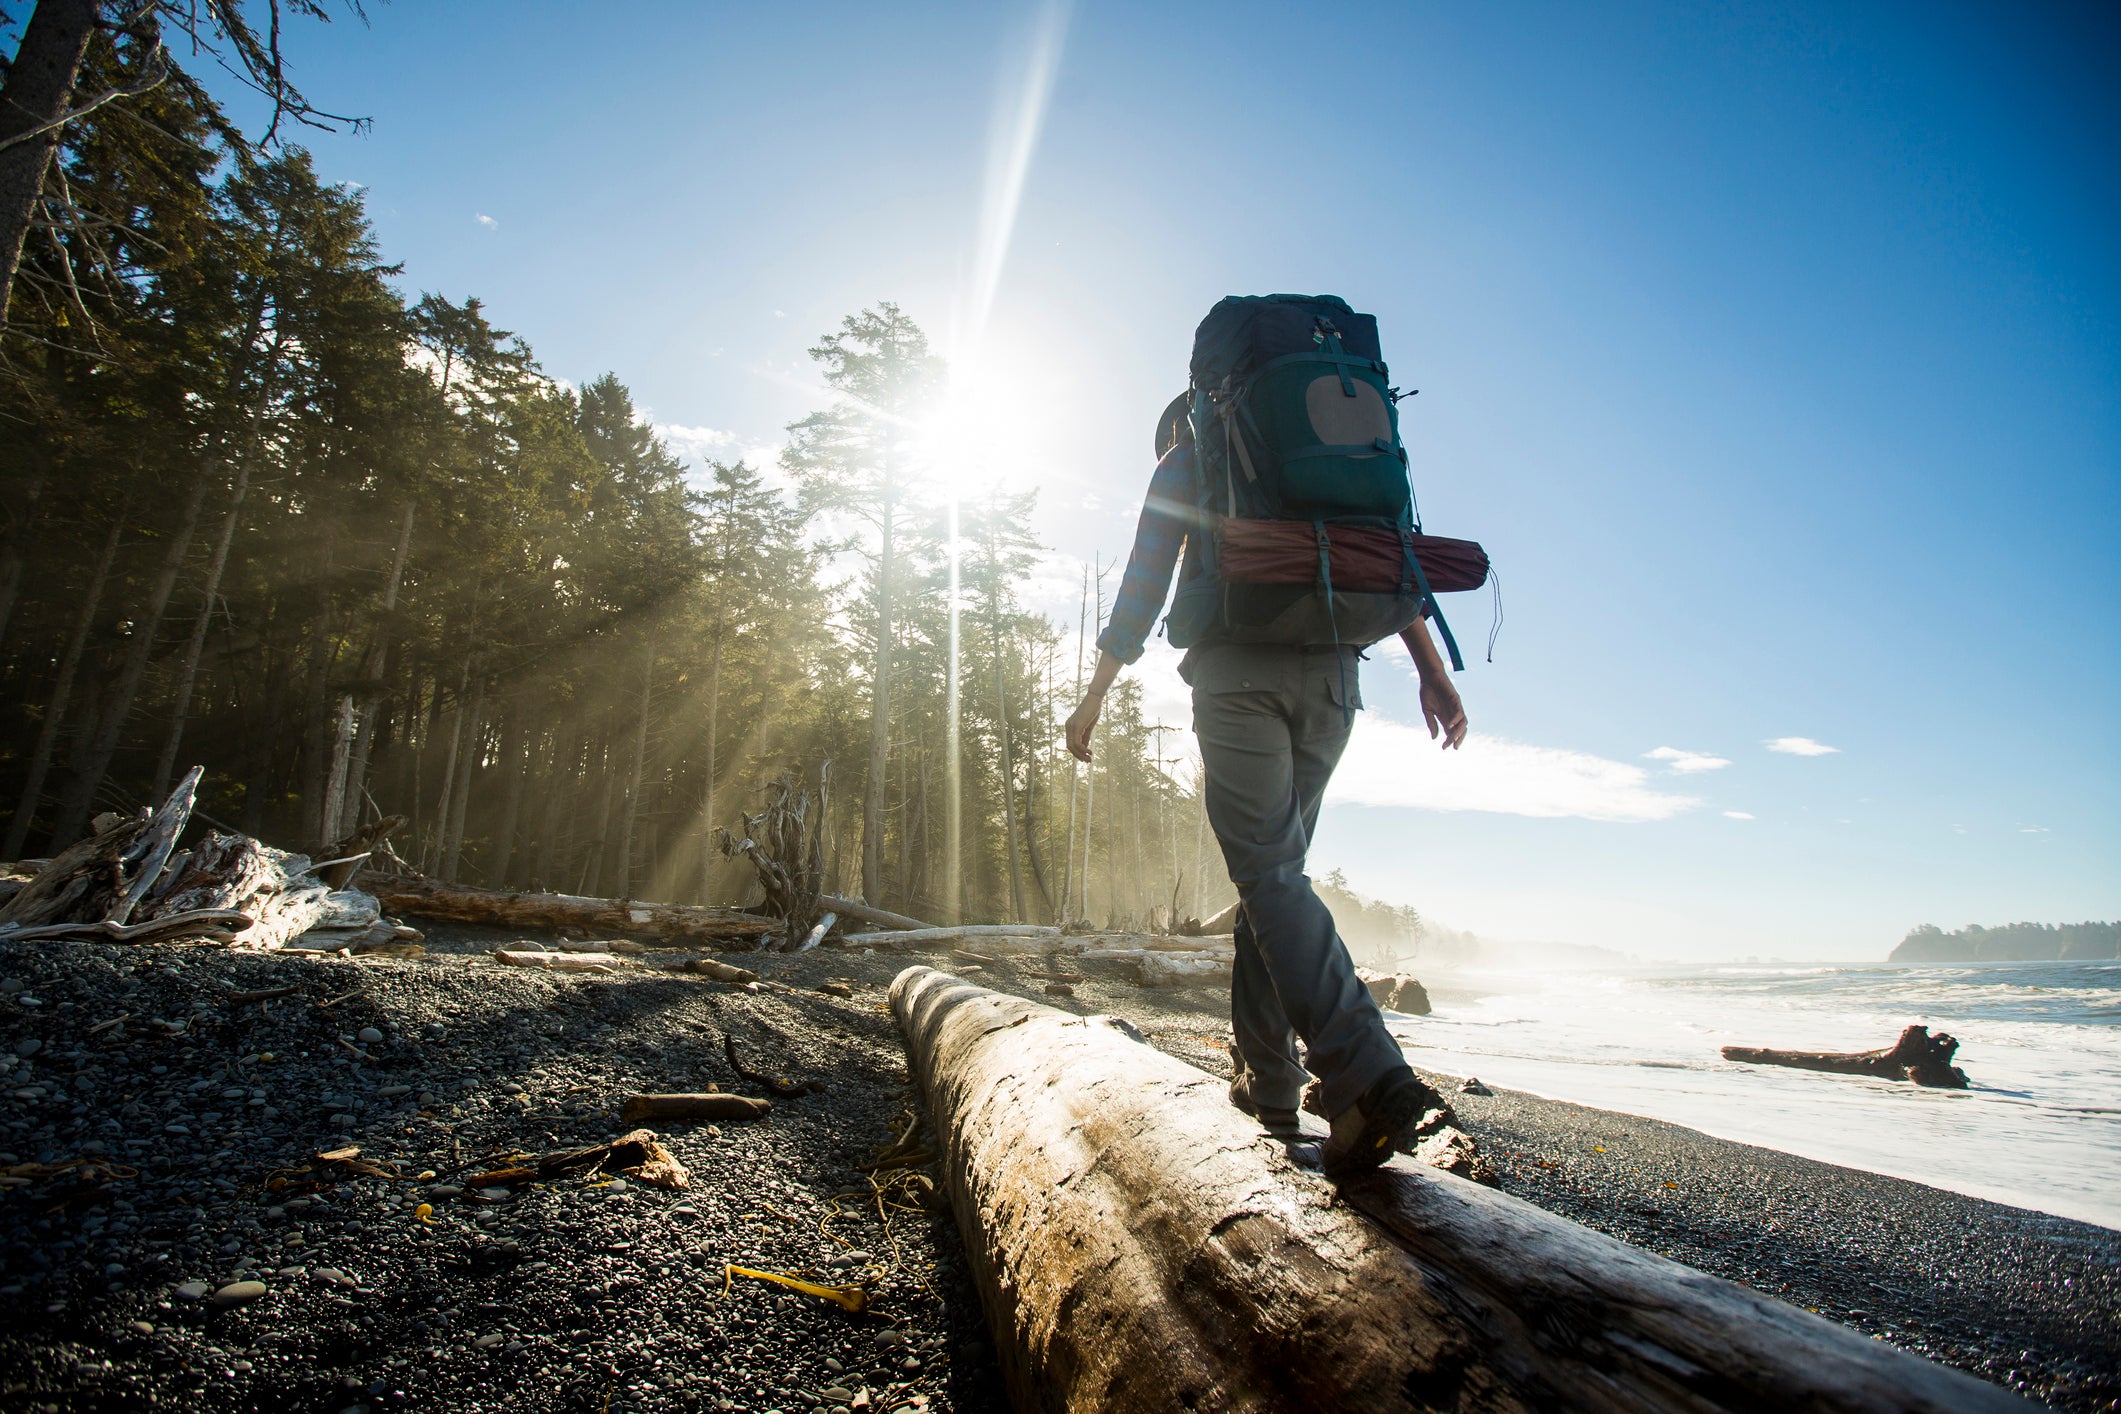
Backpacking is just like day hiking, except instead of finishing the day by going home to a shower and a hot meal, you camp alongside the trail, don’t shower, and eat someone’s best attempt at a freeze-dried pot roast. The main philosophies at play in backpacking can be boiled down to minimalism: in gear and in action. Since you’re carrying everything you need on your back, but also want to walk for miles, backpackers are very thoughtful about what they take with them. Minimalism is also embodied within Leave No Trace—the honor system by which backpackers pledge to show no evidence that they went backpacking at all (on the landscape, that is. Bragging to your friends and family is par for the course).
There are a lot of people out there who want to start backpacking, but hold themselves back, saying things like: I am not in good enough shape; I don’t have the money for gear; Everyone who works at REI is really hot and intimidating.
The secret to backpacking is not being rich or being the best shape of your life. I am a soft-handed admin assistant who is middle class, at best. I have a bunion and I eat too much cake. I have also been backpacking for two decades. If I can do this, anybody can. You do have to be realistic with yourself about what your physical limits are, of course, but the nice thing about backpacking is that it is entirely self-directed. My approach to backpacking is more like “aggressive forest bathing,” rather than chasing arbitrary footstep counts and mileage goals at the cost of my sanity or safety.
Deciding Where to Go Backpacking
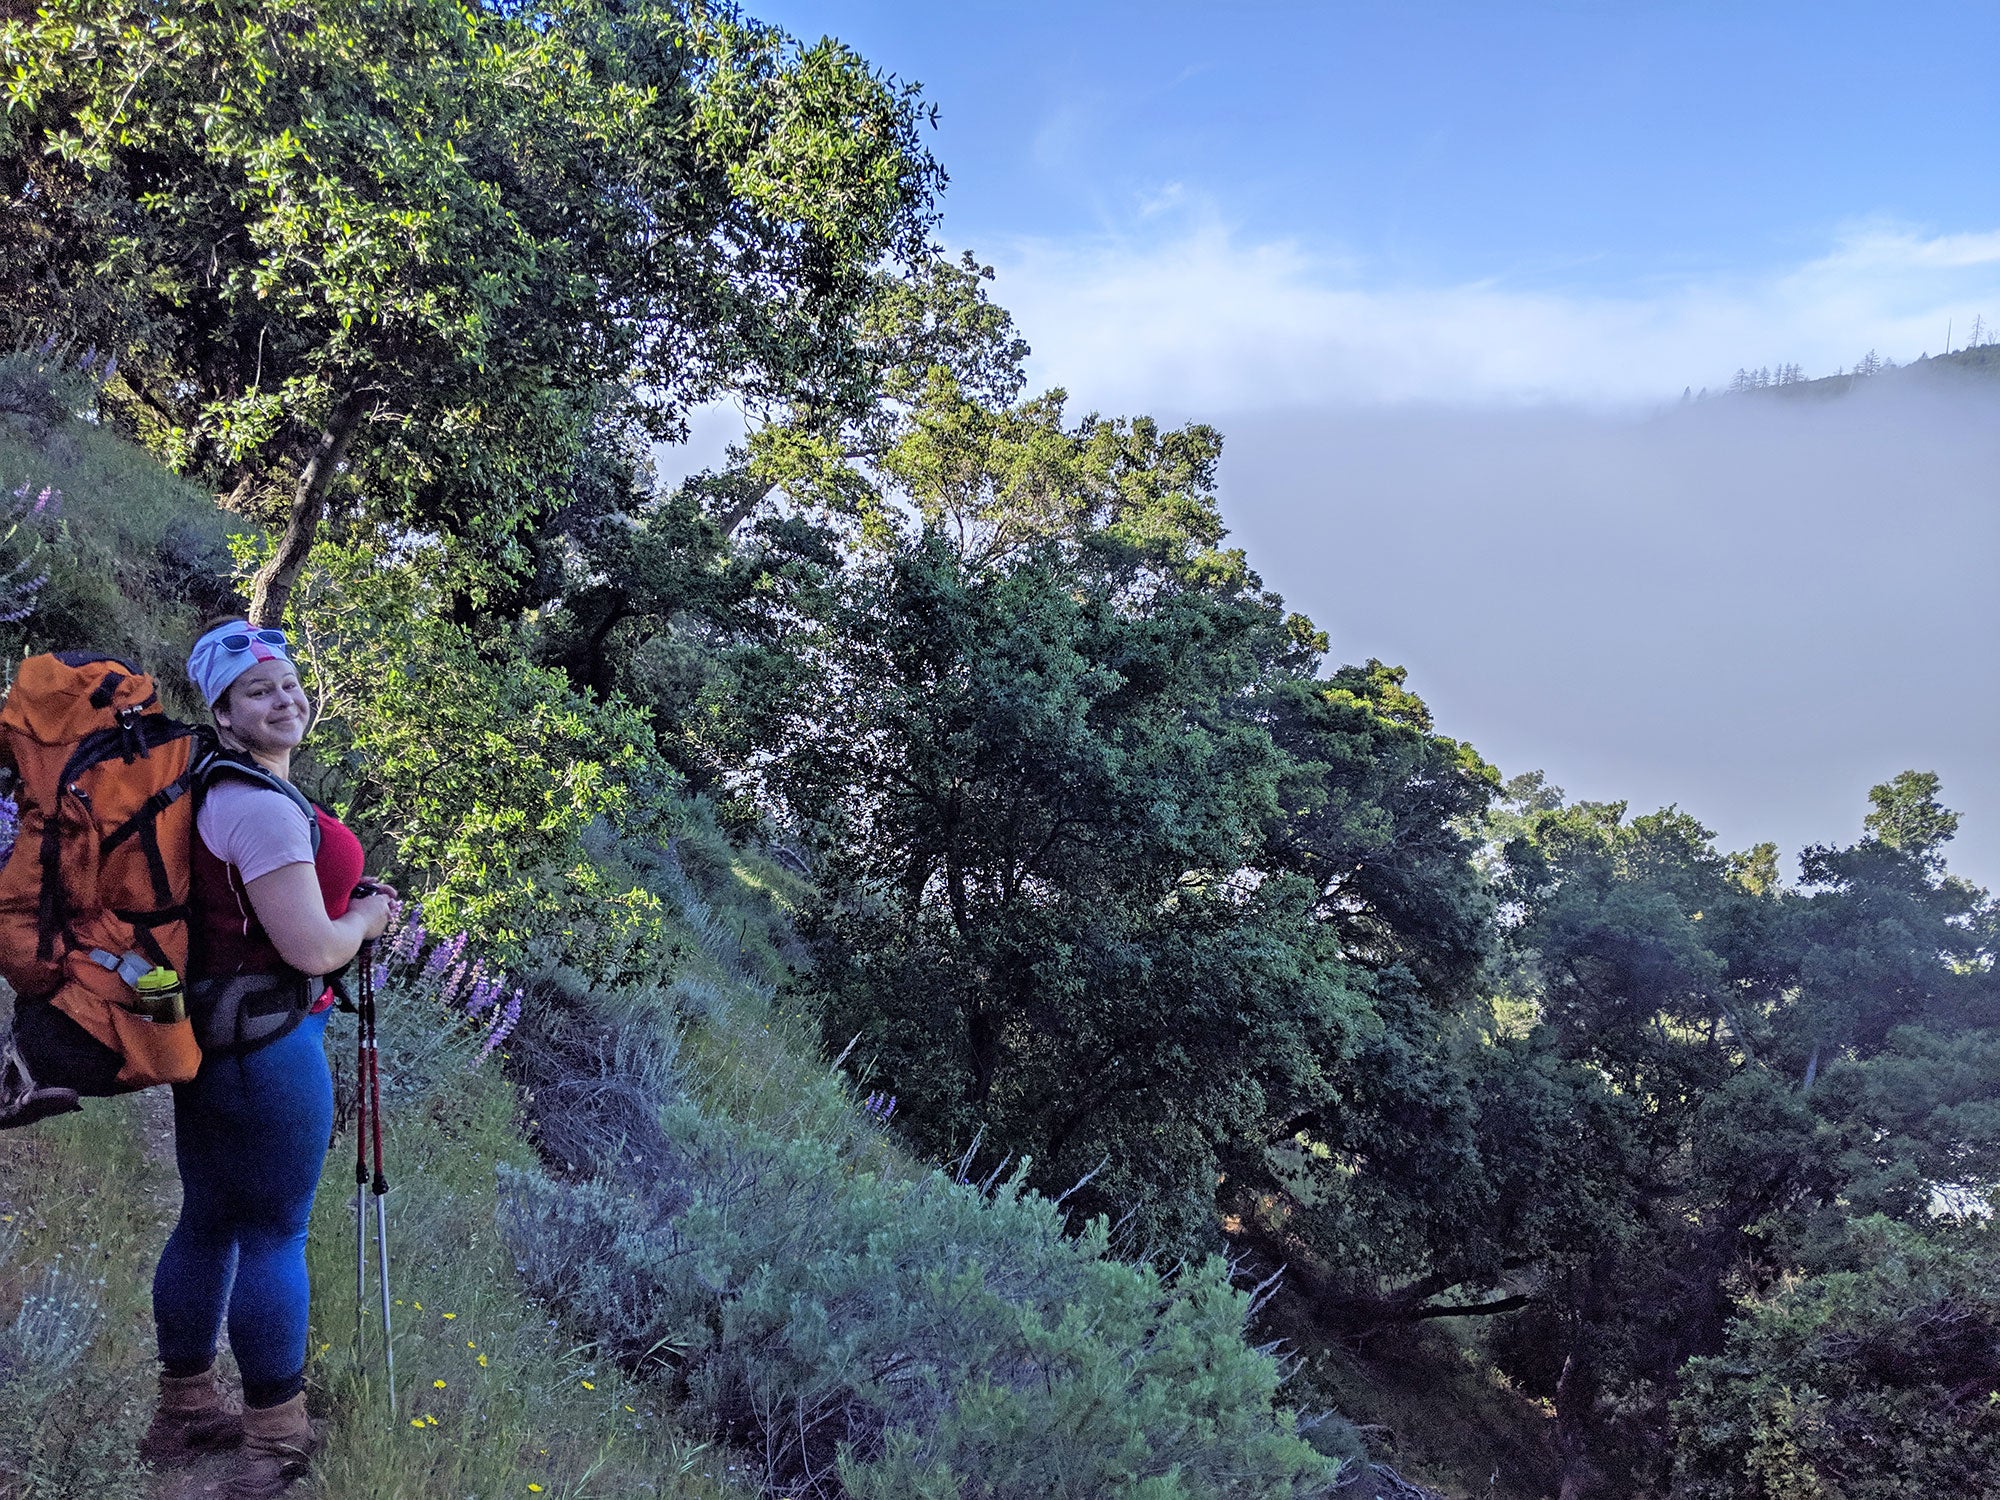
The best backpacking trails are discovered through word of mouth—as in, you are lucky enough to know someone who has already been somewhere great, and has decided you are worthy of sharing that information with. However, if you have no backpacker friends, the next best trail guides are found in books. I have long ago burned any potential bridges to sponsorship by AllTrails so I don’t feel bad about telling you the truth; most people who write about trails online are lying to you. However, people who write about trails in books tend to be certified experts whose advice has gone through a panel of editors and fact checkers. These people understand that if they make mistakes or fabricate information, it could ruin their career. People writing online have no such compunction. As such, they tend to give incomplete, amateur, or incorrect advice, even if they don’t mean any harm. You absolutely can and should research up-to-date weather and trail condition reports for a particular trip. But do not let any casual public online forum be your only source of planning wisdom. I’m telling you this as someone who used internet-only sources to plan a backpacking trip in Big Sur, and ended up bushwhacking through poison oak for a mile. Twice.
When thinking about where to take your first backpacking trip, most people first look to national parks, which are home to America’s most historic and cherished landscapes. National parks are often full of majestic backpacking routes. However, they are also the kind of place where you’ll have to sacrifice your firstborn to get a backpacking permit, since they’re usually so busy and the permitting process is competitive.
National forests, on the other hand, are like national parks’ scruffy, neglected, banjo-twanging sister. They are less frequented, less expensive, less organized, and in terms of landscapes, generally just as lovely as national parks. In a national forest, you can camp virtually anywhere, gather wood, shoot guns, and all but hook a guitar up to an amp and play a Dolly Parton tribute concert for the squirrels. If you are someone who balks at the idea of a permit lottery, look into trips in national forests rather than national parks.
How to Plan Your Backpacking Itinerary
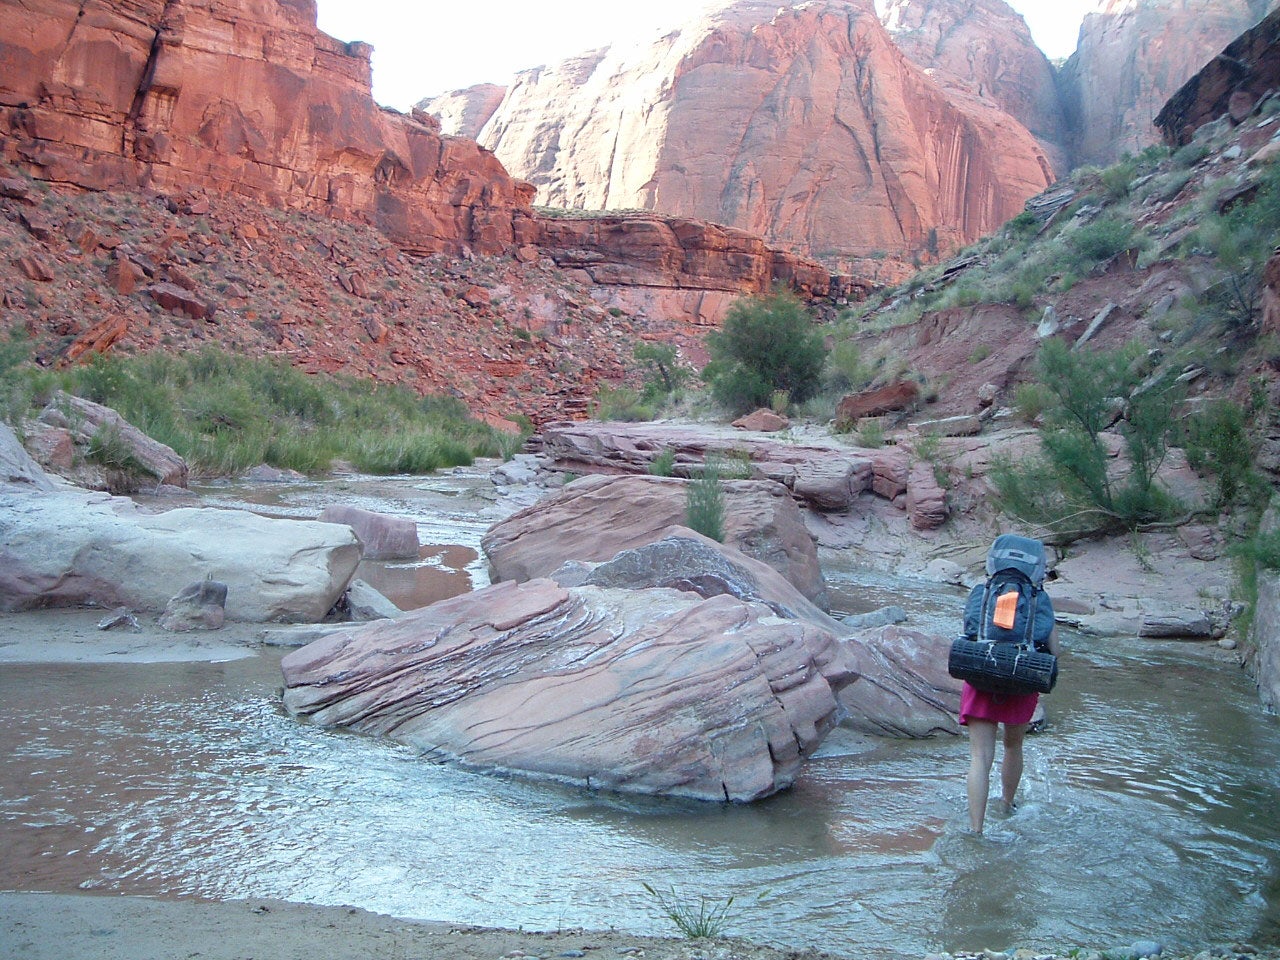
Most pre-planned backpacking routes (like those found in books) clearly state how long each day’s hike should be and where to camp each night. That’s great information. I got into backpacking to indulge my hatred of society and to pretend I’m the only person who has ever existed, ever, on whatever trail I’m currently enjoying. However, that doesn’t mean I can’t borrow someone else’s tried-and-true playbook for how to tackle that trail.
Regardless of whether you want to replicate an itinerary or invent your own from scratch, when looking at building your backpacking trip, the two most important things to have locked down are your daily water sources and your daily mileage and elevation. Carefully calculating each day’s food intake is also important so you don’t run out of energy or find yourself lugging around more weight than you need (a cardinal sin of backpacking). But planning food is not as important as planning water, or ensuring you don’t get yourself accidentally stranded because you are too tired to make it to your next checkpoint.
When trying to figure out “how hard” each day will be, consider elevation gain more than miles traveled, since that information will ultimately matter more. Hiking 8 flat miles, for example, bears no resemblance to hiking 8 miles over 4,000 feet of elevation gain. But these are just numbers on paper. What will they feel like to you?
Do Some Day Hike Training
This is where day hike training comes in. Day hikes are good backpacking preparation not just for building stamina, but for self-discovery. Load 30 pounds into your pack of choice and go on a few day hikes, keeping track of how much elevation you have gained over what mileage (this information should be readily available for most hikes, whether found online or in books). At the end of each hike, make a note of how that distance and elevation felt to you. For example: If you do a 6-mile day hike wearing a 36-pound pack with 1,500 feet of elevation gain, and notice you feel completely beat afterward, you want to ensure you don’t have any days in your backpacking trip that go much beyond this. Most pre-planned backpacking routes will state how much mileage and elevation you will tackle each day, so compare those to your day hike prowess to see if you’re up for it. There is also an excellent “hiking difficulty” calculator on Northwest Hiker’s website that can give you a rough sense of what each day of a particular backpacking trip will feel like ahead of time.
Day hiking can also help you get an idea—albeit, not a complete picture—of how much water you will want to have on your person in order to have a safe and pleasant time in the backcountry. If you completely finished 2 liters of water during your 6-mile, 1,500-foot training hike, and you have a similar (or harder) day planned on your backpacking trip, you want to either ensure you will have a reliable water source on the trail that day, or be able to carry more than 2 liters. It’s really worth taking time to discover for yourself, as different bodies have very different hydration requirements. Common sense rules like planning to have more water when you are hiking in the heat apply as well.
I find the math around how much water I need rather stressful. This is why, wherever I’m hiking, I always prefer to camp near a water source. It just makes me feel less worried knowing that whatever happens, I’m heading toward more water. Finally, it is imperative that you test your water filter before you head into the backcountry, even if you have used it before. I forgot to do this once while hiking a steep trail at 9,000 feet in the dry autumn mountains of Utah. I drank both my liters within 4 miles and had planned to fill up at a lake midway on my hike. When I got to the lake, I discovered the filter on my Sawyer Squeeze—a filter I had used at least a dozen times—was clogged. The slog out of that valley was a date with dehydration I never want to repeat as long as I live.
Online tools like those found at Hiking Project and AllTrails can help you better visualize elevation gain and loss over miles traveled when planning your trip. Paired with a topographic map that allows you to see water sources that intersect with your trail, you can have a great sense of what each day will look like ahead of time, and feel relatively confident about what you’re planning to do each day.
Backpacking Gear
If you ever want to get a backpacker to talk for 45 uninterrupted minutes, ask them how they pack their backpack. Packing one’s pack is like decorating one’s home; there’s not a perfect way to do it, and much of it comes down to personal taste. There are multitudes of opinions about which food, water filter, and stove are best. Rather than quibble over those arguments here, I’d like to focus on the thing that really matters: avoiding pain.
Best practices for a pain-free backpacking trip include wearing the right size pack for your torso length (not your body height), and ensuring you have most of your pack’s weight carried in your mid- and lower back so your legs do more work than your shoulders. When I was a teenager, I was taught that every backpacking backpack should be fitted so that you have an inch or two of free “floating” space between your shoulder strap and your actual shoulder. I used to think this rule applied to every backpack, and didn’t understand why some packs gave me aches. I found out later, feeling a bit dumb, that this “floating shoulder strap” rule is not something every pack is designed to have. Whatever pack you end up with, either brand new or borrowed from a friend, be sure to check if they have a “how to fit” video guide to help ensure you are wearing it correctly. This can save you literal aches and pains.
What to Bring Backpacking
Generally speaking, this is everything I pack and how I pack it:
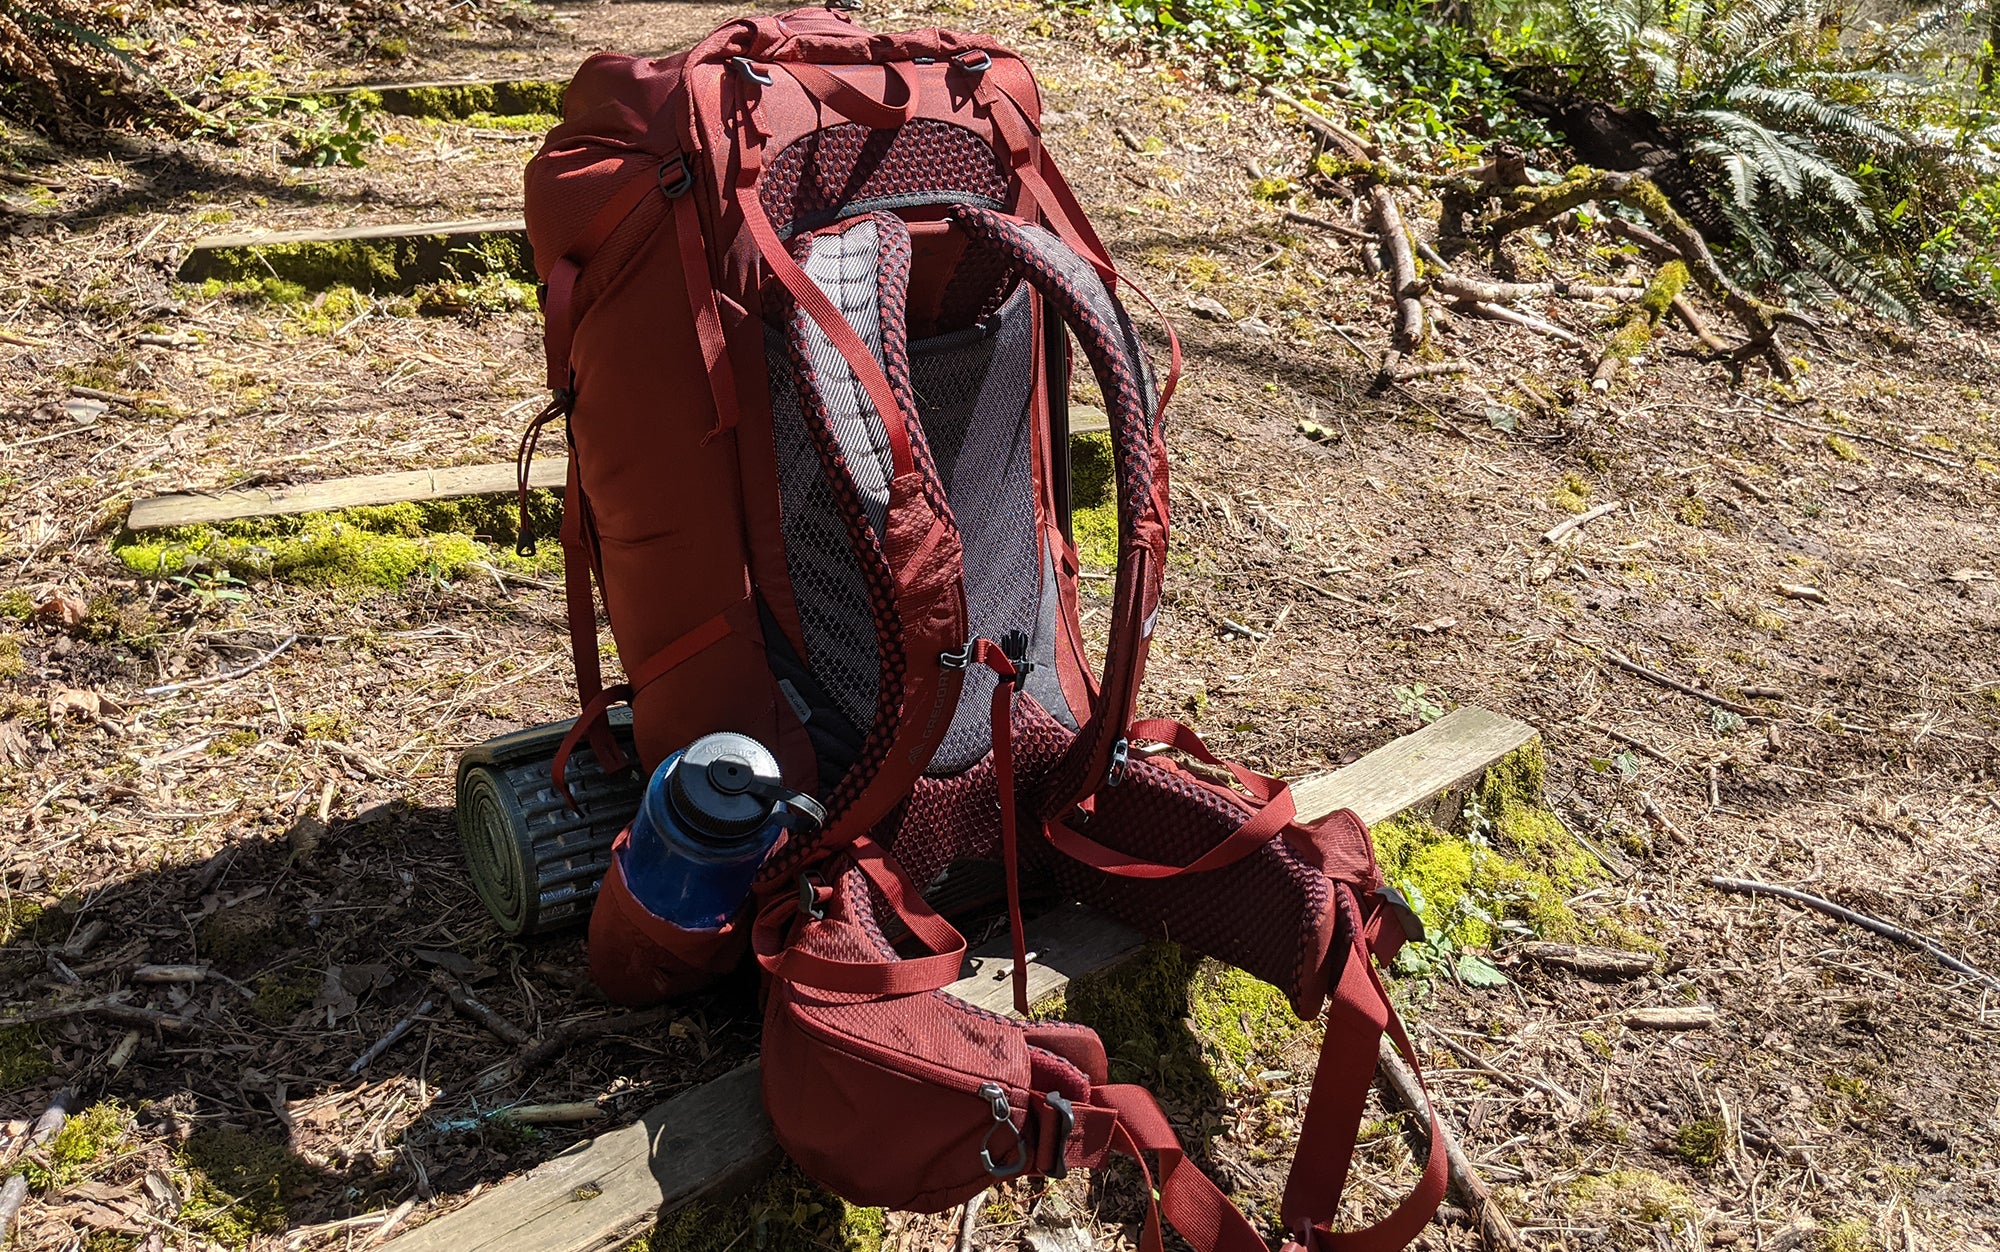
The Bottom of the Pack
1) Sleeping bag in its stuff sack
2) Sleeping pad (could also be attached to the exterior of your pack)
The Middle of the Pack
1) Food
2) Bear canister, if applicable
3) Stove
4) Fuel
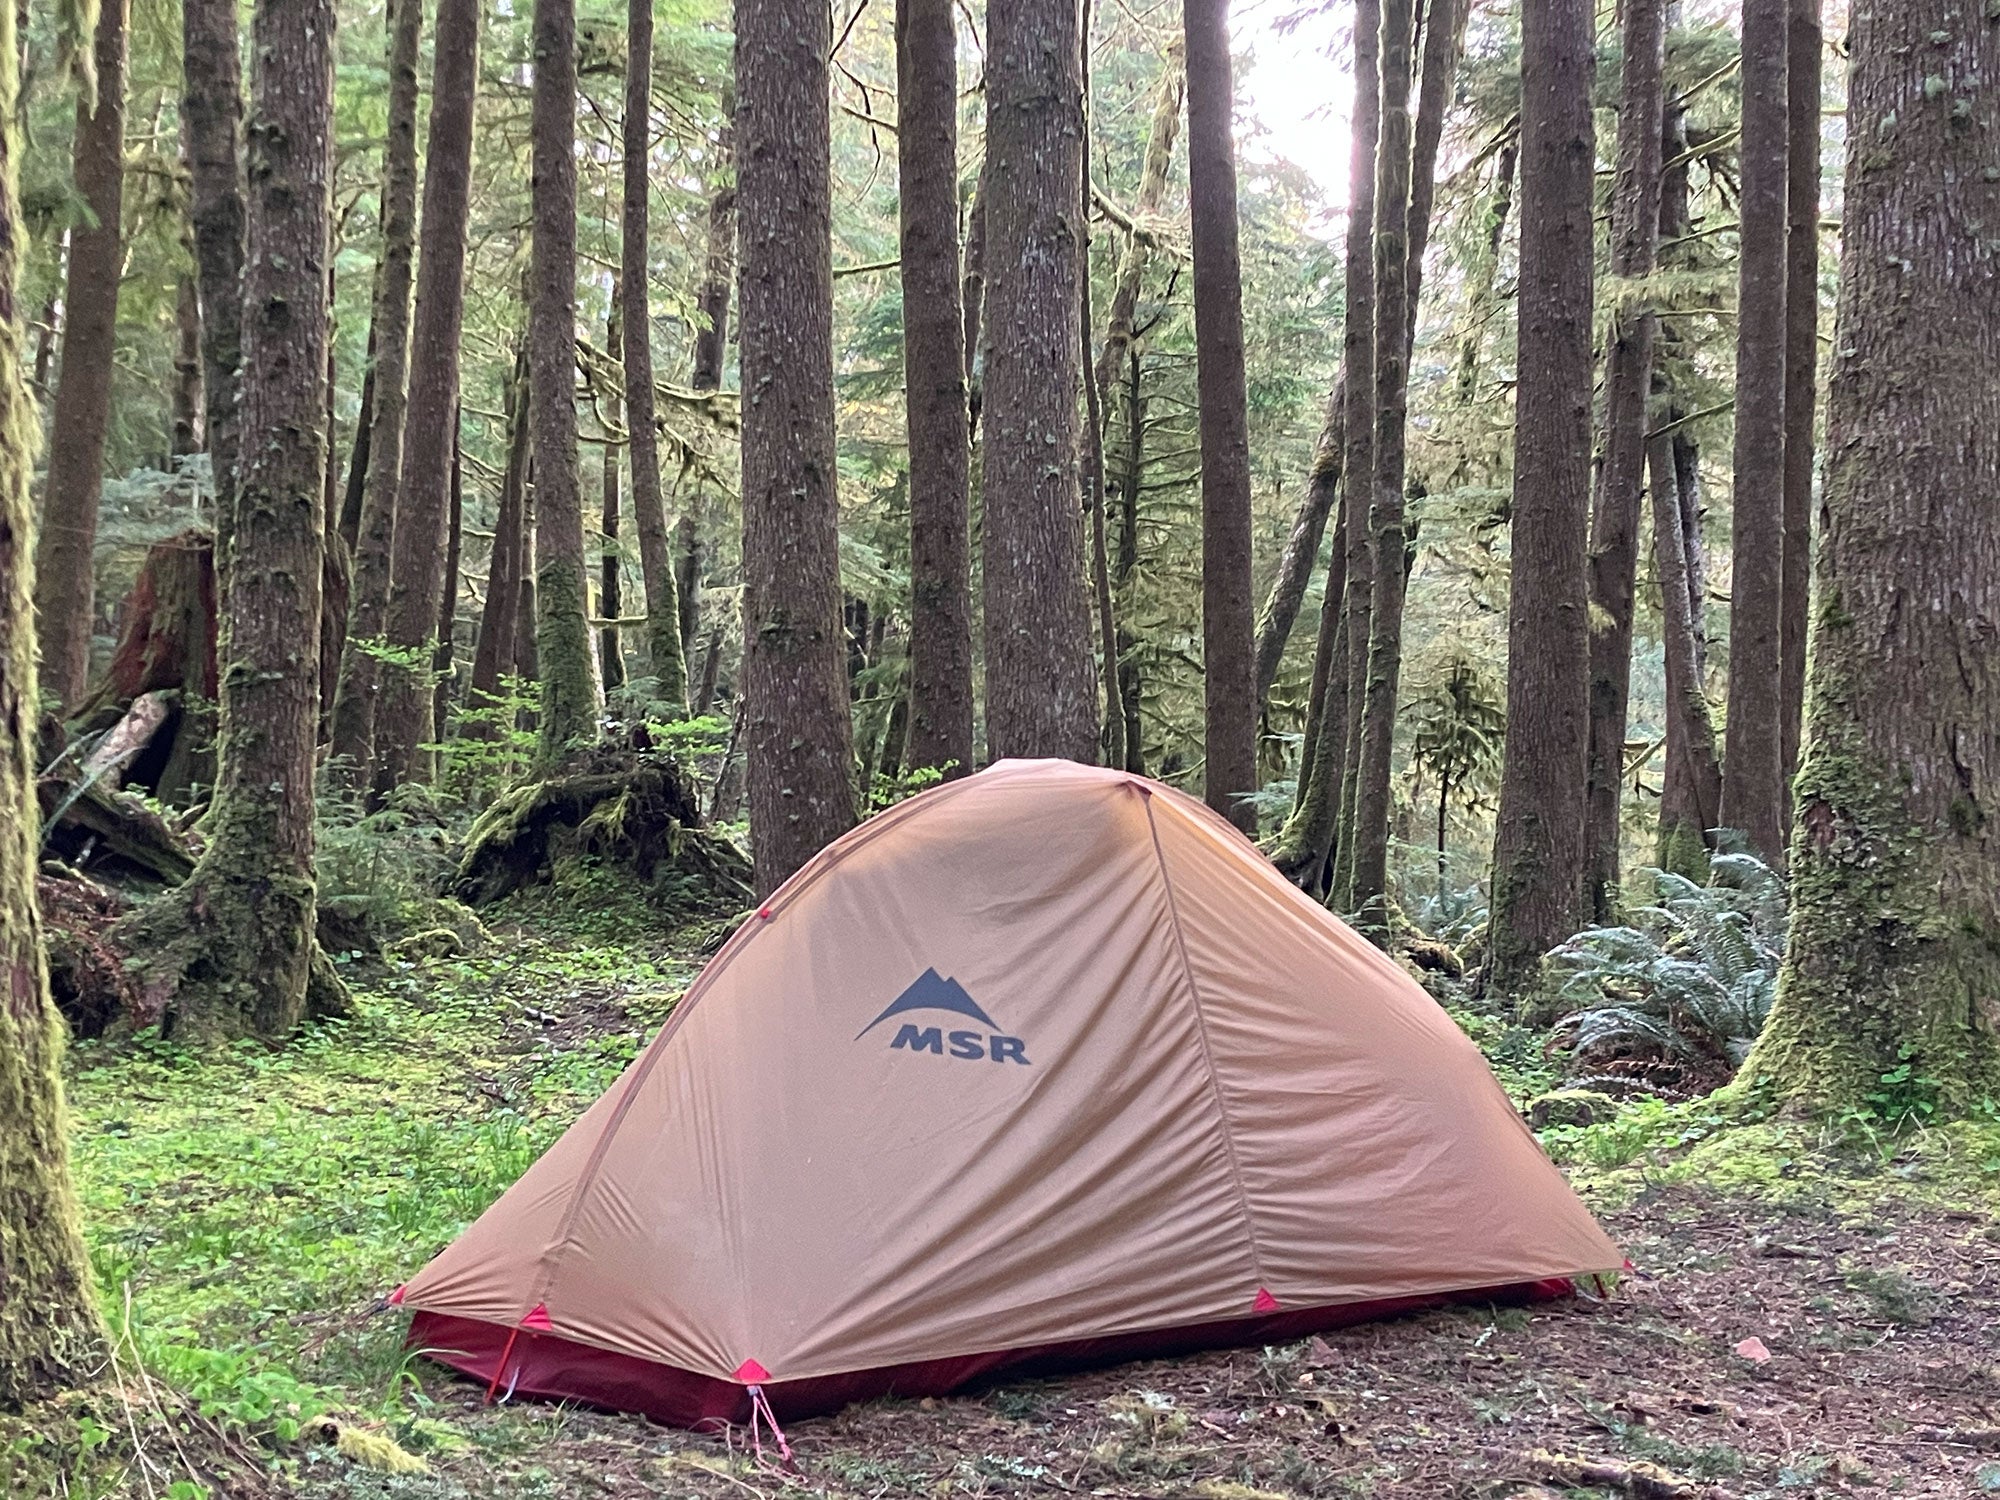
5) Shelter system: including tent body, poles, rainfly, and footprint (if applicable)
The Top of the Pack
1) Two pairs of pants
2) Two shirts
3) Two pairs of your various underwears (sports bras, panties, boxers, whatever you do)
4) Two pairs of socks
5) Base layer
6) Mid layer
7) Shell layer
8) A beanie or buff
9) Swimsuit (if you’re a prude, like me)
The Brain of the Pack
1) A medicine kit: tweezers, gauze, iodine (which can serve as a backup water purifier + antiseptic), painkiller, anti-diarrheal medication, bandaids, emergency blanket
2) A toiletry kit (mini toothpaste and toothbrush, moisturizing salve for lips, legs and hands)
3) Headlamp and extra batteries
4) Topographic map (plus the knowledge to use it, which is ideally in your brain)
5) Firestarter
6) Pack cover
7) Your water purification system of choice
8) Sunscreen
10) Gaffer tape (great for blisters, saves your skin without tearing it)
11) Knife
The Underside of the Brain
1) Toilet paper stored in a clean Ziploc bag
2) A bag to stash used toilet paper (contained within a larger Ziploc for double-protection), usually covered in duct tape
3) Orange shovel
4) Hand sanitizer
The Outside of the Pack
1) Two cotton bandanas, taking their sun bath
2) Hiking poles (and other stabby items like ice axes and crampons, if headed for the snow)
How to Not Spend $2,000 on Backpacking Gear
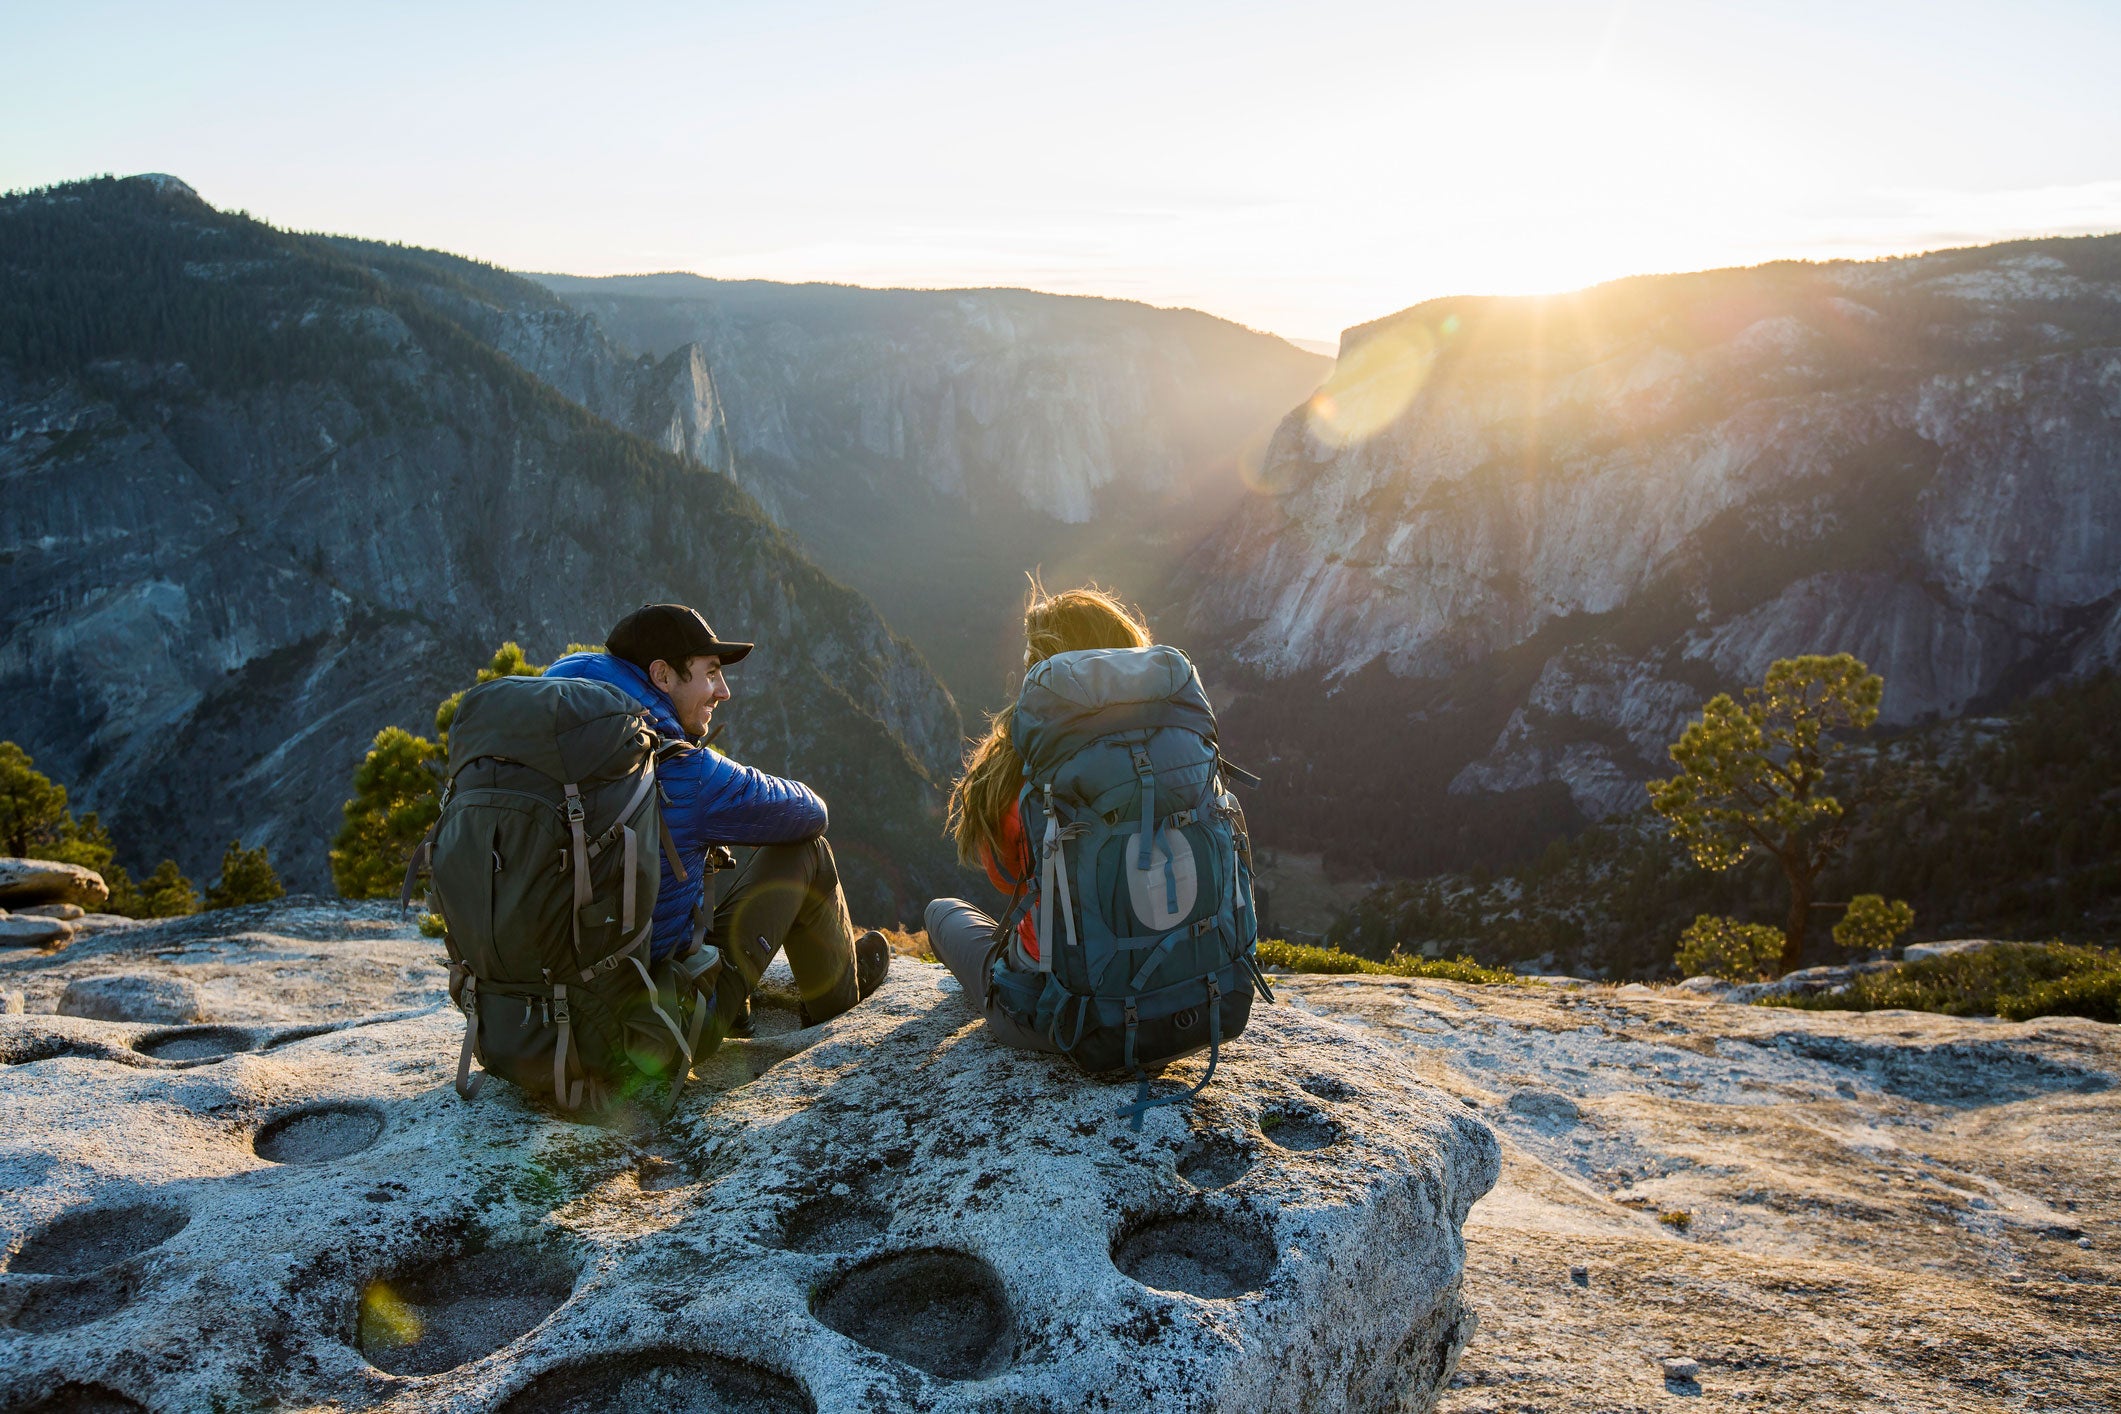
Backpacking can be an incredibly expensive sport, but there are ways to save hundreds of dollars. For example, buying used gear at REI, Geartrade, or on eBay is an excellent idea, especially for items like rain gear, backpacks, tents, and even stoves. You can easily spend a fortune on specialty hiking clothing, or you can rifle through your closet at home and simply wear whatever is comfortable and not cotton. How to layer your backpacking clothes for warmth is an art, but you may be able to incorporate many items of clothing you already own.
In my experience, the place where you do not want to cheap out is on your shoes and your sleeping system. A lot of problems can be surmounted in backpacking, but if you can’t walk well, or are too cold to sleep at night, your whole trip will be toast.
An entire book could be written about backpacking shoes. But after ruining my feet on several trips with blisters, achilles tendonitis, and athlete’s foot, my main advice is to purchase your backpacking shoes at least a half size larger and, if you can, wider, than your street shoe size. When you get deep into your backpacking trip, your feet will begin to think you’ve just become nine months pregnant with twins and have decided to take up the Hajj. Give them space to accept the situation. REI is a favorite for shoe shopping because of their excellent return policy—you can buy a pair, test them out on the trail, and if you realize you got the wrong size, exchange them for something better. Always break in your shoes before taking them into the backcountry. There is no hard and fast rule here, but in my experience, three solid day hikes should do the trick.
For sleeping bags, you can hold out for a Black Friday sale, but you may have to just be prepared to shell out funds here, especially if you plan on camping anywhere that sees freezing temperatures. Used sleeping bags are a gamble, especially if you’re buying from a stranger and you don’t know if they abused it (such as storing it compressed, so that it has lost some of its insulating properties). Keep in mind that although sleeping bags are temperature-rated, what comfort they actually deliver is entirely dependent on the sleeping pad you pair them with (read about R-Value and why it matters). The easiest way around this problem? Invest in a sleeping pad with a high R-value rating, so you can enjoy the maximum capabilities of your sleeping bag.
Final Thoughts on Backpacking
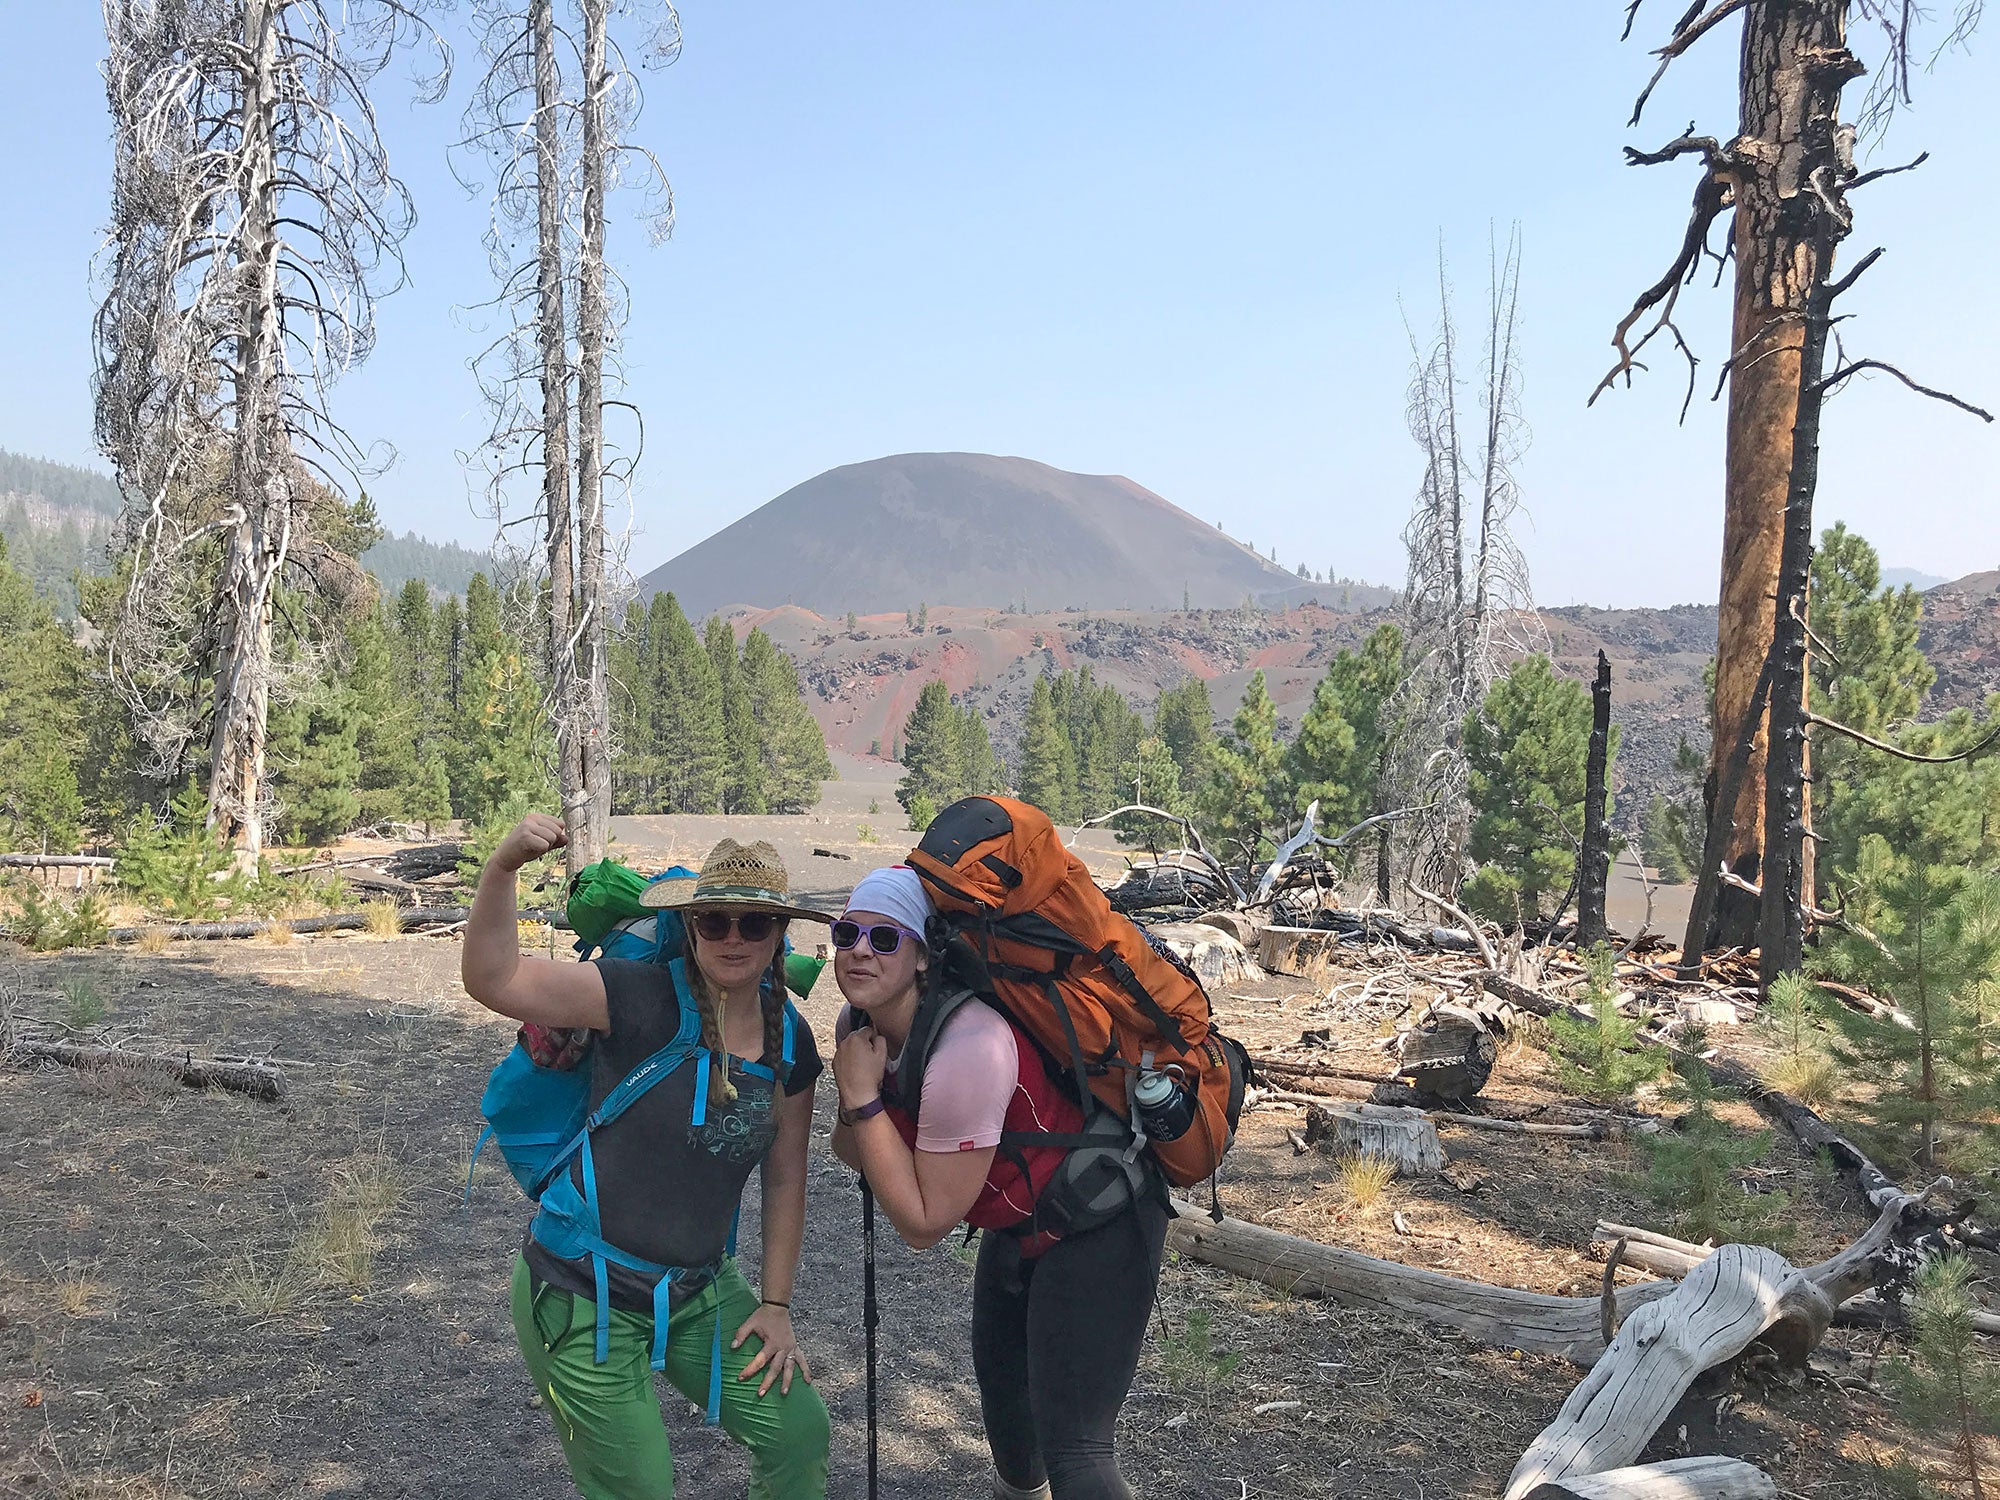
Backpacking is a great way to run away from your problems, while convincing your friends and family you are actually very responsible. Taking a course in basic wilderness medicine, learning how to read a topographic map, testing out food options at home, and reading up on Leave No Trace principles can all help with some of the culture shock that will inevitably come when you’re existing 100 percent outside for days at a time. Every time you go backpacking, you will make mistakes and learn a new way to do something better, possibly from other backpackers. The nice thing is that backpackers tend to be some of the kindest, most generous people on earth. We are all just out here to help each other enjoy the sensation of pretending we’re the only people out here. If you’re interested in reading more about backpacking, check out my book, How to Suffer Outside: A Beginner’s Guide to Hiking and Backpacking.
The post A Beginner’s Guide to Backpacking appeared first on Outdoor Life.
Articles may contain affiliate links which enable us to share in the revenue of any purchases made.


