The 10 Most Common RV Water Damage Issues and How to Repair Them | I Heart RVing


Over time, water can quietly compromise the structure of your RV. From soft floors to mold growth, the damage isn’t always visible until after it’s widespread. Unlike cosmetic issues, water damage in RVs can affect your insulation, electrical systems, and resale value. That’s why early detection and routine maintenance are crucial.
How to Spot Water Damage in RVs
Recognizing the early signs can help you stop damage before it spreads.
What to Look For:
- Stained, soft, or bubbling wall panels
- Warped cabinetry or flooring
- Musty odors or visible mold
- Rust around interior screws or fixtures
- Damp spots near windows, skylights, or plumbing fixtures
Pro Tip: Use a moisture meter to check for hidden damage, especially before buying a used RV.
Most Common Causes of Leaks and Water Damage
Leaks can start small but lead to serious issues over time. Here’s where they most often begin:
- Cracked or deteriorated roof seams
- Improperly sealed windows, doors, or slide-outs
- Damaged caulking in bathrooms or kitchens
- Leaky plumbing lines or water heater connections
- Failed vent or skylight seals
Fixing RV Water Leaks: Key Repair Areas
Once you’ve identified the source of the leak, you’ll want to act fast. Here’s how to handle common repairs:
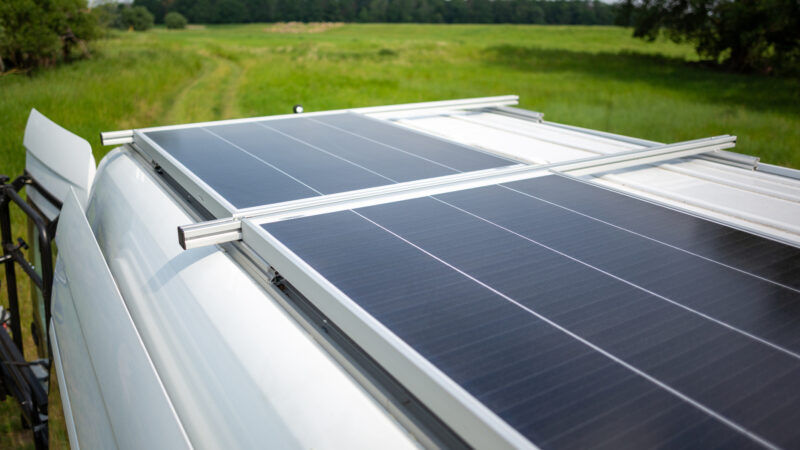
Roof Leaks
- Clean the area and re-seal using RV-specific sealant or tape
- Inspect AC units, vents, and skylights—as these are high-risk areas
Window & Door Leaks
- Remove old caulk and reapply fresh sealant
- Replace worn gaskets or use butyl tape beneath the trim
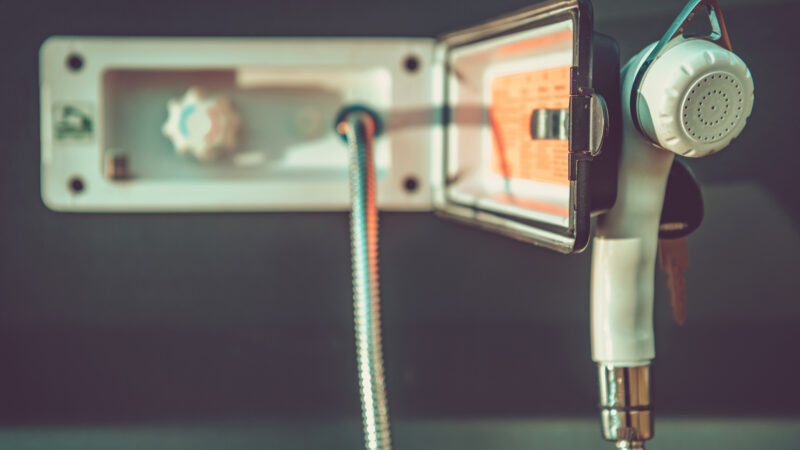
Bathroom & Kitchen Leaks
- Re-seal shower pans and sink fixtures
- Check for cracked plumbing or fittings behind access panels
Water Heater Leaks
- Tighten or replace the drain plug or pressure valve
- If the tank is cracked, replacement is likely the safest option
How to Repair Water-Damaged Materials
Once the leak is sealed, assess the interior damage:
- Dry everything thoroughly using fans and a dehumidifier
- Remove and replace any soft subflooring, wall panels, or insulation
- Treat the area with a mold inhibitor
- Use moisture-resistant materials during rebuilds whenever possible
DIY or Call the Pros?
DIY If:
- The damage is small and localized
- You’re comfortable working with tools and sealants
Call a Pro If:
- Mold is present, or the structure is compromised
- Electrical or HVAC systems are involved
- You’re dealing with a large area or insurance claim
How Much Water Damage Totals an RV?
In some cases, the damage isn’t repairable—or worth the cost. Insurers may consider your RV a total loss if:
- Water has reached structural framing or the subfloor
- Mold is widespread
- The repair cost exceeds the RV’s value
Review your policy to see if gradual water damage is covered (many only cover sudden incidents).
Preventing Water Damage Before It Starts
Prevention is the best protection. Build these habits into your routine:
- Inspect your roof, seams, and seals every 3 months
- Reseal annually with proper RV products
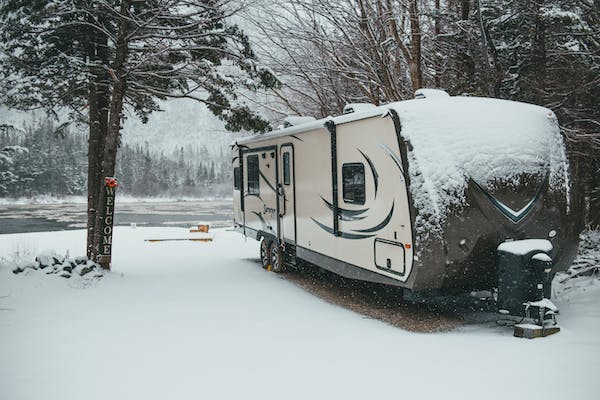
- Store your RV under a breathable cover or shelter
- Winterize plumbing to avoid freeze-related leaks
- Monitor for damp smells or stains after heavy rains
Conclusion: Staying Dry Is Staying Safe
Water damage can quietly ruin an RV, but consistent inspection, proper sealing, and quick action can keep your rig protected. Whether it’s a leaky window, a bathroom drip, or a full-blown roof failure, knowing how to prevent and repair water damage is essential to preserving your RV investment—and your peace of mind on the road.
Source: https://iheartrving.com/blog/the-10-most-common-rv-water-damage-issues-and-how-to-repair-them/