RV Dewinterizing Made Simple
Winter is almost over, the snow is melting and RV season is here! It’s time to dewinterize your RV. Make sure you’re ready for the first nice weekend.
The clocks have sprung forward, the first nice spring weekend is in the forecast and you are ready to roll … or are you? Before hitting the road for the maiden voyage of the season you first must properly dewinterize your RV.
Winterizing and dewinterizing an RV are dreaded tasks for many RVers. But, they are actually pretty simple and quick. Plus, they’re very important to help extend the life of your RV.
You can pay a dealer to perform the work for you, but it’s gonna cost you money and time. Spring is busy for dealers and what could simply be an afternoon DIY job for you may mean days or weeks waiting for an appointment.
So roll up your sleeves, grab a cold beverage and wake your RV from hibernation.
Why we Winterize RVs
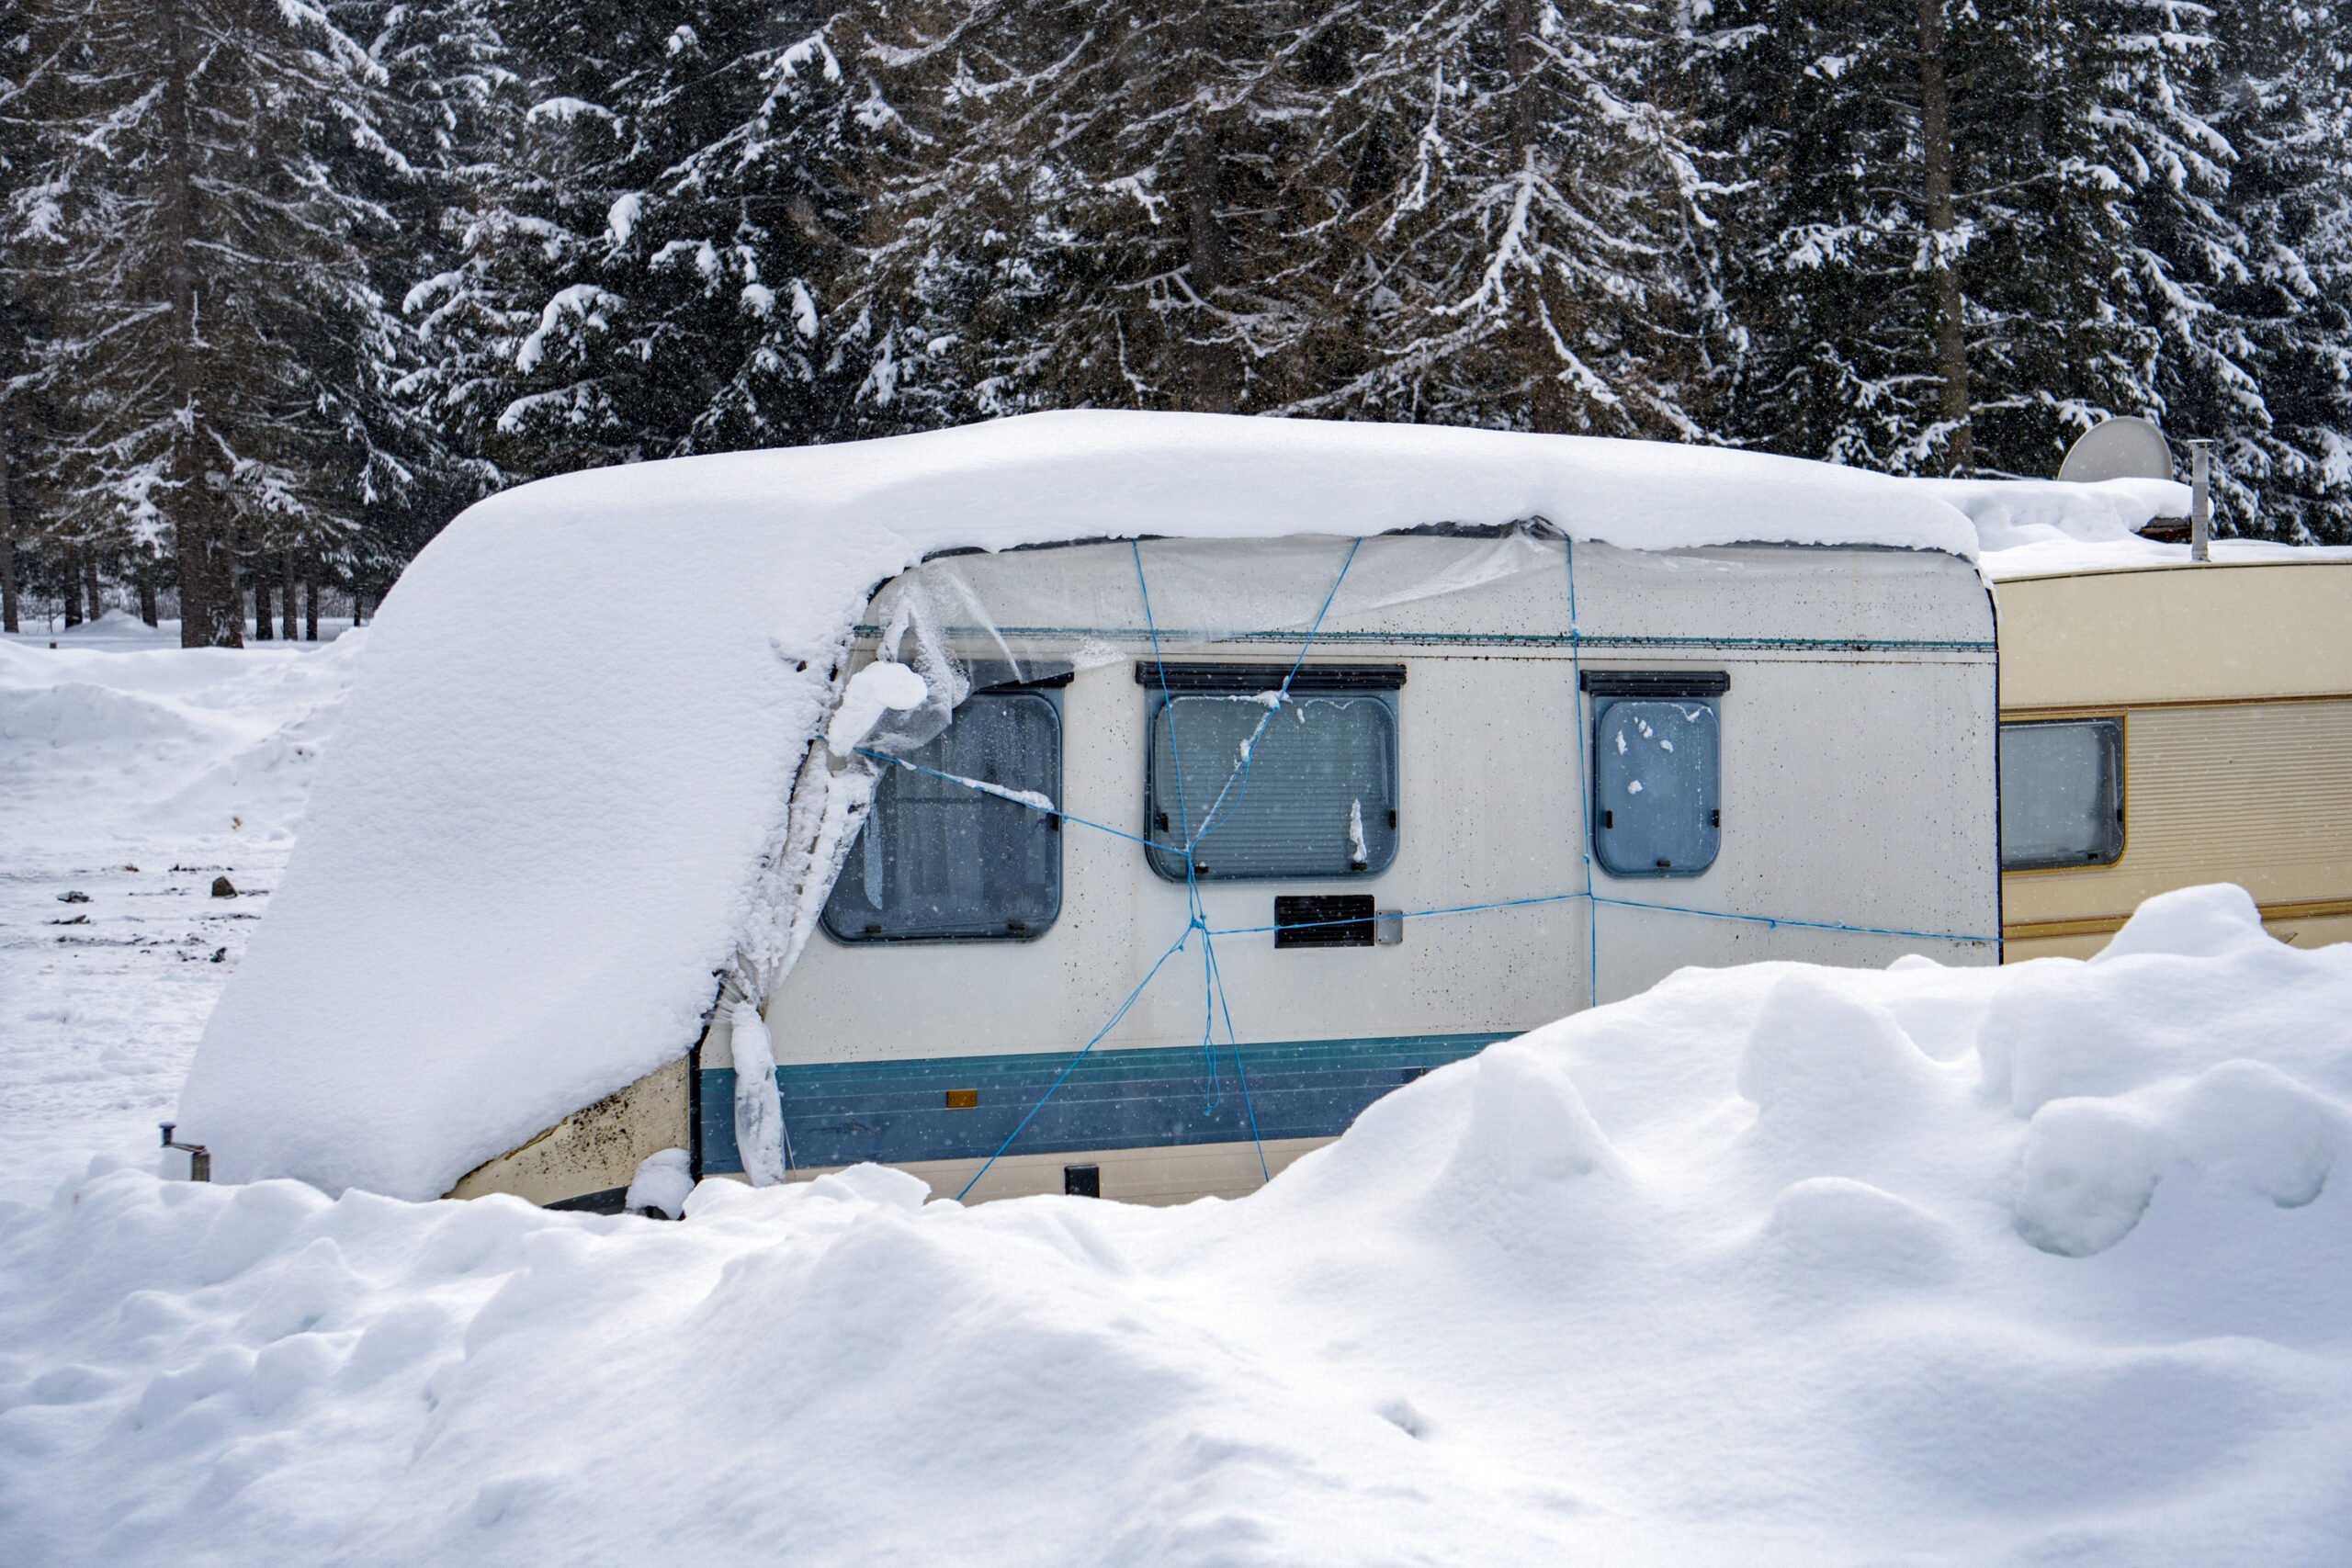
In colder climates, the plumbing system on RVs is drained of water and filled with an antifreeze solution. This prevents any freezing and damage to pipes, fittings, and plumbing fixtures.
The freezing action causes expansion, which is what causes the cracking of components. Most modern RVs are equipped with winterizing bypass systems to simplify the process.
Your water heater is a critical component that in most RVs can’t have antifreeze added to it. The bypass also simplifies this procedure.
In addition to the antifreeze, there are other things like batteries and pest control that are part of winterizing to safeguard your RV when not in use.
Make a Plan for Dewinterizing
Dewinterizing is simple but it can be easy to miss things if you are rushing to prepare for your first trip of the season. For this reason, it is good to have a dewinterizing checklist to ensure nothing is missed.
Before heading to your RV for dewinterizing you will want to make sure you have a few things with you. Tools required are minimal but having the ones needed along with a few other items will make the process faster and more enjoyable.
Tools for Dewinterizing Your RV
Not much is needed here but some basic items. In fact, a combination tool kit should include most anything you need. If not, make sure you have a socket set for the water heater drain plug, screwdrivers to remove access panels, some bleach or water system treatment, and a bucket.
If you will be removing your wheels a wheel wrench, jack, and jack stands will also be needed. A multimeter and handheld gas monitor are not necessary but are always good to have in the RV just in case you come across something that needs troubleshooting.
Additional Items For The Job
In addition to some basic tools, there are a few other things that can help with the job.
A pair of coveralls and/or something to lay or kneel on is a must. There is a good chance spring in your area can be wet and muddy. You will want to do a thorough check around your RV including inspecting wires and drains underneath.
If you are prepared to get dirty if necessary you will be able to perform a more thorough inspection and proper dewinterization.
When inspecting all of the various items and systems on your RV, there will likely be things that require attention. Having a notepad with you to write down things you notice or want to go back to ensures you don’t forget anything.
The dewinterizing process shouldn’t take long especially after you have done it a couple of times. You don’t want to rush it, however, so if your RV is stored somewhere away from your home bring snacks and drinks. Cutting the job short cause you got hungry could cost you during the season.
The Dewinterizing Process
You got your checklist, tools, and snacks and it’s time to dewinterize! Again a checklist of things to do can help to keep you focused on one job at a time.
If you have help, make sure all tasks are being checked off and communicated to each other.
Everyone will have an order of how they do things and that’s fine. Here are the various things that need to be completed.
Exterior Inspection
If your RV is covered, this will be the first thing you do. A thorough walk-around and inspection of the RV will likely be the second. Start with the roof and move around the exterior finishing underneath checking for any issues.
Roof seals and coverings, window and door seals, glass, any connections and fittings, and exposed wiring should be inspected. Is everything in good condition? Is anything missing? Are there signs of pests or rodents?
Tires are next, check that they are fully inflated and that they haven’t developed any cracks while stored. This is also the time to check the manufacture date in case it’s time for new tires. The general consensus on lifespan is approximately 5 years for trailer tires.
While you are on the ground inspect the suspension for any damaged parts and grease if your RV is equipped with greaseable fittings. Depending on your mechanical skills checking the brakes and wheel bearings is advisable. Many RVs have easy lube bearings now that can be done without even removing the wheels.
If you are not comfortable inspecting brakes and bearings have a friend or service center do so yearly.
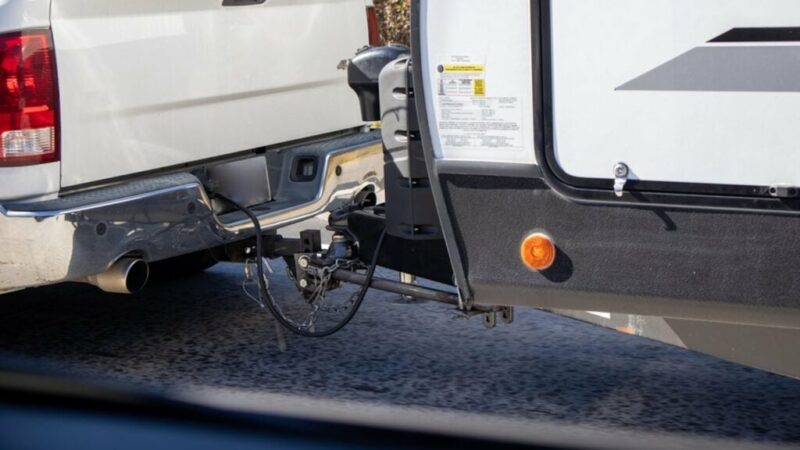
Before you head inside, hook up your batteries and propane and make sure both are full and ready for the season.
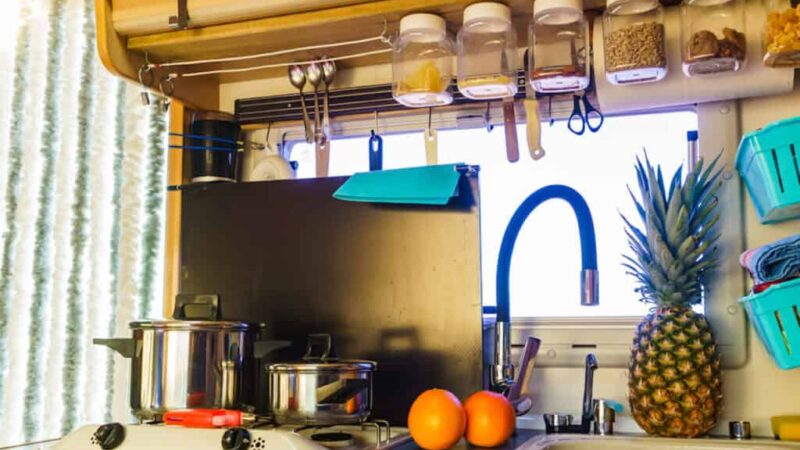
Inside
As with the outside, walk around first and check for signs of any visitors that may have moved in over the winter. Water damage is another thing to be looking for. Snow sitting on the roof can expose leaks.
Ideally, you will have your RV hooked up for dewinterizing. Open the slides so nothing is missed and you can test their function.
Fire up the furnace and warm up the RV for the rest of the process. Stove operation and fridge operation can also be checked at this time. It is a good idea to remove any access panels for appliances to check for nests that may have been built.
Again if power is available you can function the AC to be sure there are no issues. Filters should be cleaned as well.
Now for the part most people think of when talking dewinterizing: The plumbing and water system. You first need to drain and flush all of the antifreeze from the system. It is important to catch any antifreeze rather than drain it directly onto the ground.
It is best to use the freshwater tank and water pump to flush the system. If, when the taps are all off, the water pump still running you know there is a leak somewhere. If you use city water to flush the system you may miss a small leak.
Add water to the tank and run your water pump with faucets open to flush all antifreeze out. Some people choose to disinfect the tank and system also with a diluted mix of bleach or treatment.
The antifreeze is colored and smells so it is easy to know when it is flushed out.
Filling the Water Heater Tank
With the system flushed out, you can close the winterizing bypass and open the water heater bypass to fill your water heater tank. These valves are found at the back of the water heater.
Before filling, the water heater can be flushed, and if equipped, the anode rod is inspected and replaced if needed. With the drain plug reinstalled you can now fill and test the water heater.
The pressure valve should be left open for filling. Once the water starts to run from the valve the tank is full and it can be closed.
Proper dewinterizing is important to starting a camping season off right. It is an easy job that requires little time but should be planned and thorough. Once completed you can start your season with peace of mind that your RV is as ready as you are. And don’t forget to do your annual spring cleaning!
The post RV Dewinterizing Made Simple appeared first on RV LIFE.
Source: https://rvlife.com/everything-you-need-to-know-about-dewinterizing-an-rv/