RV Electrical Systems: Power Up!

RV Electrical Systems Demystified
Whether you’re brand new to the RV lifestyle, or you’ve had your RV for awhile, RV electrical systems can be perplexing. However, knowing what does what, and the steps you need to take to protect and maintain your RV’s electrical components will help you avoid problems and get the most out of your RV.
In some ways, RV electrical systems are similar to a home system. They require electrical input and they use this electricity to power lights, climate control systems, and other appliances. However, the big difference is that RVs have two separate electrical systems that work in harmony to provide you with most of the comforts a traditional home. In this guide, I’ll walk you through what each of these systems does, and the basic electrical components in any RV electrical system. We’ll also take a quick look at solar-power systems and how to effectively and safely integrate them into your RV’s existing electrical setup. Ready? Let’s get started.
Amps, Watts and Volts
In this article, you’ll find three terms that are used to measure electrical energy. These are amps, watts, and volts. Knowing what these terms mean and how to use them can help you to solve electrical problems, or add components to your system.
Amps
The word “amps” is short for “amperage.” Amps are the rate at which electrical current flows through a circuit or electrons flow through a wire. RVs are set up to use either 30 amps or 50 amps of power supplied by the campsite pedestal.
Every electrical appliance in the RV uses a little of the amperage from the pedestal. Here are some common electrical appliances that draw electrical energy in an RV:
- Air Conditioner: 13–18 amps
- Water heater: 8–13 amps
- Microwave Convection Oven: 7–15 amps
- Space Heater: 4–13 amps
- Hair dryer: 7–13 amps
- Furnace Fan: 7–10 amps
If the appliances draw more amps than are supplied by the power source, it will cause a “traffic jam” of all the electrons jostling and trying to get through. This is where circuits get overloaded. When that happens, all those electrons can cause wires to overheat. This can cause a fire if the some of the excess energy draw doesn’t get interrupted. This is where the breaker switches in your RV’s breaker panel can save the day. Breaker switches are designed to trip when the circuit is warming up, interrupting the power supply and keeping wires from overheating.
The heat from this can cause a breaker switch to trip, cutting off the supply of electricity to one or more appliances. In order to prevent this from happening, it’s important to know how many amps you’re using. Fortunately, there’s a simple formula that will let you know how many amps any appliance in your RV is using.
Watts / Volts = Amps
For example, for an Instant Pot Pressure Cooker that uses 1,000 watts at 120 volts, the calculation looks like this:
1,000 / 12 0 =8.3 amps
Most appliance labels or manuals will supply both volts and and wattage
Watts
Watts is the term used to measure electricity at work. Each of the electrical appliances in your RV consumes a certain number of watts. This is usually shown on a label somewhere on the appliance. It’s easy to calculate watts using a simple formula.
Amps x Volts = Watts
Volts
The term volts measures the amount of pressure that is pushing the electrons through a wire. In an RV, we either use 12-volt (DC) or 120-volt (AC) power. You can calculate voltage with this formula:
Watts / Amps = Volts
Click here to learn more about how to measure amps, watts and volts in an RV.
Two Separate Electrical Systems
One of the best parts of RVing is having all the comforts of home wherever you go. This includes heat, lighting, air conditioning, TVs, kitchen appliances, and perhaps even a washer/dryer. While of these creature comforts require electricity, some use 12 volts of direct current (DC) power while others need 120 volts of alternating current (AC) power. The first thing we’re going to do is sort out what’s powered by each system.
DC Power System: 12-volt Electrical System
The 12-volt (otherwise known as DC) power system in your RV provides power for essential electrical components that don’t use a lot of power. Everything in the DC electrical system is powered by the RV house batteries. Powering all the essential parts of the RV electrical system with battery power lets you camp off grid while maintaining a modicum of comfort.
RV Electrical Components That Run on the 12-volt Electrical System
- Lights (interior and porch)
- Water pump
- Thermostat
- Furnace fan and ignition switch
- Stovetop ignition switches
- Refrigerator (Three-way or 12-volt)
- Power Awning
- Power shades
- Slideouts
- Power stabilizers and tongue jack
- Overhead fans
- Stereo
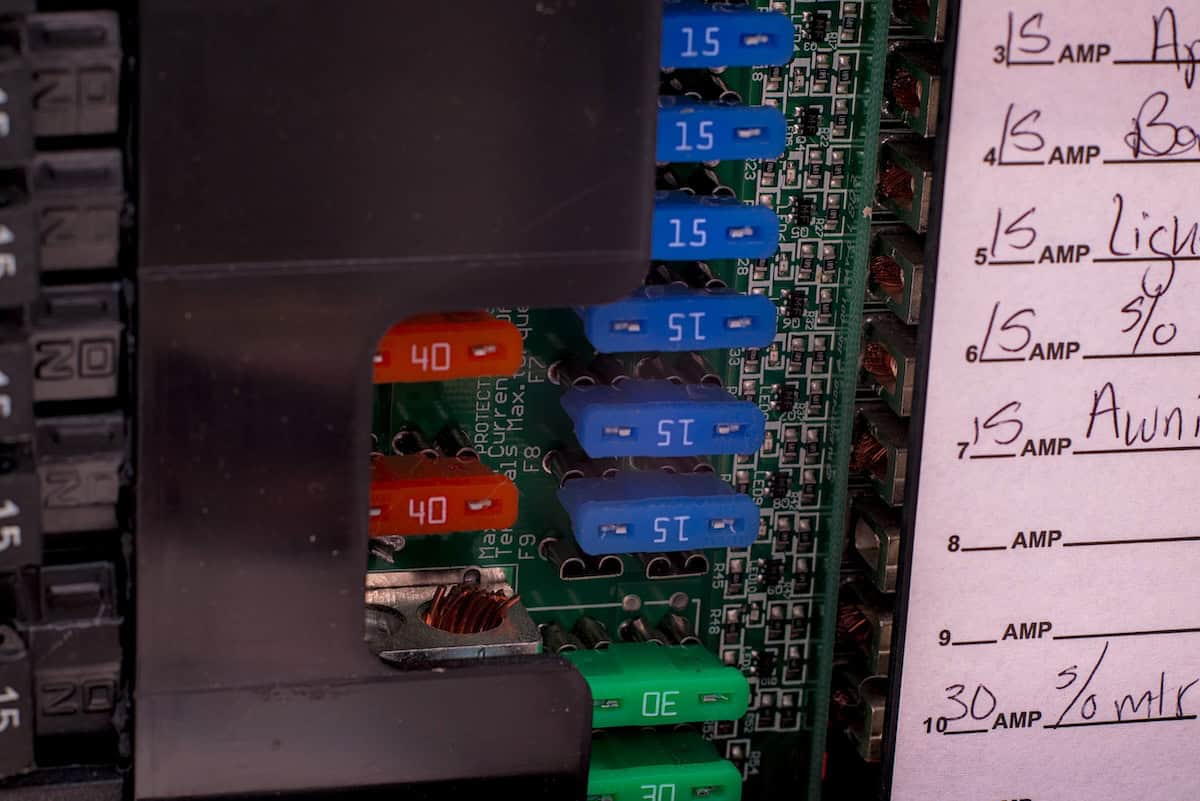
Because the electrical circuit begins and ends with the 12-volt house batteries, it doesn’t go through the breaker panel. For this reason, the DC system needs a different means of stopping the electrical current if a wire heats up because something goes wrong. For this reason, your RV has a fuse box or panel, that contains a various fuses in a variety of amps. The number of amps a fuse is depends on how much electricity the appliance on it uses.
When something is wrong in a DC electrical circuit, its fuse sacrifices itself to stop the flow of electricity. After whatever caused the problem is fixed, the blown fuse needs to be replaced with one that’s exactly the same amperage. That said, replacement with any other amperage can damage your RV electrical system and/or create a fire hazard.
Charging and Maintaining Your RV House Batteries
There are three types of 12-volt batteries used in RVs. Each type has its own advantages and disadvantages.
Deep-cycle flooded-cell lead acid batteries
These are most economical and common batteries used in RVs. Flooded-cell batteries require regular checking and periodic refilling with distilled water to keep their lead plates immersed in electrolytes. In order to prolong their lifespan, flooded-cell batteries should only be discharged to 50% of their capacity.
Absorbent Glass Mat (AGM) Batteries
Absorbent Glass Mat (AGM) deep-cycle batteries cost more than flooded-cell batteries. However, they have a definite advantage over flooded-cell batteries because they’re maintenance-free. AGM deep-cycle batteries will last longest when they are discharged to 50% capacity. That being said, they can handle being discharged down to 80% of capacity without significant effect on longevity.
Lithium Batteries
Lithium batteries are the most expensive option when it comes to RV batteries and this could be one reason why they aren’t nearly as popular as AGM or flooded cell batteries—yet. However, lithium batteries are considerably lighter and can be discharged to 100%. But lithium batteries have a big downside for many RVs in that they frequently aren’t compatible with RV charging systems. As a result, replacing your lead-acid batteries with their lithium counterparts could also require the replacement of your converter.
4 Ways to Charge RV Batteries
- Connect to shorepower: When the RV is connected to a 30- or 50-amp power, it charges the batteries. Not only that, but the converter turns the AC power into DC power that can run all the DC appliances in your RV. This is often the fastest way to recharge the house battery.
- Charge while you drive: The house battery will also charge while you’re driving. However, this is often a very slow way to charge the battery.
- Charge from your generator
- Charge from solar panels
AC electrical system: 120-volt Power
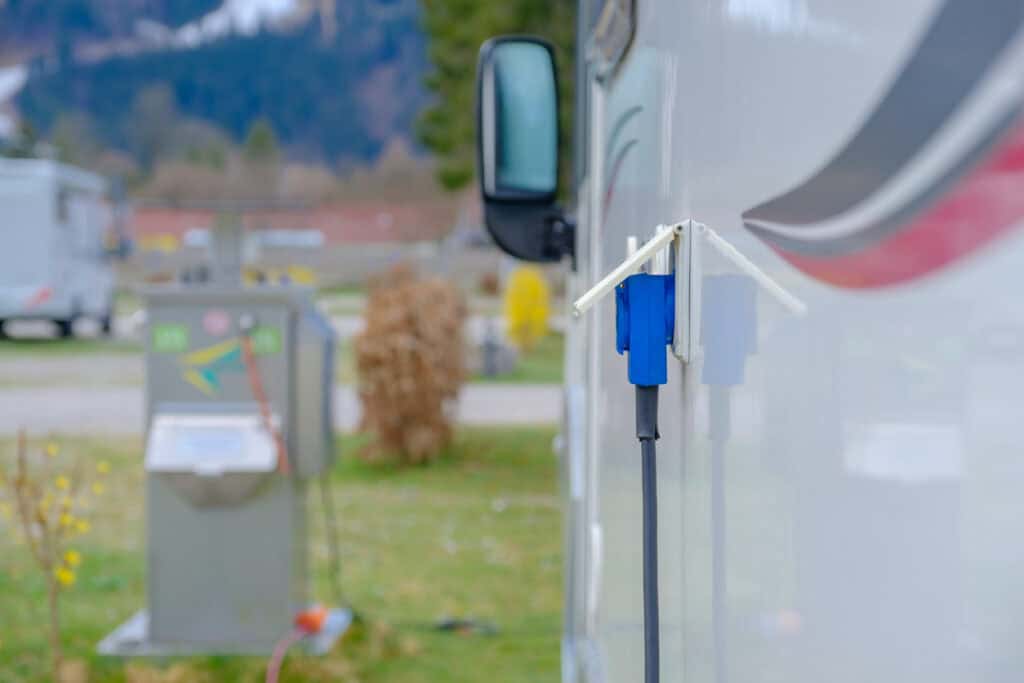
The 120-volt system in an RV is essentially a simplified version of the electrical system you’d find in a typical home. That being said, RVs use either 50-amp (four-prong plug) power or 30-amp (three-prong plug) power supply. That being said, it’s possible to use an adapter to charge house batteries and run a few basic appliances using 20-amp power from a household outlet
Knowing the wattage that individual appliances require will help you to calculate what you can run according to your RV power system. For example, plugged into a 120-volt power pedestal, 50-amp service provides 12,000 watts of electrical power, 30-amp provides 3,600 watts and 20-amp provides 2,400 watts.
In order to avoid tripping breakers, it’s important to know how how many watts each appliance uses. For instance, a microwave/convection oven uses 1,500 watts, an air conditioner uses 1,300 watts, and a coffee maker uses 1,200 watts. If you run all of these appliances at once, the power draw will be 4,000 watts. If your RV has a 50-amp power system, 4,000 Watts is well below your 12,000-watt limit. However, If your RV only has 30-amp power (3,600 watts) available to it, the draw will overload its electrical system. As a result, a breaker will trip to protect the electrical system. And you’ll need to run a combination of the items separately.
Electrical Components Supplied by 120-volt AC Power
- Air Conditioner
- Heat pump
- Microwave
- Refrigerator
- Television
- AC outlets
- GFCI Outlet
AC Electrical Power Sources
- Shore power
- AC Generator
- Solar panels (via the inverter)
Do This Maintenance Step Twice a Year
AC electrical circuits are protected against overheating by labeled breaker switches contained in the breaker box of the RV. When the electrical system is overloaded or something else goes wrong, a breaker trips to stop the flow of electricity to a circuit. It’s very similar to the way breakers work in a standard home.
However, your RV breaker panel is put together slightly differently from the breaker panel you’d find in a house. That’s because the neutral and ground bars in an RV are separate instead of being connected together. You can tell them apart because the neutral wires will be gray or white while the ground wires will be copper.
As RVs move around, traveling on all sorts of road surfaces, bumps and vibrations can loosen the nuts that secure wires to breakers, neutral bars and ground bars. These loose connections can cause a serious risk of fire in your RV.
Breakers offer some protection from loose connections by tripping when there’s a problem with a hot wire. However, wires connected to the neutral bus bar aren’t protected by the breakers. That being said, if you have a loose connection on the neutral bus bar, it can start a fire in the breaker panel. Fortunately, it’s easy to avoid this fire hazard by checking and re-torquing all the wire nuts in the breaker panel at least twice a year or more (depending on how you use your RV).
How to Tighten the Connections in an RV Breaker Box
- Get a torque screwdriver
- Turn all AC appliances off to save wear and tear on them.
- At the breaker panel, flip the main breaker to the “OFF” position.
- Unplug your RV from shorepower.
- Remove the protective outer panel by unscrewing the screws holding it in place.
- Check the label on the breaker panel to find the correct torque setting for the connecting screws
- Set the torque screwdriver to the recommended torque.
- Make sure there is no electricity in the wires by using a pen tester or digital multimeter. 120-volt electricity can kill you, so don’t take chances.
- Remove each breaker
- Torque each of the screws on the breaker until the screwdriver clicks at the recommended torque.
- Do this with each breaker switch.
- Reset torque screwdriver to recommended torque for neutral bus bar nuts.
- Tighten all wire nuts on neutral busbar to recommended torque
- Repeat steps 11 and 12 for connecting nuts on ground bar.
Converters Versus Inverters
RVs come with a converter that changes AC electricity to the DC electricity that is used to power lights and other essential components. If your RV is configured for solar power, it will also have an inverter. An inverter transforms DC power into AC power that can be used to provide electricity to appliances such as an air conditioner, microwave oven or AC outlets.
Conclusion
Electricity allows us to enjoy many modern conveniences and comforts when we’ camp in an RV. Naturally, there’s a lot more to the system than described here, but gaining a basic understanding of RV electrical systems is crucial to having a safe and enjoyable RVing experience. Basic care and maintenance of your RV power system is easy to do and will help to ensure you get many years of enjoyment out of your RV.
The post RV Electrical Systems: Power Up! appeared first on RV LIFE.


