The Long Game: Shooting Drills and Skills for Deer Hunters
We may earn revenue from the products available on this page and participate in affiliate programs. Learn More ›
WHENEVER SOMEONE in my old Michigan deer camp tagged a whitetail, that evening they would take a shot of kirschwasser, a smooth, clear, fiery brandy distilled from cherries. Even if the hunter was a few years shy of 21, their lips would touch the glass, and they’d feel a hint of the heat on their tongue. Why? Tradition.
All deer camps and deer hunters have their traditions. Some camps have been holding kangaroo courts for decades. If you’re found guilty of missing a deer, your shirttail gets cut off, though with a properly spirited defense—the more outrageous, the better—the sentence might be suspended.
Some traditions might seem nonsensical, but they are a vital piece of the glue that binds hunters together from one season to the next. However, one consequence is that deer hunters are predisposed to regard anything new with a jaundiced eye. That extends to events as mundane as someone showing up in camp with a new deer cartridge as well as more weighty matters like game agencies introducing antler-point restrictions.
So you can imagine how well this crowd would respond to the idea that the way they’ve been shooting their deer rifles leaves something to be desired. Arms-crossed hostility begins to describe it.
Nonetheless, most deer hunters are not very good shots—hence the enduring kangaroo courts—especially when deer are at longer ranges. It’s no secret that today’s rifles, scopes, and ammo are much more capable than those of a generation ago. Yet sadly, the marksmanship of the majority of deer hunters hasn’t kept pace.
The growth of precision rifle competitions that emphasize field scenarios has led to the development of some excellent, and practical, techniques that every deer hunter can benefit from. All it requires is an open mind and a willingness to buck tradition.
Read Next: Best Deer Rifles
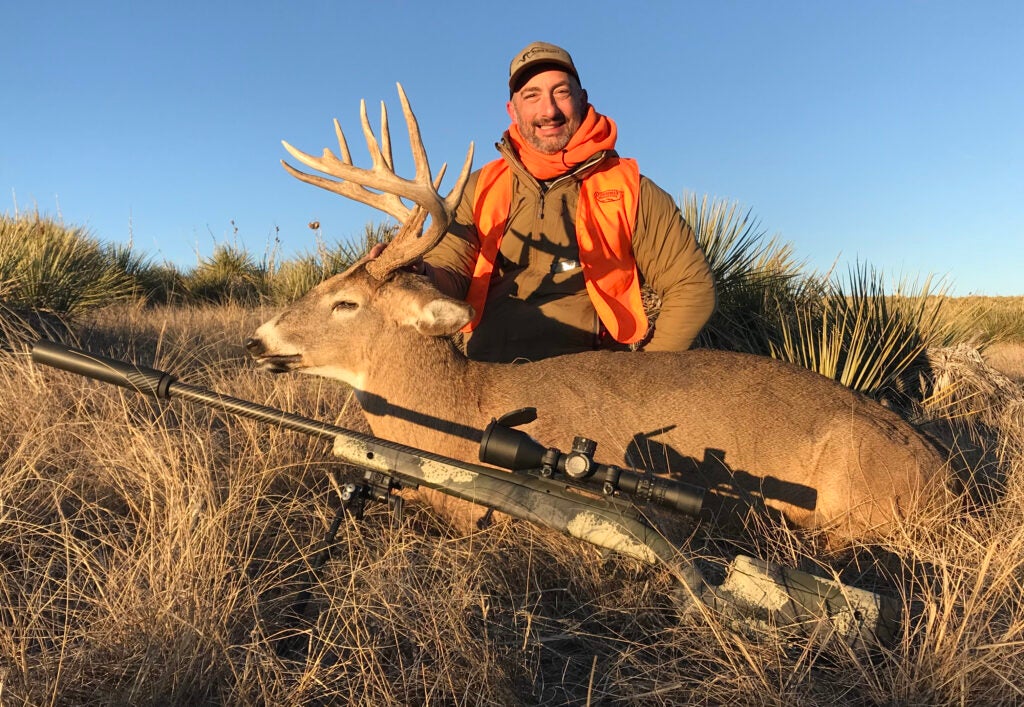
Getting Steady
The fundamentals of marksmanship—a good trigger press, breath control, sight alignment—don’t count for diddly-squat if you can’t hold your rifle still. At 100 yards and in, a competent marksman should be able to shoot a whitetail offhand without difficulty. At ranges beyond that, the rifle needs some type of support.
Traditionally, this means mastering the kneeling and seated positions and the use of a shooting sling. These old-school skills are effective but not widely practiced anymore. Bipods are useful provided the legs are long enough to elevate the barrel above any surrounding vegetation, but in the real world that’s often not the case.
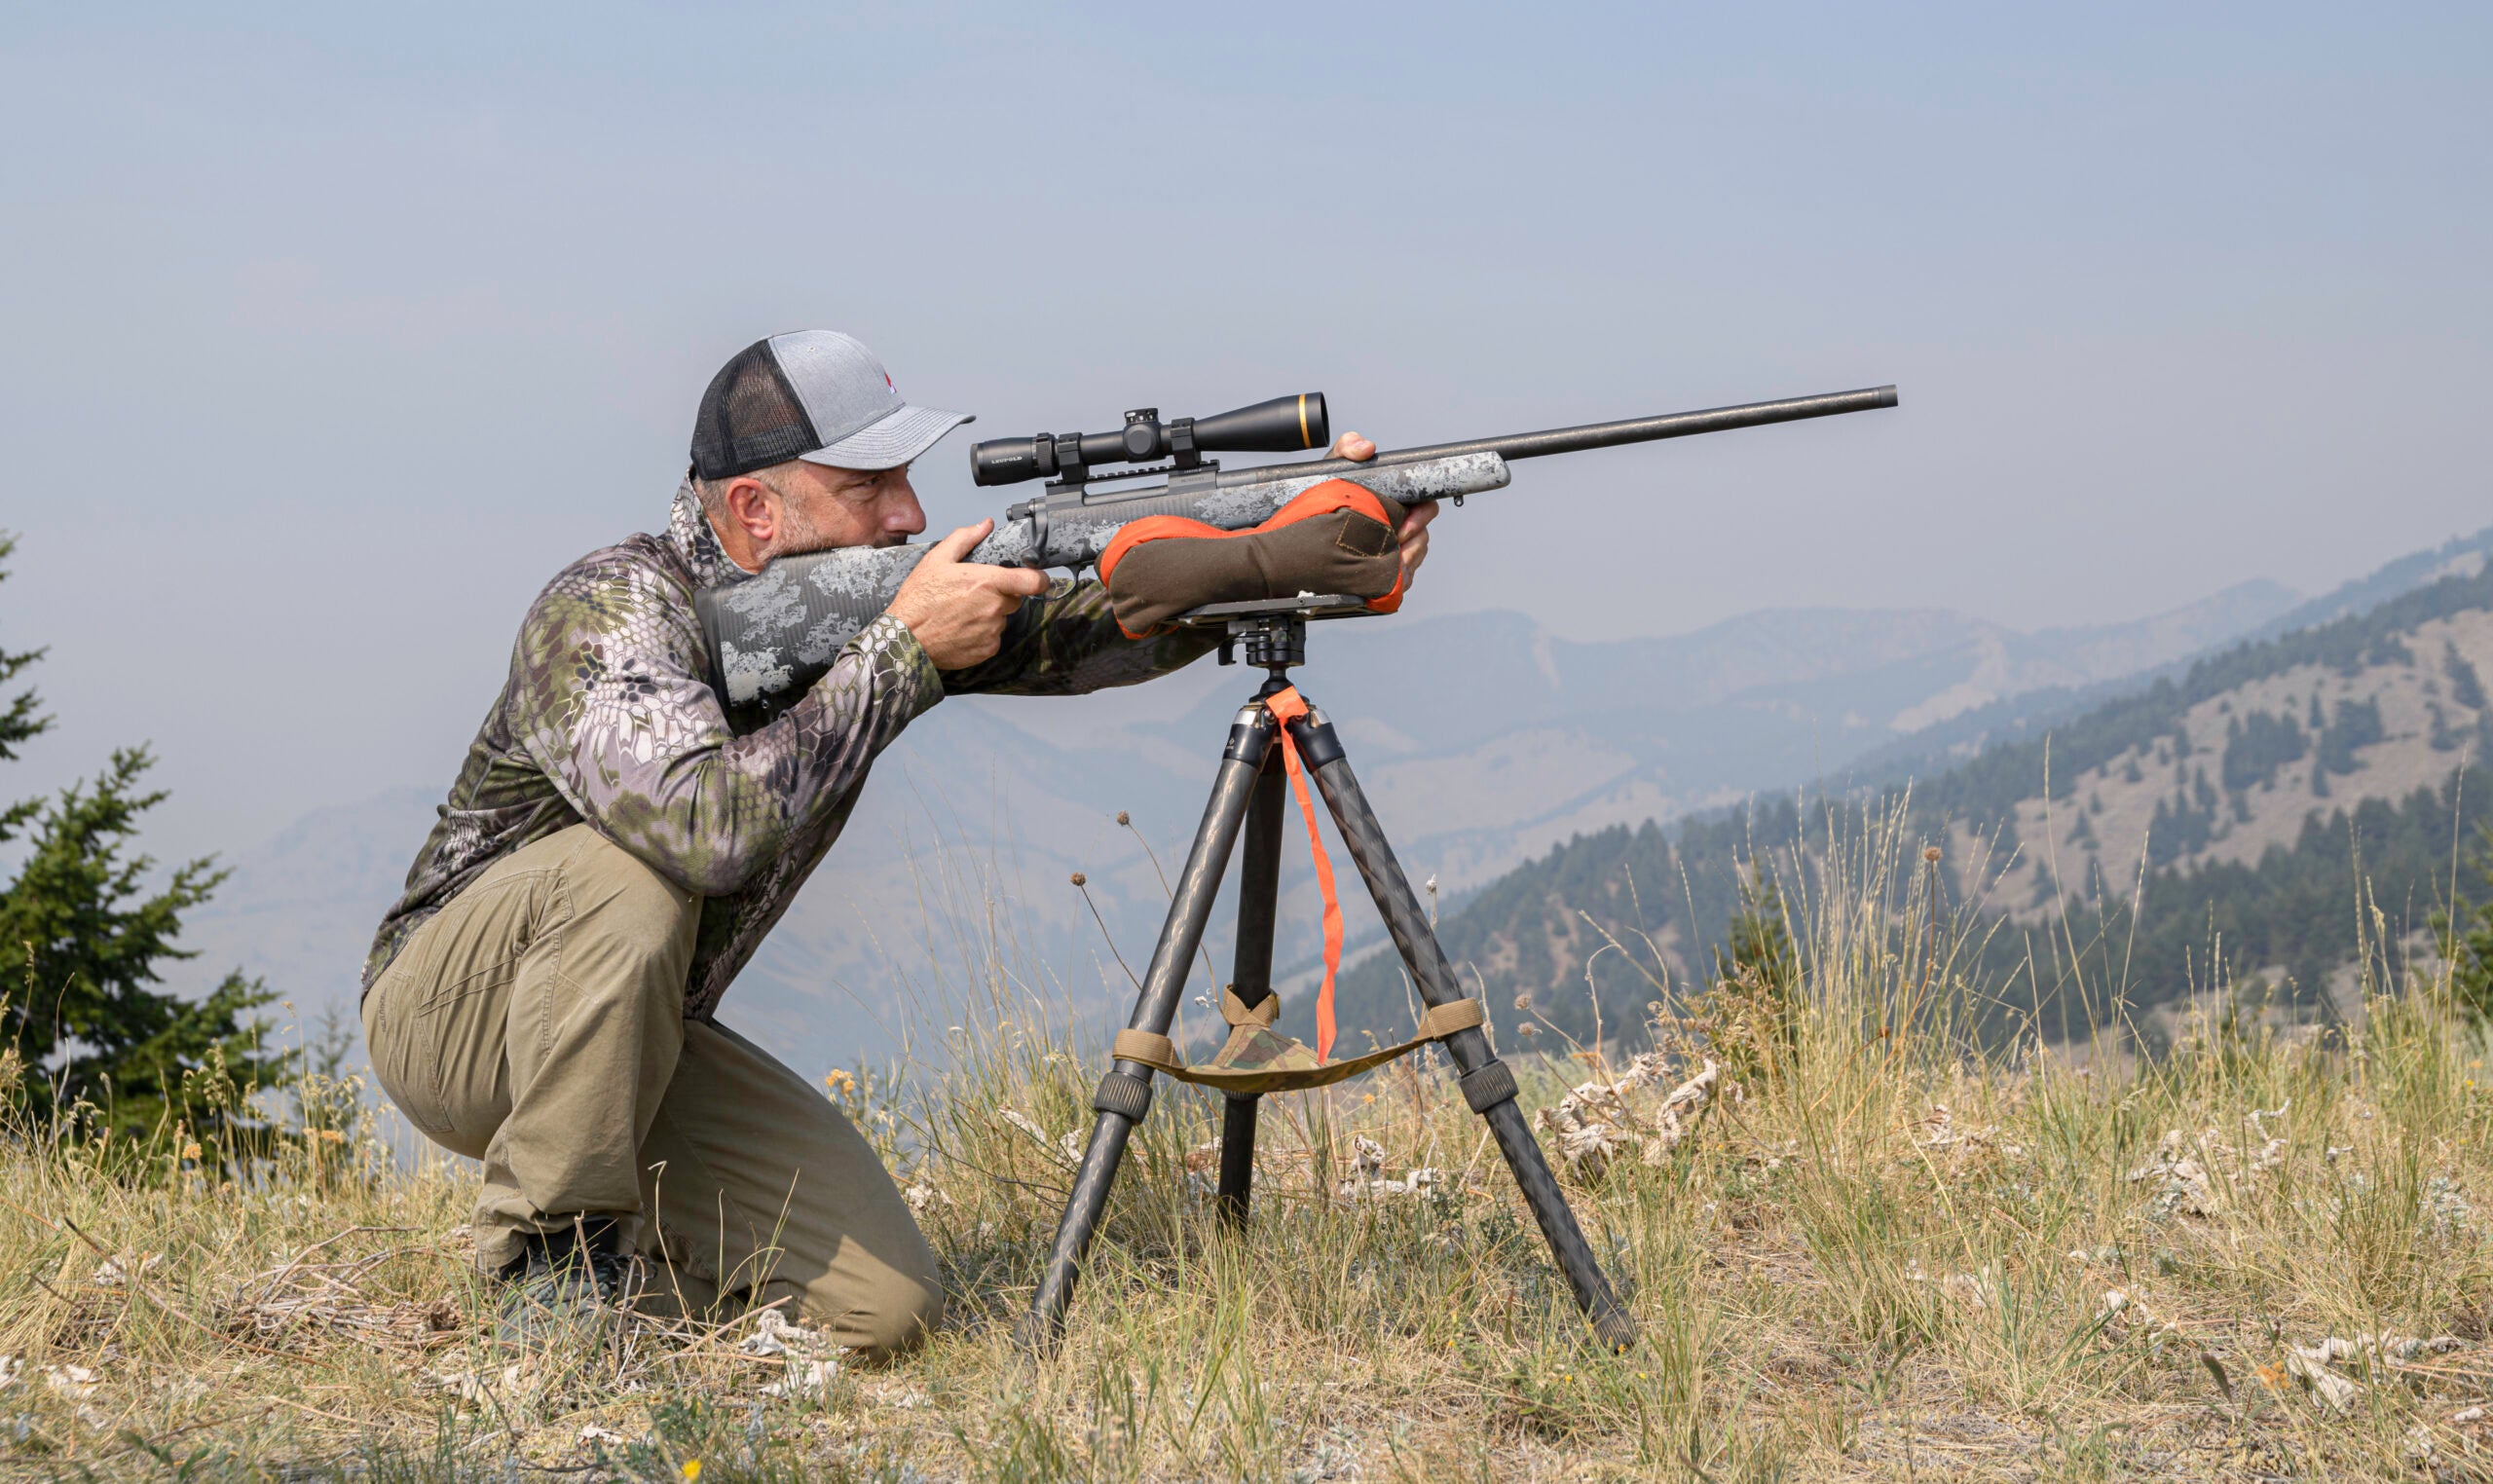
The best way to build a rock-solid position when you can’t lie prone is with a tripod equipped with a flat tac-table and a lightweight shooting bag. With the bag on top of the tac-table and the rifle balanced on the bag, you can make an accurate hit on the vitals of a deer hundreds of yards away, even while standing.
Before the morality police blow their tops, I’m not advocating long-range hunting. I’m simply describing skills that will help you shoot better—and more ethically—no matter the distance. The fact that you might be able to go 10 for 10 on steel at 600 yards with these techniques doesn’t mean I think you should shoot deer at that distance.
To maximize your accuracy when shooting off a tripod this way, keep these tips in mind:
- Place the rifle on the bag lengthwise to maximize the amount of contact between the bag and the stock.
- Keep the top of the bag about level with your sternum when you shoot from a standing position. If you position the bag any higher, accuracy will decrease.
- Use your lead hand to pinch the gun and bag together to steady the rifle and control recoil.
- Square your shoulders so that you are directly behind the rifle. That will improve recoil management.
- Do not overfill your shooting bag. They often come with too much fill and don’t have enough give. Try filling it three-quarters of the way.
- Use a lightweight fill like Git-Lite, which will take a solid set under pressure for a steady shot. Don’t use cheap plastic beads. They slide around and aren’t very steady.
While some hunters might balk at the idea of hauling around this extra weight and spending money on this extra gear, if you hunt open country where a longer shot is possible, it is 100 percent worth it. If you happen to use a spotting scope, you’re already carrying a tripod. So adding the other components—the bag and tac-table—is a no-brainer.
I’ve used this setup numerous times to take game in the wild, most recently on a deer hunt last December in Colorado. I set my tripod up for a kneeling shot and had no issue making a steady shot on a deer that was 515 yards away.
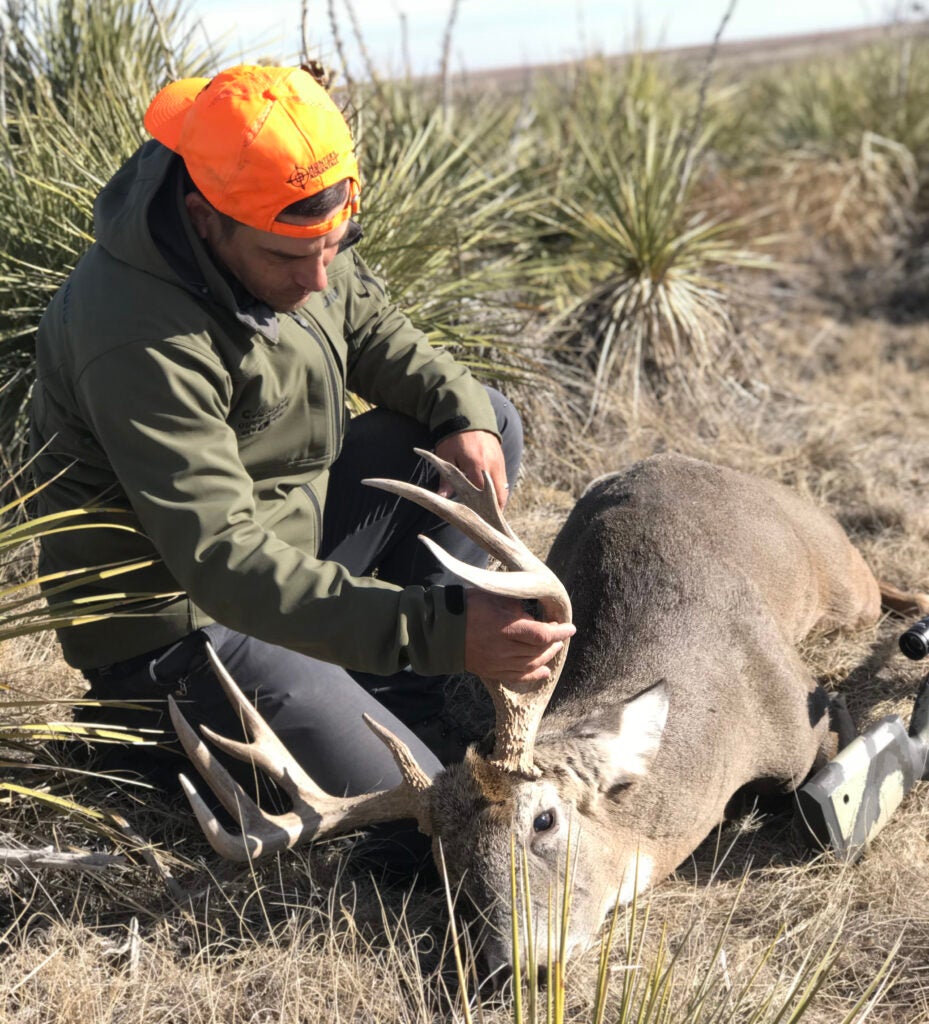
Ballistics Apps for Deer Hunters
A point-blank zero, whereby you set your rifle to hit 2 or 3 inches high at 100 yards, is a great way to take the guesswork out of shooting to 250 yards or so, depending on your caliber and bullet. Anything past that, however, and you’re going to have to start taking bullet drop seriously. There are so many good ballistics calculators available for free that there’s no excuse for hunters and shooters not to use them. Right at the top of the list is Hornady’s app, but there are also good programs from Applied Ballistics and others.
When you set up a ballistics profile, along with some other data about your rifle and ammunition, you’ll need a couple of measurements: muzzle velocity, for which you’ll need a chronograph—and if you’re shopping for a chronograph look no further than the Garmin Xero C1 Pro—and the height of your scope above the bore of the barrel. The latter can be measured with calipers or even a tape measure with 1/16-inch gradations. Just measure the distance from the center of the bolt body to the center of the scope tube. Many rifle actions have a gas port on the front of the receiver that is centered, which makes for a good reference point. And if your scope rings sit on top of each other, you can use the line where they join as the other.
In addition to these two measurements, ballistics calculators require the twist rate of the barrel, the bullet’s BC, and the bullet’s length. Once these are entered, you should have a fairly accurate dope card.
You’ll want to test the data the calculator gives you against real-world results. Make sure your 100-yard zero is as close to perfect as possible and then shoot at distance on paper. The farther you can shoot, the more precisely you can tune your calculator’s data. If you can shoot beyond 600 yards, you can start to alter your bullet’s BC slightly to make all the numbers line up. As a rule of thumb, out to 500 yards, tweak your muzzle velocity to correct your point of impact. For more on that process, check out this article.
100-Yard Shooting Drills
When it comes to shooting drills, there are three variables you can fool with to make for a more challenging shot. First, you can shrink the target size. Second, you can increase the difficulty of the shooting position. Last, you can give yourself less time to make the shot.
There are an infinite number of ways you can mix and match these elements to create drills that will improve your ability to make tough shots under pressure—but very few hunters train this way. And it shows. The vast majority of misses (and missed opportunities) I’ve witnessed in the field are what tennis players would call unforced errors. The scope magnification was at the wrong (invariably too high) setting. The shooter failed to identify and use a good shooting rest. The hunter fiddled with their gear while precious seconds ticked away, and the deer wandered out of sight.
I was once hunting deer with a friend who is a very good (and well-known) hunter when a buck stood up 70 yards away, downhill from us. In a moment of panic, he asked if I could make that shot offhand. I said, “Yes, can’t you?” (He had spotted the deer first, and it was his turn to shoot.) That should be a chip shot for anyone who considers themselves a competent hunter—but if you don’t practice it, then you might not realize how makeable it is.
A good basic drill is to put three 2-inch dots in a vertical line with a bit of space between each on a target at 100 yards. Do the drill untimed to begin with. Place one shot from the standing position on the top dot, run the bolt and place a second shot on the middle dot from a kneeling position, then place a third shot on the bottom dot from a prone position. Repeat the sequence twice more for nine shots total. At the end of the drill, you’ll have three three-shot groups. Ideally, you want them all within their respective circles. But for you to achieve that, the shots will need to be supported. For the standing shots, the tripod and tac-table are essential for getting small groups. For kneeling, you’ll want to use the shooting bag on some other kind of rest. At my range, I’ll shoot with the bag on the back of a folding chair or off the concrete seats at the shooting benches. When I go prone, I deploy my bipod and use the shooting bag as a rear rest.
After doing this untimed, you’ll have a baseline for your group sizes. As you practice this drill down the road, work on your trigger control and recoil management in order to shrink the group sizes. You should also get more fluid moving from one position to the next and reloading your rifle on the fly. So you should start timing yourself and see that you’re getting faster.
For another easy drill, set up five 1-inch dots in a row. Starting with your rifle in hand, drop down into a prone position and place a single shot on one of the dots. Use a timer to track how long that takes. You should be able to get off a well-aimed shot in under 10 seconds, and as you improve, you’ll find yourself shooting faster. Repeat the drill and shoot each of the dots. This is a great way to work on your trigger press and breath control.
Once you start to master these skills and get better, bring one of your deer-hunting buddies along and show them these tricks. Before you know it, next-level shooting skills will become one of your deer camp traditions.
Read Next: Best Deer Hunting Calibers
Essential Shooting Gear
These bits and pieces will help you read the wind, spot your target, and make a stable shot at any reasonable hunting distance.
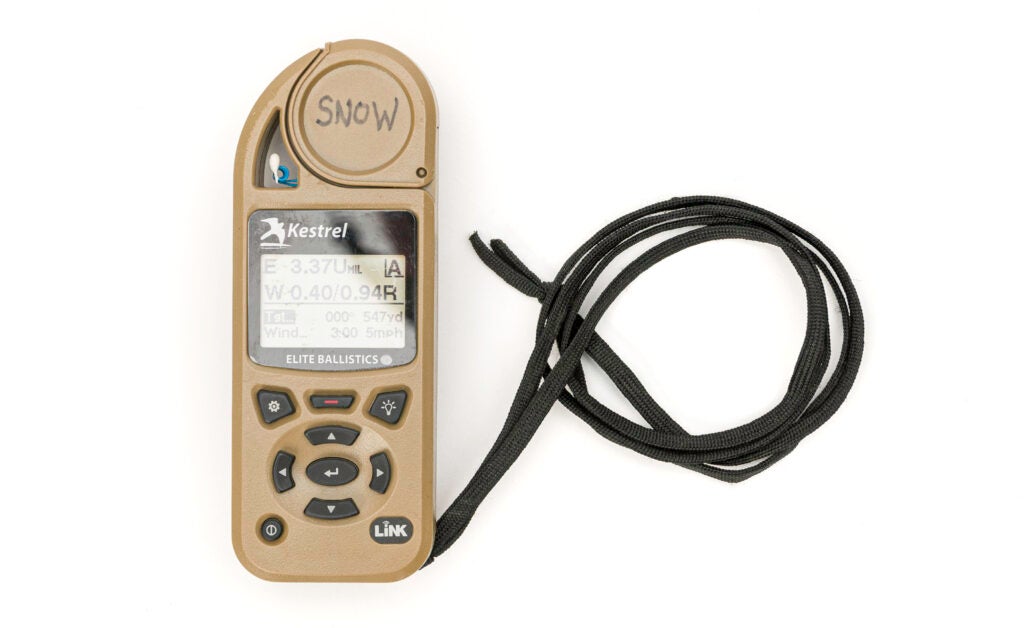
1. Kestrel 5700 Elite
Competitive long-range rifle shooters don’t agree on much. They have their favorite barrels, calibers, stock makers, triggers, scopes, bullets, gunpowders, scope mounts, bipods, and brass—and will be happy to argue the merits of their gear (and the deficiencies of yours) until the sun comes up. The only thing it seems we unanimously approve of is Kestrel weather meters. Everyone who participates in long-range field matches—with precious few exceptions—runs these units.
There are several different models of Kestrels with different feature sets and prices. The flagship 5700 Elite comes loaded with Applied Ballistics and allows the shooter to tune the most minute bits of data. That said, I’ve run the lower-cost Kestrels, like the 4DOF unit and the unit without AB, and I’ve found them satisfactory for hunting and long-range competitions with the exception of ELR (extreme-long-range) shooting.
Common to all the Kestrels are sensors that gather environmental data and use it along with the data you input on your rifle to determine your elevation and windage holds. You might wonder why it is worth investing in one when there are also free phone apps. There are three main reasons. One, these units have been hardened to handle rough use in unforgiving environments. Two, they have excellent battery life. And three, it is easy to make adjustments to your gun profiles in the field when tuning your data. They range in price from $200 to $700. There’s a bit of a learning curve with these units, but fortunately, there are a wealth of tutorials and other info online to get you up to speed.
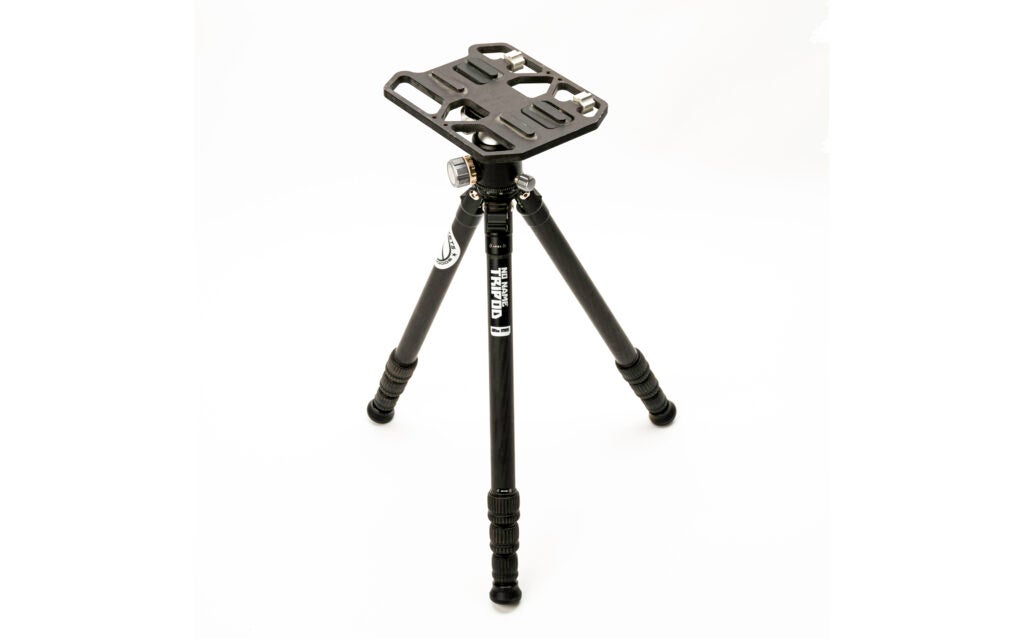
2. Two Vets “The Kit” Tripod
This tripod strikes a great balance between sturdiness, portability, and price. The owner of Two Vets, Dan McNamee, has done a great job sourcing carbon-fiber tripods that don’t break the bank. The Kit is one of his lighter offerings and is ideal for hunters who want to keep the weight in their pack to a minimum.
This tripod tips the scales at 3.5 pounds. The collapsed height of the unit is 22.5 inches, so it fits inside a pack. And because the legs fold down so tight, it works well lashed outside a pack too.
The legs have four sections with three lock rings, and at full extension the Arca plate on the ball head is 66 inches off the ground. With a tac-table and Game Changer bag on top, that’s more than high enough for all but an NBA power forward to make a standing shot.
3. Ballistic Apps
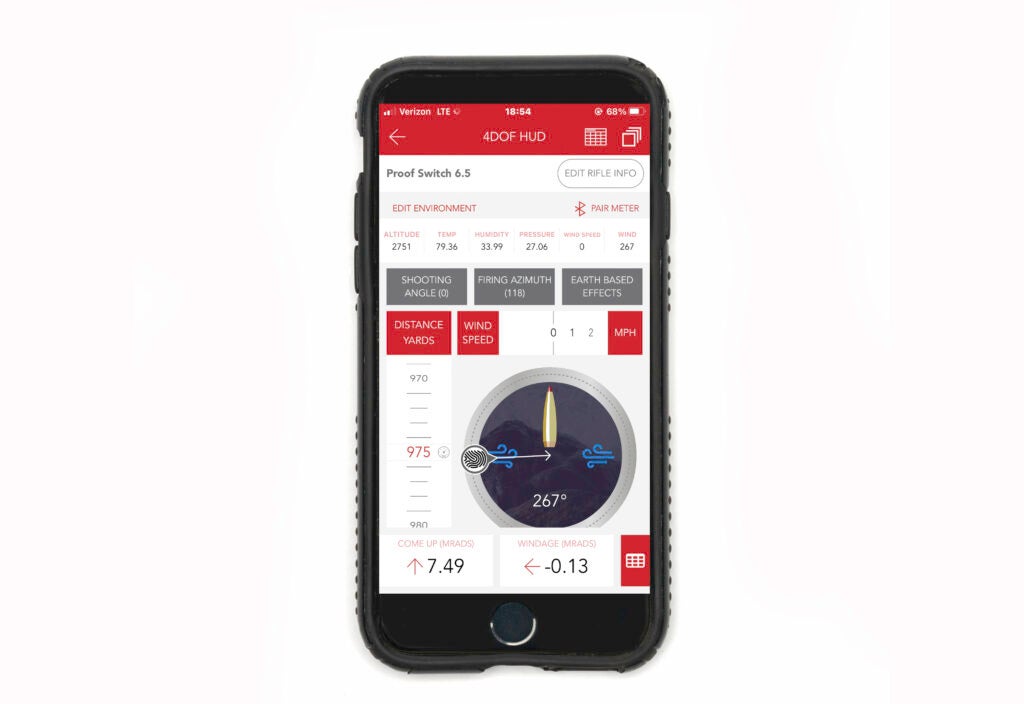
Shooters on a budget have a few great options at their disposal when it comes to ballistics calculators. The best on the market is Hornady’s 4DOF app. It has two modes: one that does calculations based on ballistic coefficients (G1 or G7 BCs) and one that uses Hornady’s 4DOF engine.
Without getting too deep into the weeds, the 4DOF system has some clear-cut advantages over the BC-based models. The 4DOF incorporates a physical model of a given bullet and uses a drag profile generated by Doppler radar that is based on how that bullet actually flies downrange. BCs, on the other hand, are values that approximate how the bullets travel downrange and are inherently less precise.
The downside to the 4DOF system is that you’re limited to the selection of bullets that Hornady has created profiles for. While that library is growing, it isn’t comprehensive. Also, BC calculators have become better at eliminating some of the slop created by the fact that BCs are an approximation.
Another good calculator is the Applied Ballistics app. The basic version is free, but for a small fee you can add drag model–based bullet profiles, which is definitely worth it.
4. Nosler M48 Long-Range Carbon
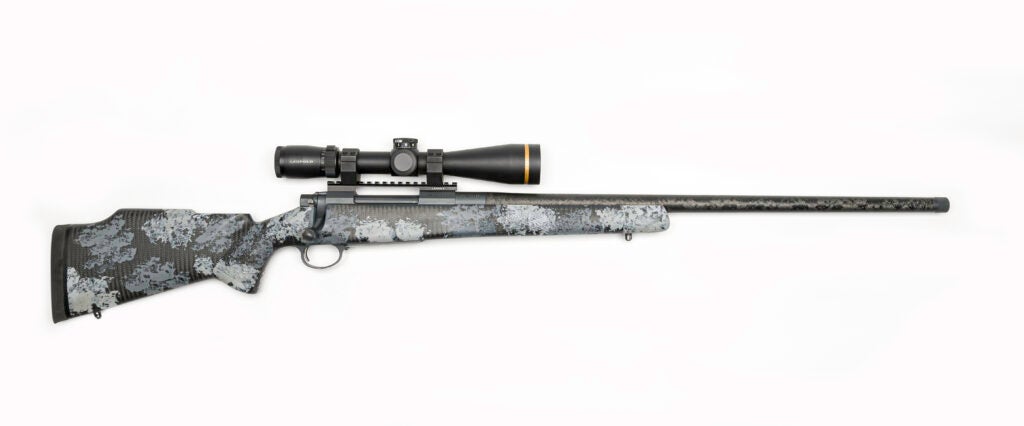
Among production rifles geared toward hunting at longer ranges, the Nosler M48 Long-Range Carbon is at the top of the list. The M48 action is one of the finest hunting actions on the market. Its flat bottom and integral recoil lug are accuracy-enhancing elements, and the toolless takedown design of the bolt makes servicing the rifle in the field a snap.
In the Long-Range Carbon configuration, the rifle comes with a 26-inch Proof Research barrel and a Manners MCS-T Elite Tac carbon-fiber stock in a very cool painted camo pattern. Both help the rifle cut weight, but more critically, they add stiffness and accuracy to the rig. Dual swivel studs on the fore-end create a mounting point for a bipod while allowing the shooter to run a sling.
The muzzle is threaded 5/8-24, the action is glass bedded on aluminum pillars, and the Timney trigger is use adjustable. Naked, the rifle tips the scales at 7 pounds, and Nosler guarantees 1 MOA accuracy with Nosler ammunition.
5. 27 Nosler
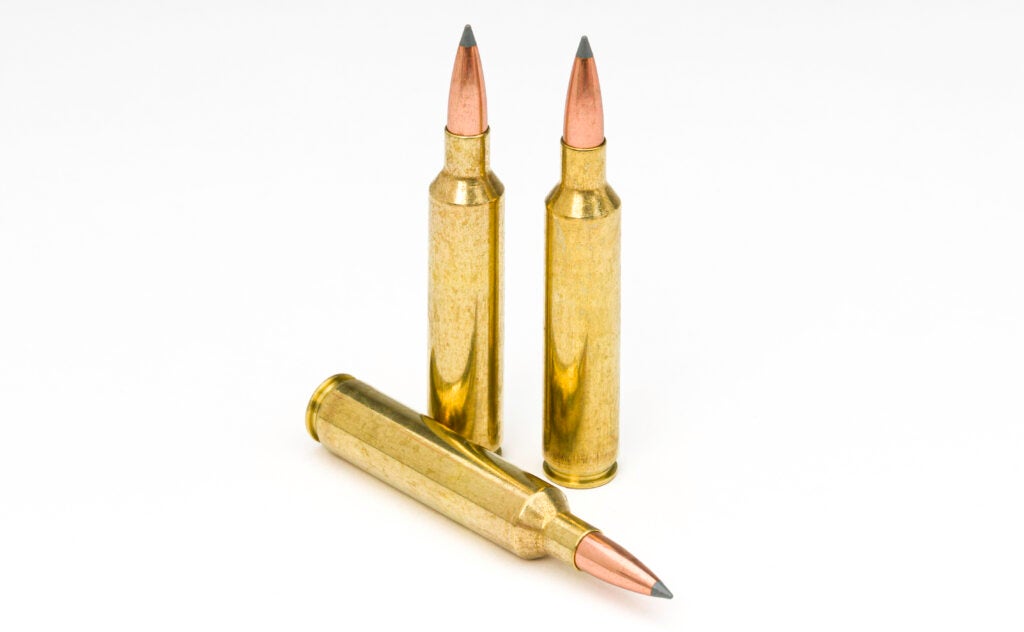
There are so many good long-range hunting cartridges that it seems silly to highlight just one, but lately I’ve taken a shine to the 27 Nosler, which was introduced a couple of years back.
One of the first big-game cartridges to gain recognition for its flat-shooting capabilities was the .270 Winchester. Jack O’Connor popularized the round through his writings and touted the superior external ballistics of the .270 when compared to the .30/06.
While the .270 remains a terrific cartridge, it has been overshadowed by the recent spate of 6.5 mm darlings and before that was losing steam against all the short mags that had appeared on the scene. Yes, I know the 270 WSM was among them (and attained a small following), but the fact is that .277-inch-caliber bullets are no longer in vogue with today’s hunters.
I’m not sure this fire breather will change that, but for hunters looking for a high-performance round to add to their collection, the 27 Nosler certainly merits consideration. I’ve used it with my Nosler M48 Long-Range Carbon and have been extremely happy with the results.
6. Leica Geovid Pro 10×32
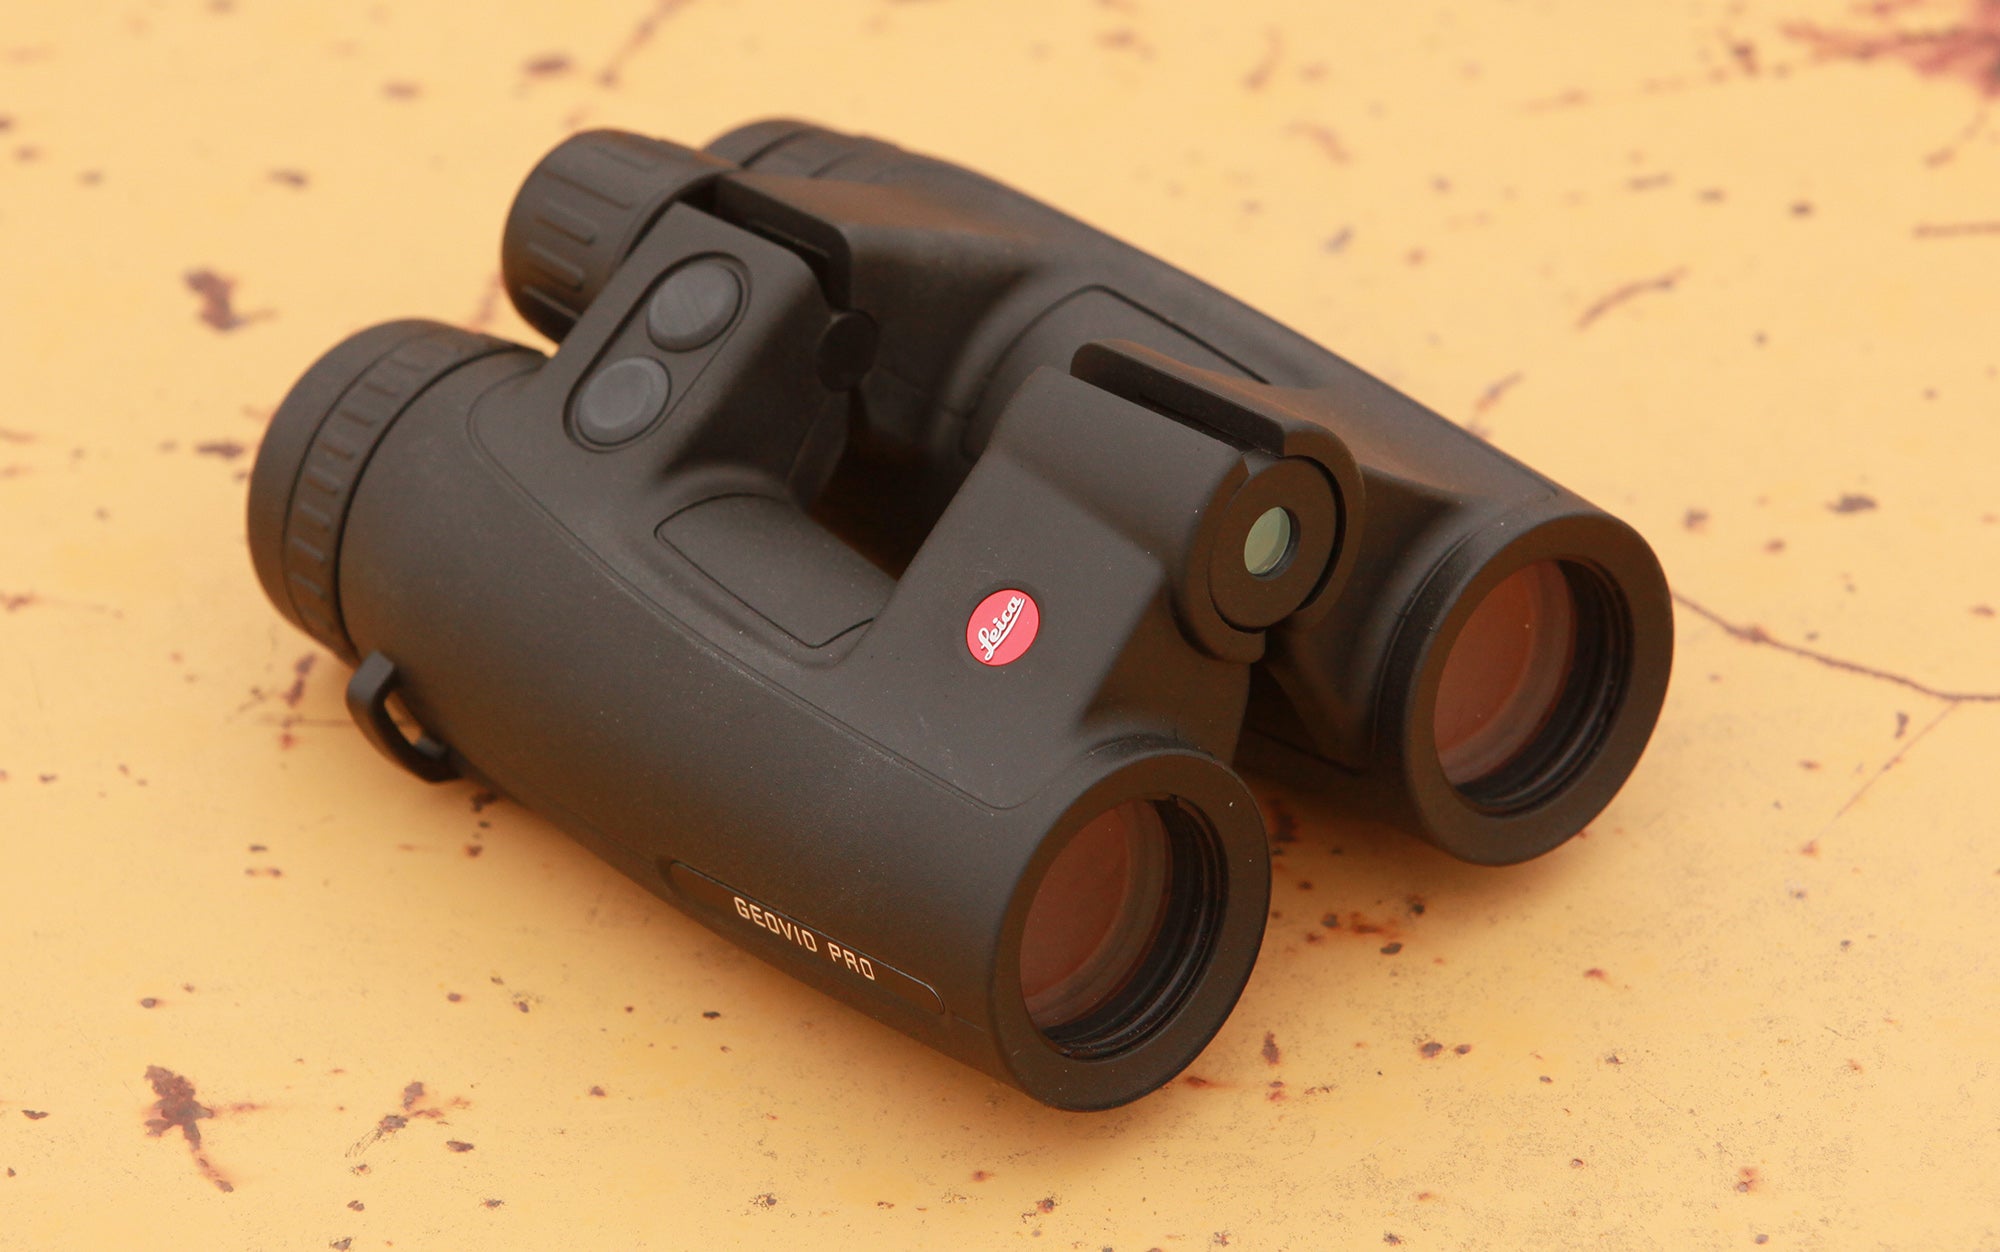
One of the most important innovations for hunters and shooters is the advent of quality binoculars that have onboard laser rangefinders. They’re a godsend whether you’re pursuing deer or just trying to ring steel.
Small handheld rangefinders have their place—particularly for bowhunters—but the increased utility of a rangefinder that functions through a binocular is undeniable. The latest step in this evolution is the addition of onboard environmentals that allow the binocular to spit out a ballistics solution without your needing to go to a printed dope card or an external ballistics calculator.
The Leica Geovid Pro 10×32 has that capability and has been a mainstay in my hunting and competition pack for the last year. One big upgrade in this model is the incorporation of Applied Ballistics software, which is leaps and bounds superior to the homebrewed software Leica had employed.
The only downside to this unit is that the rangefinder takes a few long seconds to power up and that the aiming reticle isn’t very precise. These shortcomings are more of an issue for competitive shooting than hunting, however.
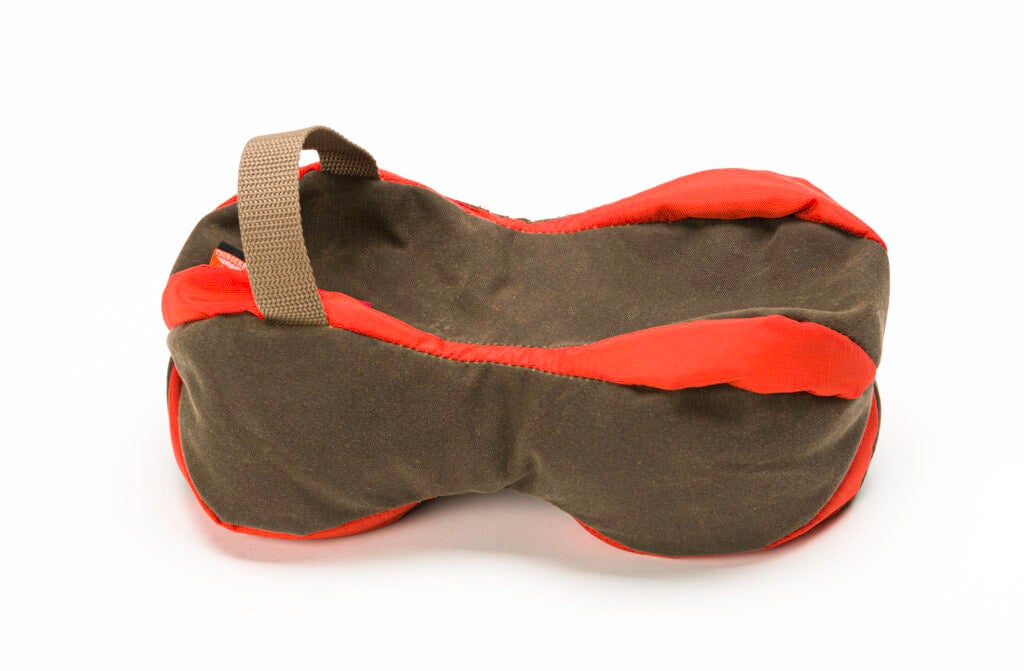
7. Bone Bag
This all-purpose shooting bag was designed by Scott Satterlee, who is one of the best-known long-range shooters in the country. (As a side note, he also happens to be the most talented match director in the country. So if you get a chance to shoot a rifle match that he has put together, you should seriously consider doing it.) The bloblike nature of the bag helps it conform to nearly any surface you set it on and create a flat and stable area on which to place your rifle stock. Carry the bag by clipping it to your pack with a carabiner.
The most common position for a bag like this is just in front of the trigger guard, under the balance point of the rifle. But you can also use it as a regular rear bag in conjunction with a bipod up front. You can also set it under the forward portion of the fore-end and use your tripod as a rear support. Point being, the bag is designed to be used multiple ways. When you use a bag like this, you want to run it lengthwise to create as much contact between the rifle and the bag as possible. That will greatly enhance the accuracy of the position.
It also makes a good field pillow for those midday naps in the mountains when everything—including the hunter—is in need of a snooze.
The post The Long Game: Shooting Drills and Skills for Deer Hunters appeared first on Outdoor Life.
Articles may contain affiliate links which enable us to share in the revenue of any purchases made.
Source: https://www.outdoorlife.com/guns/long-range-deer-hunting-skills/

